Spicy Mini Tuna Cakes – Low Carb

It seems like I eat chicken for every meal, especially if I’m trying to be serious about not eating carbs. I needed a change and I came upon a recipe from Cut the Wheat for Crispy Tuna Cakes with Spicy Dijon Aioli. While it sounded really good, I wanted to put my own spin on it and I decided to bake them instead of frying them. I am not a huge fan of attempting to fry foods at home. I’d much rather shove it in the oven and forget about it.

DSC_0346 DSC_0352

I also like things to be a little spicy so I changed some of the spices that were used in the original recipe. I also subbed greek yogurt in for the mayonnaise. They turned out great! I served them up with a little bit of sour cream. Delicious.

DSC_0347 DSC_0342

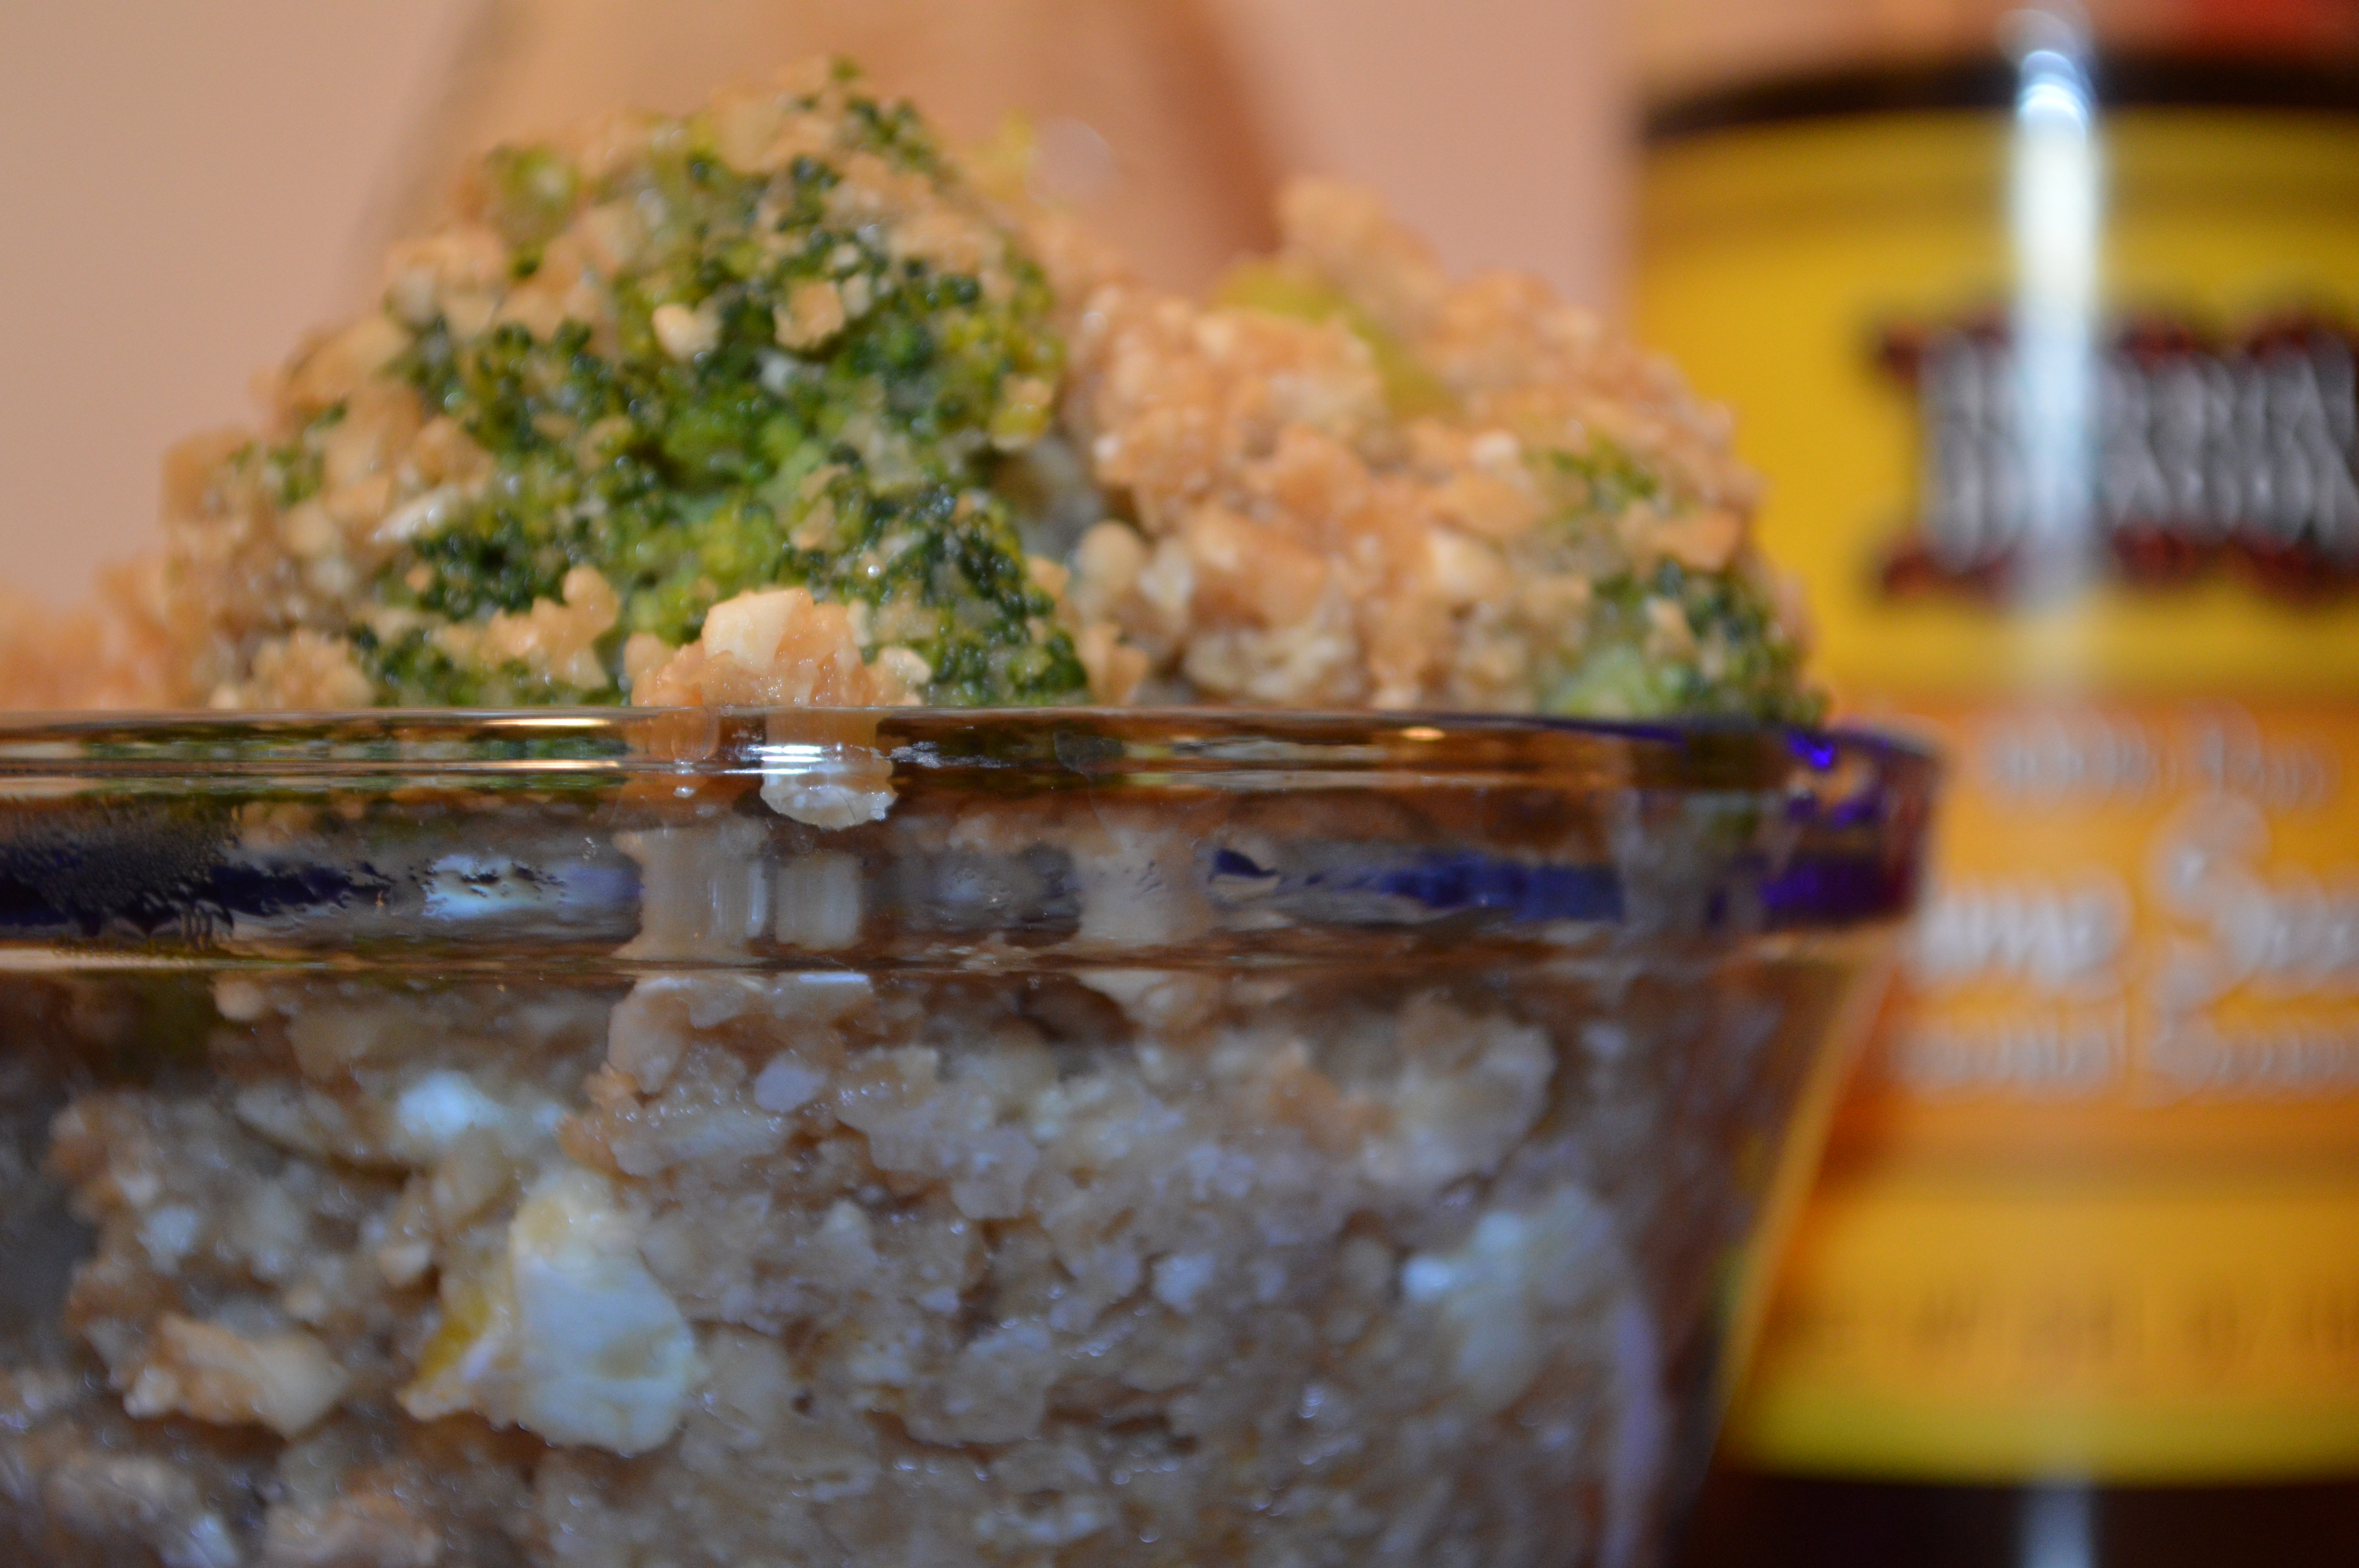
I made these using a medium cookie scoop, so that they are all the same size.

DSC_0357

Spicy Mini Tuna Cakes

Makes about 20 mini cakes

  • 10 oz tuna, drained
  • 1 egg
  • 1/4 cup crushed pork rinds
  • 3 tbsp plain greek yogurt
  • 1 tsp chili powder
  • 1/2 tsp cayenne pepper
  • 1/2 tsp garlic powder
  • 1/4 tsp ground cumin
  • 1/2 tsp salt
  • 1/8 cup dried minced onion
  • 3 oz grated Kraft Smoky Chipotle Cheese
  • 1/2 cup crushed pork rinds for coating

Preheat oven to 400 F

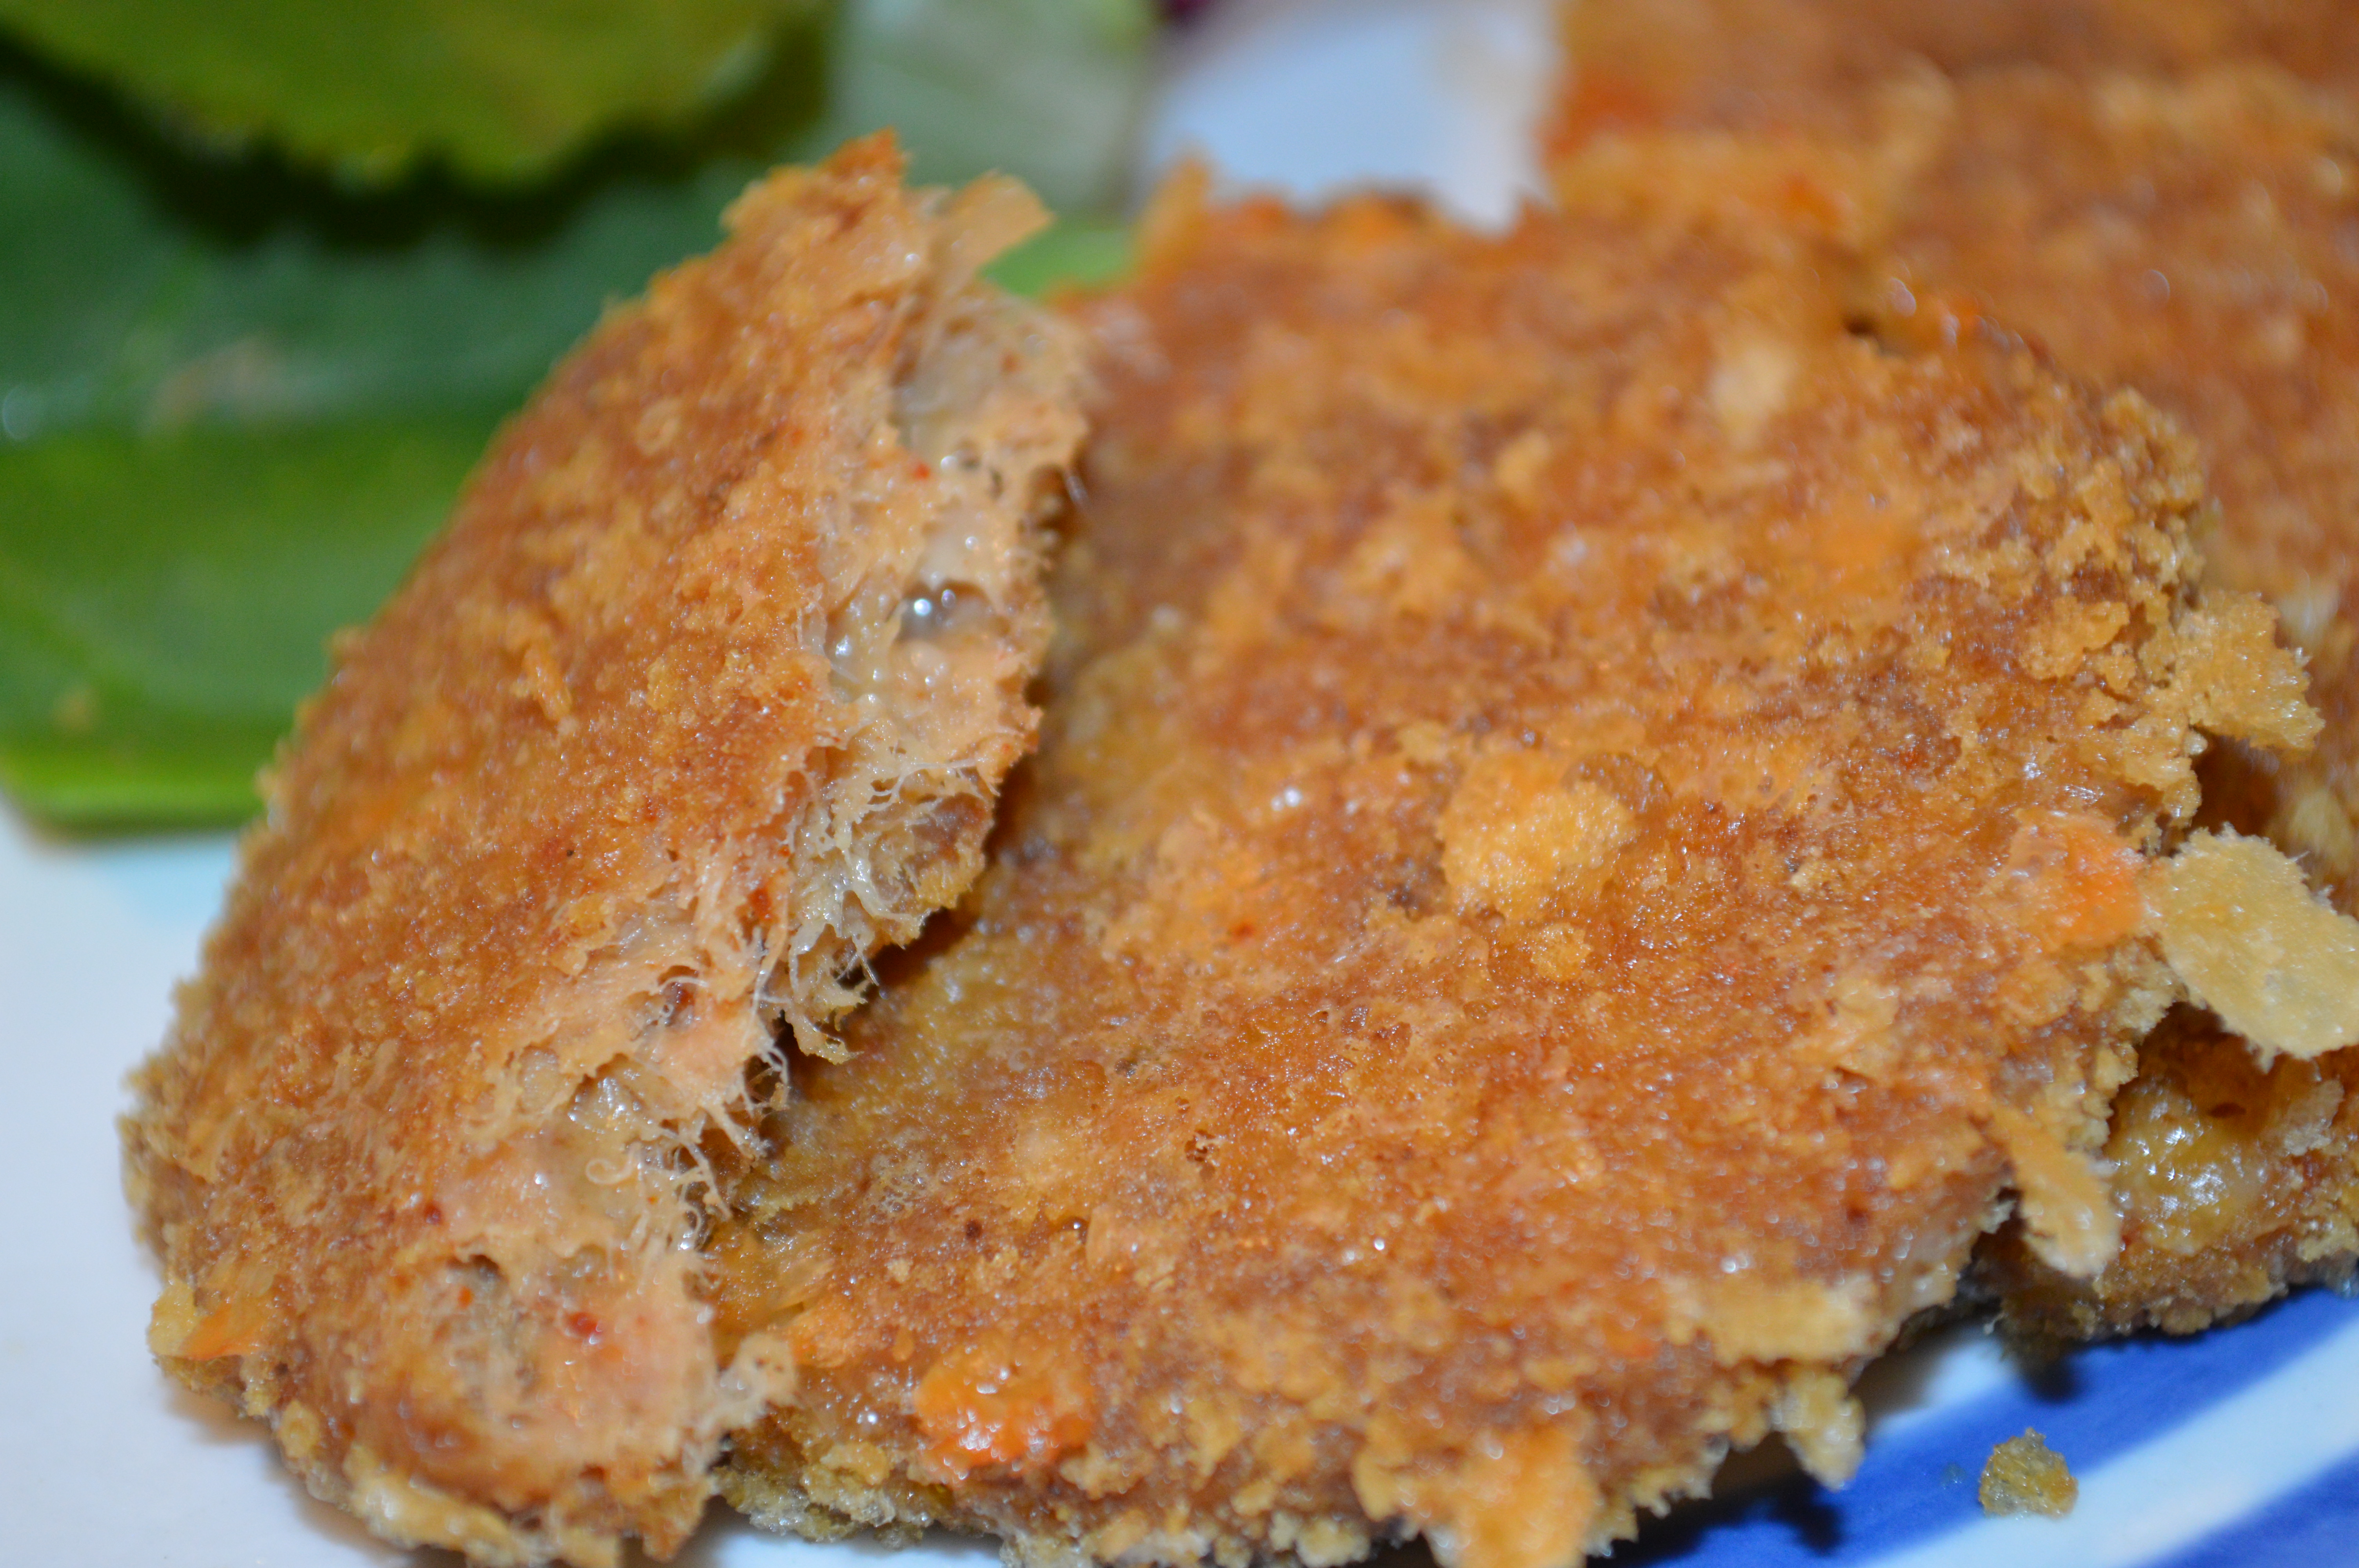
Combine tuna, egg, 1/4 cup crushed pork rinds, greek yogurt, seasonings, salt, onion and cheese, mixing until thoroughly combined. Using a medium cookie scoop, scoop into balls, roll each ball in the remaining crushed pork rinds, then place on a silicone lined baking sheet and flatten with the bottom of a glass. Repeat until the mixture is gone.

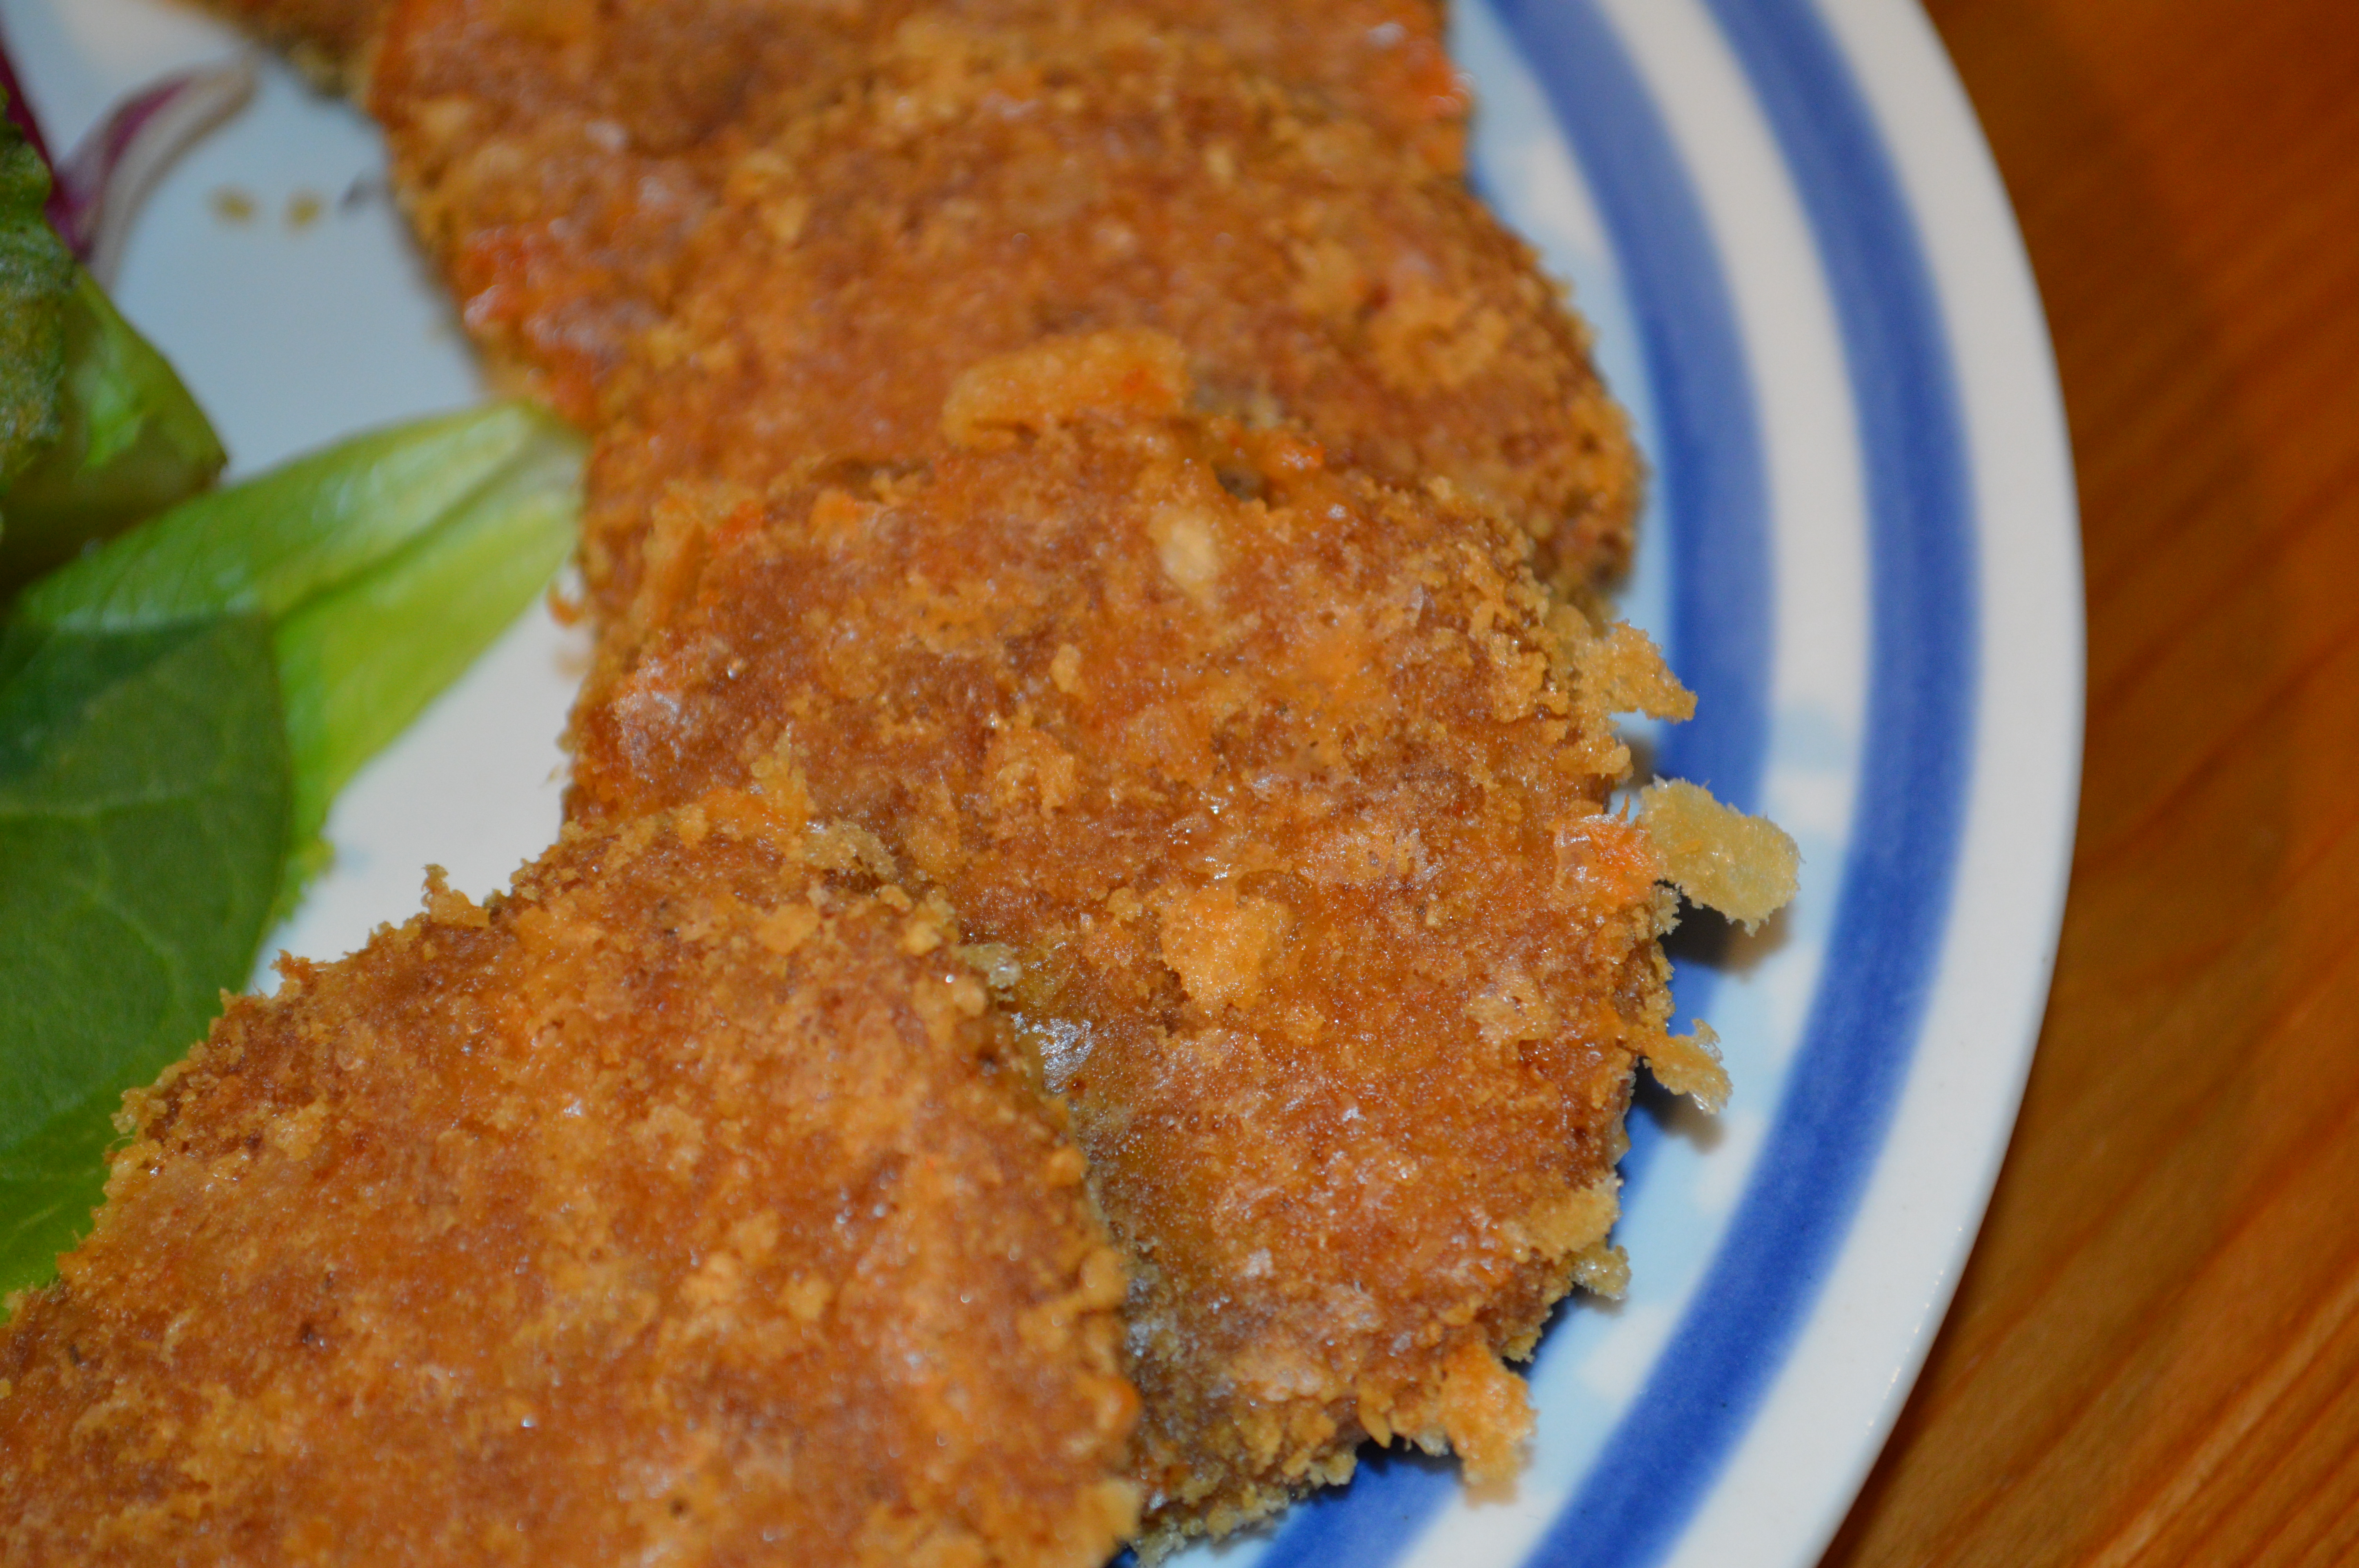
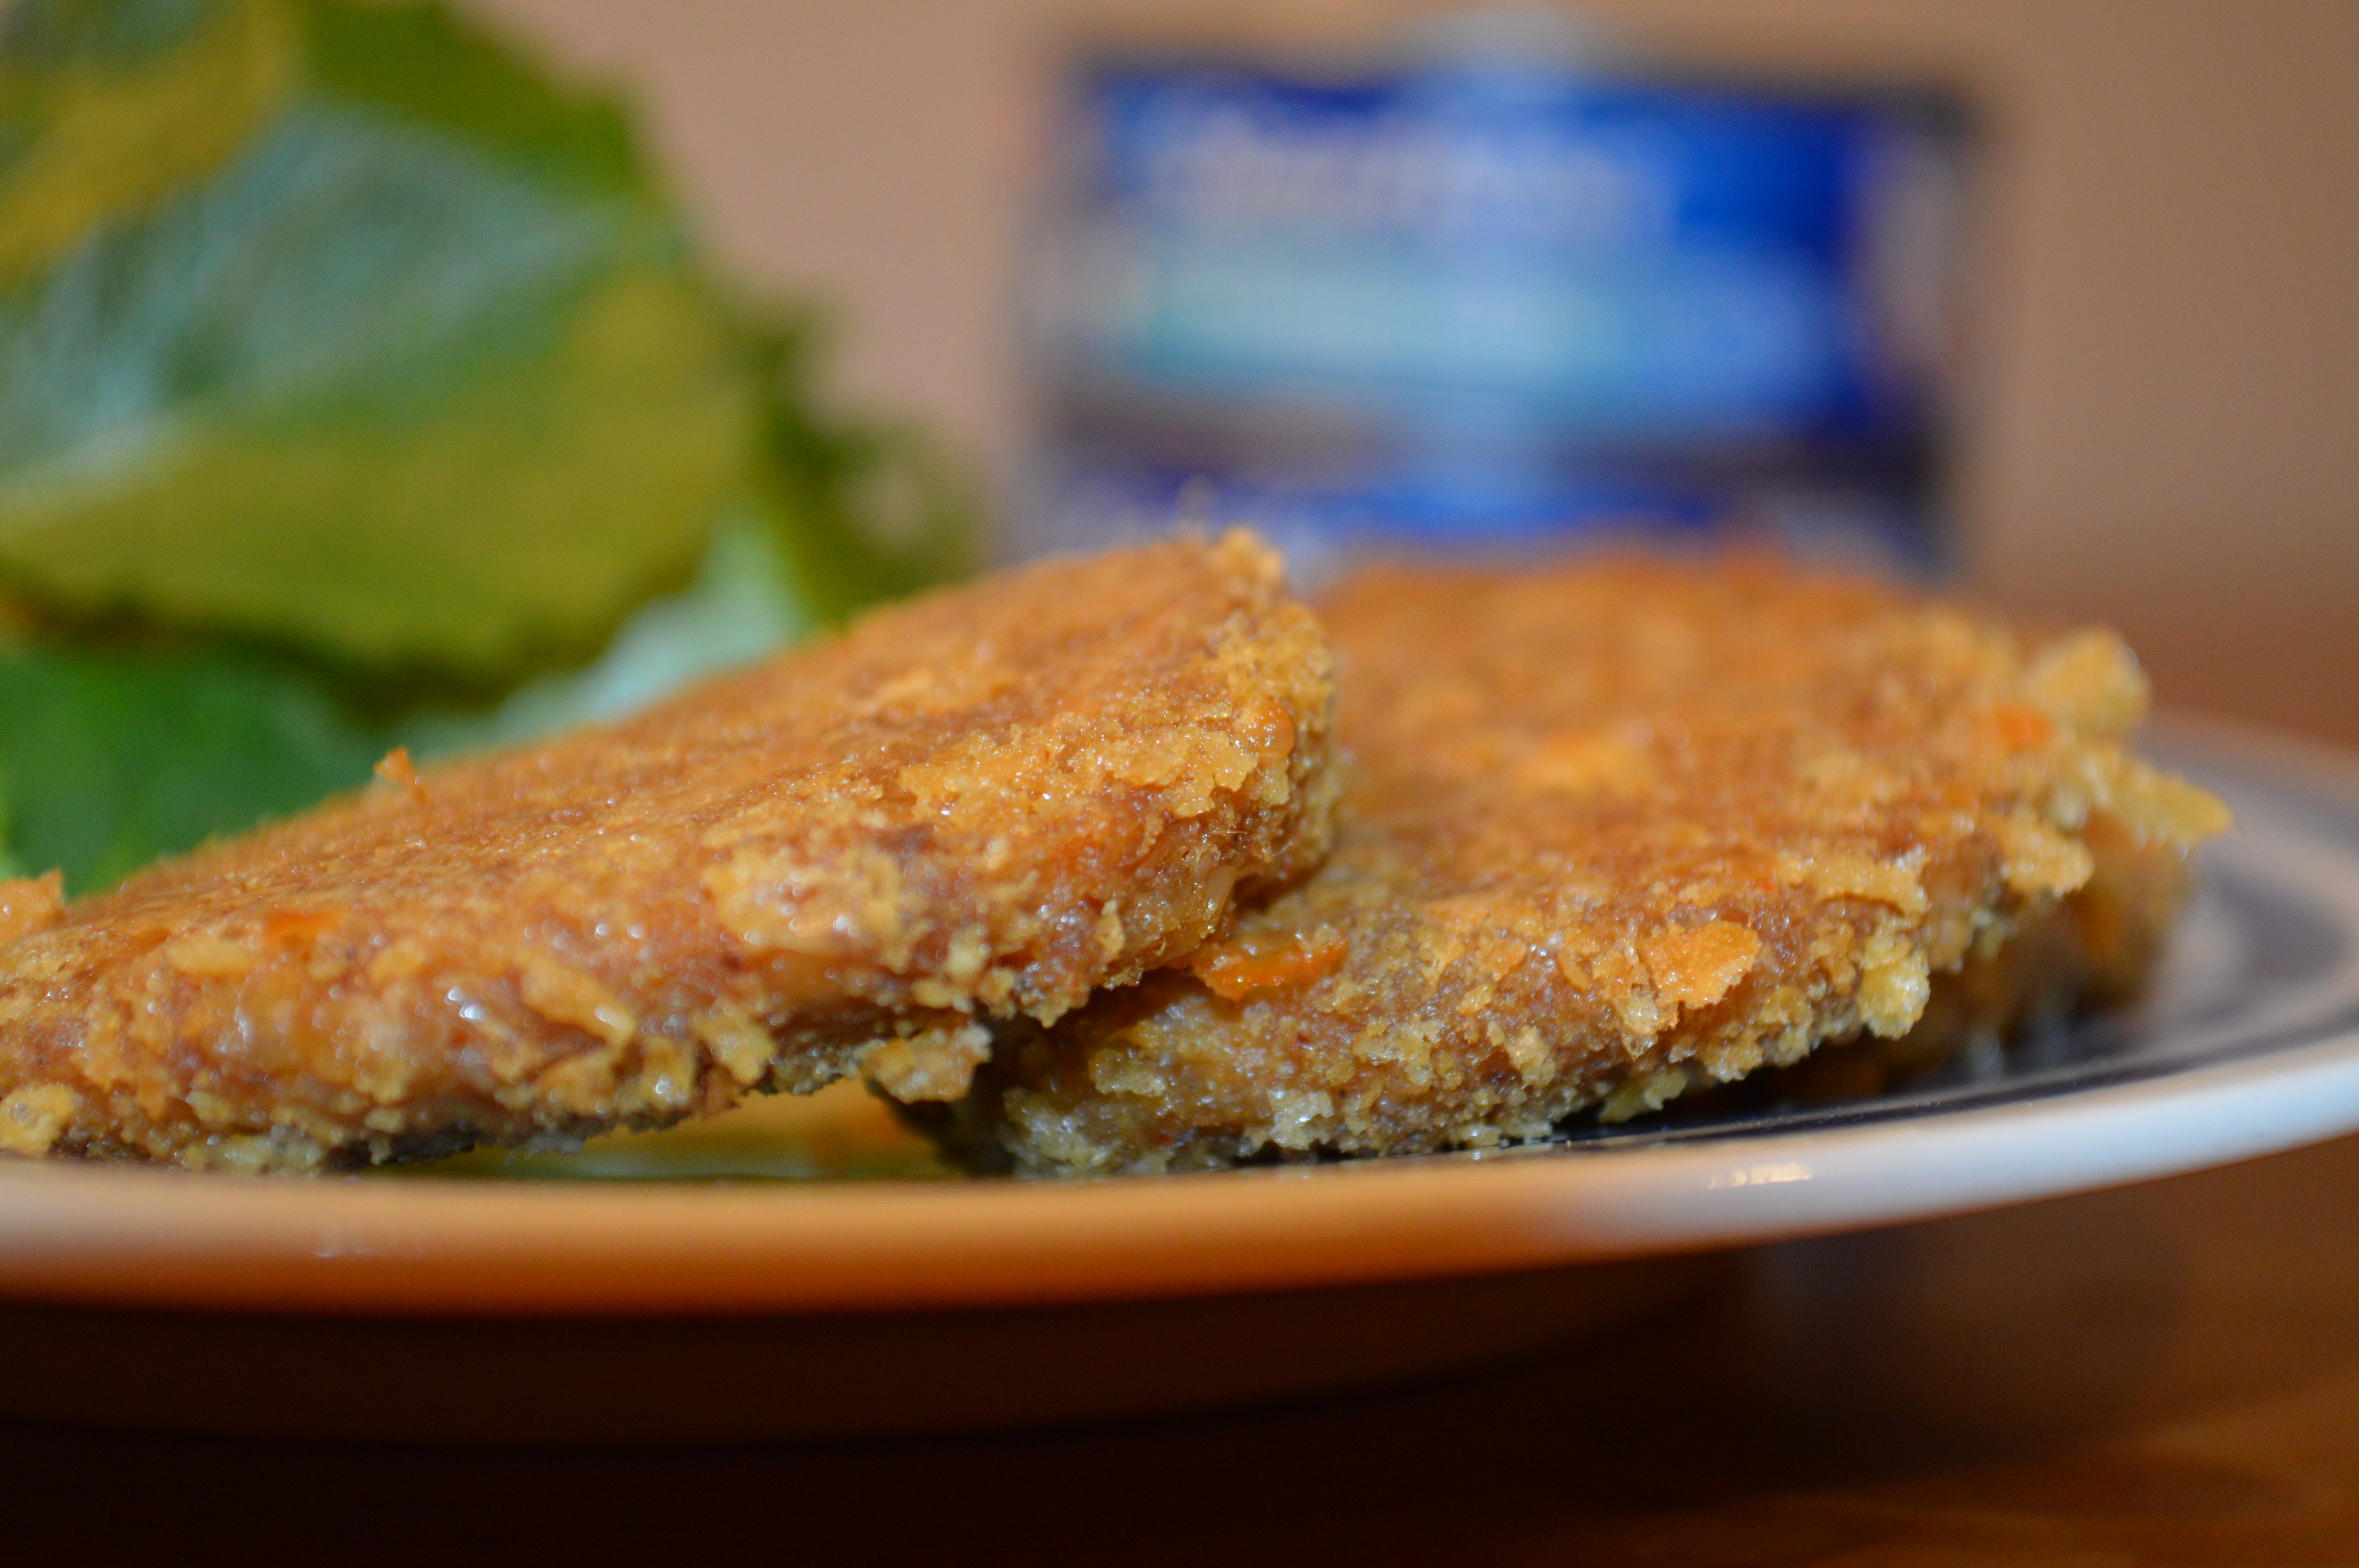
Bake for 12-15 minutes flipping each cake halfway through baking. The cakes should be golden brown and crispy when they are finished.

DSC_0338

Cauliflower Fried Rice

My pinterest experimenting isn’t going that great. So far I’ve found one recipe that I’d be willing to make and eat again. This low carb thing is hard. Today’s recipe is also one I wouldn’t make again, but I promised to share what I make, good or bad. Hopefully the next recipe will be a good one. This one is from Skinnytaste and I used her base recipe but modified the ingredients to make it my own. You can find the original recipe here: Skinnytaste Cauliflower “Fried Rice”

DSC_0070

I made some ginger garlic chicken awhile ago and froze it into individual meals. Which is what I do a lot because it’s just easier to pull it out and heat it up instead of cooking a meal and eating the same thing for every meal for a week. Sometimes it’s hard being single. Anyway I had some of this ginger garlic chicken and it definitely needed some rice to go with it. Preferably fried rice.

DSC_0073

With the low carb diet I’ve been struggling with, I decided that maybe I should look into an alternative to rice. So I decided to try my hand at making Cauliflower Fried Rice. There is no rice in it and it doesn’t have the same texture as rice. It is weird. I did not care for the texture all that much. The taste was okay. But the texture. I can’t even describe it. It was not good and it definitely was not rice and it threw me off. I probably won’t try making it again. It was okay once you got past the texture issue, but it was not something I particularly enjoyed and I used a lot of dishes for prepping it and made a huge mess in the kitchen. So this one won’t be going on my regular rotation of meals.

DSC_0079

I was going to add sugar snap peas to this, but when I went to open the bag I had in the freezer they were brown and slimy because they expired. In April 2013. I think it’s a sign. A sign that I need to clean out my freezer and possibly eat more vegetables.

DSC_0076

The original unmodified version of this recipe is here: Skinnytaste Cauliflower “Fried Rice”

Cauliflower Fried Rice

  • Cooking Spray
  • 2 large eggs
  • 1/2 tsp salt
  • 2 tbsp sesame oil
  • 1/4 cup diced onion
  • 3 cups Broccoli
  • 3 cloves Garlic, minced
  • 4 tbsp Soy sauce
  • 1 medium head of Cauliflower

Rinse the cauliflower, cut the core off and process the florets in a food processor until they are resemble grains of rice. Cut up your broccoli into small florets, mince your garlic and dice up your onion.

In a large saute pan spray the pan with the cooking spray and scramble the eggs and then set the eggs aside on a separate plate.

In the same saute pan place your sesame oil and cook the garlic, onion and broccoli until the onion and garlic are softened. about 4 minutes. Add the cauliflower and soy sauce and cook on medium heat until the cauliflower is softened, but still firm, about 7 – 8 minutes, stirring frequently. Add in the egg, stir and remove from heat.

DSC_0080 DSC_0079 DSC_0069

Smoky Chipotle Hasselback Chicken

I’ve been seeing this post about Hasselback Chicken with Spinach and Pepper Jack all over the place. It looked really really yummy and easy, so I decided to try it. Except I didn’t have any pepper jack or any spinach. All I had was some chicken and a block of Smoky Chipotle Cheddar Cheese. So I improvised. And it was delicious. You could always add peppers or something to it if you wanted, but I love cheese, especially melty cheese, and melty cheese on the bottom of a pan that I get to peel off and it’s slightly crunchy? That’s even better! I’m getting hungry thinking about it.

DSC_0056

Anyway back to the chicken. The cheese I used, Smoky Chipotle Cheddar Cheese, is from Kraft and comes in a block. I took a knife and sliced it into strips, then cut some of the strips in half. I used way too much cheese in mine, just so that it would run off the chicken and melt on the pan and get all crunchy. I’m crazy like that.

DSC_0035

So after cutting up the cheese, I took out my chicken and cleaned it up. I used boneless skinless chicken breasts here. I cut a slit in the chicken about 1/2 to 3/4 deep. You don’t want to cut it all the way through though, just deep enough to form a slit to stuff the cheese into.

DSC_0040

After I cut all the chicken, I then took the strips of cheese and stuffed them into the chicken.

DSC_0046

I then baked the chicken breasts for about 20 – 25 minutes at 350, and then put them under the broiler for another 5 minutes, to brown up the cheese and make some crispy bits on the chicken. The chicken tasted wonderful. It was juicy and the cheese added a nice flavor to it. I will definitely be making this again.

DSC_0058 DSC_0065 DSC_0067

 Smoky Chipotle Hasselback Chicken

  • 4 boneless skinless chicken breasts
  • 4 ounces of Kraft Smoky Chipotle Cheese, cut into slices and then cut each slice in half lengthwise again.

Preheat your oven to 350. Line a baking sheet with aluminum foil and spray with cooking spray. Set aside.

Take your chicken breasts and cut shallow strips into them, taking care not to cut all the way through, you should have about a half a dozen or so slits in each piece of chicken.

Take your cheese and stuff it in all of the slits. Place the chicken on the baking sheet and bake until chicken is cooked through about 20 – 25 minutes. Remove chicken from the oven.

Move your oven rack to the top of the oven, being careful not to burn yourself, and turn the oven up to broil. Broil the chicken for 3 – 5 minutes or until the cheese turns bubbly and brown. Watch it carefully so it doesn’t burn.

Enjoy!

DSC_0055 DSC_0051

Chicken Lazone with Broccoli – Pinterest Recipe

So I’ve been pinning recipes for months and I’m trying to stay on a low carb high protein diet. Saturday was a complete wreck, I had lost four pounds this first week and Saturday I just totally screwed up and ate everything in sight. I hate it when that happens, but all you can do is pick yourself back up and start over. Losing weight is so hard. Food is everywhere. I feel like I am living that weight watchers commercial with the jelly bean dispenser and chocolate phone. There is almost always candy on the windowsills at my work, people bring in all sorts of snacks and things all the time. It is enough to make you crazy some days. Anyway I promised I’d share my pinterest recipes, good or bad, and this one was just okay. It wasn’t amazing and it wasn’t puke worthy. It was just okay I guess.

20150107_327

I had some leftover cream from the holidays that I needed to use and I came across this chicken recipe from Plain Chicken, Chicken Lazone and decided to give it a shot. I did modify it and my modified recipe is below. Since I’m not eating carbs, I didn’t want to pair it with pasta or rice as they suggest in the post.

20150107_324

In my opinion, it wasn’t all that great. I didn’t think it had enough flavor and I just didn’t care for it all that much. It isn’t something I’d make on a regular basis, or go out of my way to make. If I had leftover cream I needed to use I might make it, but honestly, I’d rather do something else with the cream. This is just my opinion though and the original recipe has rave reviews, so maybe it’s just that I’m too picky or something. I did add smoked paprika to flavor it up a bit.

20150107_332

Chicken Lazone (modified, for the original recipe go here: Plain Chicken)

  • 2 tbsp olive oil
  • 2 tsp chili powder
  • 2 tsp onion powder
  • 1 tsp smoked paprika
  • 1/2 tsp cayenne pepper
  • 3/4 tsp salt
  • 2 lb boneless skinless chicken breasts, cut into strips
  • 2 tbsp butter
  • 2 cups heavy cream
  • 5 cloves of fresh garlic, minced
  • 3 cups broccoli

Prep the chicken by cutting off the fat and then cut into strips and place in a large mixing bowl. Mix all the seasonings together and pour about half of them over the chicken, stirring and mixing to coat. Add the other half and stir and mix until all the chicken is coated with the spices. Add the olive oil to a heavy skillet and heat. Add the chicken and cook until done about 7 – 10 minutes, drain the fat. (This is probably what killed it, I drained off all the flavor, I don’t think the original recipe had you drain the chicken, but there was just soo much juice in the bottom I just couldn’t handle knowing I had left it in, I had to drain it)

While the chicken is cooking, cook your broccoli to the desired tenderness.

Add the butter, minced garlic and cream to the chicken and simmer until thickened about 7 minutes. Add the cooked broccoli and serve.

20150107_334

20150107_335

Oven Roasted Cabbage with Smoked Paprika and Garlic

The holidays are over and I’m back home. Christmas was awesome, it was nice to have a break from everything for a bit. Seeing as it’s a new year, I decided I needed to look at and adjust my eating habits. I do not eat nearly enough vegetables and I enjoy carbs a bit too much. This meme is exactly how I feel right now:

fat

So I am starting over with a low carb diet. I am trying to keep it lower in fat, but there will be a few recipes, at least one, coming up that have quite a bit of fat in them. I have TONS of recipes pinned on pinterest, so I am going to be trying out new things. One of the first things I decided to try is roasted cabbage. The cabbage has an orange hue from the paprika, in case you were wondering why it looked weird.

20150107_298

20150107_306 20150107_304

The original recipe I found called for fennel, which I don’t have so I decided to follow the basic directions and then add whatever seasoning I wanted to. The original recipe was found here on Peace, Love and Low Carb.

20150107_305 20150107_301

I am so glad I made this. The cabbage was tender in the middle and crispy on the edges. It was delicious. I will definitely be making this again and again.

20150107_308

Roasted Cabbage

  • 1 Head of Cabbage, Sliced into wedges
  • 2 tbsp of olive oil
  • 5 cloves garlic minced
  • 2 tsp garlic powder
  • 1 tsp salt
  • 2 tsp onion powder
  • 2 tsp smoked paprika
  • 1/4 tsp black pepper

Preheat oven to 400.

Line a baking sheet with either a silicone baking mat, parchment paper or greased aluminium foil. Slice the cabbage into discs about 1/2 inch thick and remove the stem. Brush both sides with the olive oil, using it sparingly. Rub the minced garlic on both sides of the wedges and place in a single layer on the baking sheet, then sprinkle each side with garlic powder, salt, onion powder, smoked paprika and black pepper. Bake for 25 -30 minutes, flip and bake for an additional 15 – 20 minutes, until the edges are dark brown and crispy. Enjoy!

20150107_301 20150107_302 20150107_300

Taco Ranch Chicken and Homemade Taco Seasoning

Chicken is one of my main staples. I find that it is easy to cook, freeze and reheat and it is relatively inexpensive.

Taco Ranch Chicken (7)

I found a recipe for Crock Pot Ranch Chicken Tacos on Repeat Crafter Me. It was a recipe that I had pinned and have been wanting to try.

Taco Ranch Chicken (10)

It was pretty simple, I just rubbed the chicken with the taco seasoning and ranch dressing mix and then put in the crockpot on high with some chicken broth. I left the breasts whole and ate them with a salad instead of shredding them. I think they could have used more seasoning though.

Taco Ranch Chicken (4)

Taco Ranch Chicken

  • 1/8 cup powdered ranch dressing mix
  • 1/8 cup homemade taco seasoning (recipe below)
  • 4 – 5 boneless skinless chicken breasts
  • 4 cups chicken broth

After cleaning the chicken, rub the chicken with the ranch and taco seasoning. Add to crock-pot along with the chicken broth and any leftover seasoning that wasn’t rubbed on the chicken. Cook on high 3 – 4 hours or until chicken is cooked through. Enjoy! This is excellent shredded and served up taco style.

Homemade Taco Seasoning

This taco seasoning recipe is loosely based on one I found on Shugary Sweets.

  • 2 Tbsp chili powder
  • 1/2 tsp garlic powder
  • 1/2 tsp red pepper flakes
  • 1/2 tsp oregano
  • 1 tsp paprika
  • 2 tsp ground cumin
  • 1/2 tsp salt
  • 1/2 tsp ground black pepper
  • 1/2 tsp ground cayenne pepper
  • 1 tsp minced onion
  • 1/2 tsp ground coriander
  • 1 Tbsp flour

Combine all ingredients in a jar. Shake well, store in a cool dry place. This makes about four tablespoons. I recommend doubling or tripling the recipe so that you have it on hand.

Happy New Year! – No Recipe Today

Happy New Year Everyone!

Wow. I can’t believe how fast the year went! It has been one crazy awesome year! Tons of traveling, baking and cooking.

I have some different goals for this blog for this next year. I want to start sharing healthier recipes and am going to try to do a little less of the cookies and bars I have been doing. I am planning on trying out some of the recipes I’ve pinned, and sharing the results, good or bad, on here. Most of the recipes are going to be low carb, low-fat. I am also hoping to do some vegetable recipes, but I am not a huge veggie fan, so I’m not guaranteeing anything.

I hope everyone has a fantastic and prosperous New Year!

White Chocolate Peanut Butter Stuffed Sugar Cookies

As delicious as sugar cookies are, rolling them out, shaping them and decorating them can be quite tedious. So this time I decided I needed to do something different with my sugar cookies. I love peanut butter and white chocolate. So I decided to use a white chocolate Milka bar I had hanging around and some peanut butter. What could be better?

20141116_20

Stuffing sugar cookies saves having to roll out the dough, although I did still chill the dough before stuffing them. Be sure that the stuffing is fully surrounded by dough before you bake them, or you will end up with puddles of melted candy and an empty sugar cookie.

20141116_21

To decorate my cookies I used the colored sugar I made in my post, Colored Sugar – Make Your Own. I sprinkled it on before I baked them.

20141116_43

Grandma Johnson’s Sugar Cookies

  • 3/4 cup shortening
  • 3/4 cup butter, softened
  • 2 cups sugar
  • 2 tsp vanilla
  • 4 eggs
  • 5 cups flour
  • 2 tsp baking powder
  • 2 tsp salt
  • peanut butter
  • Milka white chocolate bar

Cream together the shortening, butter and sugar. Add vanilla, then add in the eggs one at a time until all are incorporated.  In a separate bowl mix together the flour, baking powder and salt. Slowly add the dry ingredients to the creamed mixture until combined. Chill for at least one hour.

Preheat the oven to 400.

Once chilled, scoop into balls and stuff with one square of white chocolate and a teaspoon of peanut butter. Roll in colored sugar and transfer to a baking sheet lined with a silicone baking mat or parchment paper. Bake for 6 – 8 minutes or until lightly browned along the edges.

20141116_60

Triple Ginger Chewy Cookies

Merry Christmas everyone! Hope everyone is having a great holiday season!

20141221_6 20141221_16

Ginger cookies are one of those cookies that just scream Christmas and Holidays. Ginger seems to be everywhere. Gingerbread men, ginger tea, ginger candy. I can’t get enough of the stuff. So I decided to modify my favorite Soft and Chewy Ginger Cookie recipe by adding extra ginger.

20141221_33 20141221_28 20141221_37

I grated some fresh ginger root into the batter and added some crystallized ginger, as well as keeping the original ground ginger the recipe called for. I absolutely adore these cookies. I just baked them an hour or so ago and I’ve already eaten four of them. They are terribly addicting.

20141221_22
20141221_31

Triple Ginger Cookies

  • 2 1/4 cups flour
  • 2 tsp ground ginger
  • 1 tsp baking soda
  • 1 tsp ground cinnamon
  • 1 tsp ground cloves
  • 1/4 tsp salt
  • 3/4 cup butter, softened
  • 1 cup sugar
  • 1 inch of fresh ginger, finely grated
  • 1 egg
  • 1/4 cup honey
  • ½ cup crystallized ginger
  • ½ bag (6 oz) white chocolate chips
  • ¼ cup turbinado sugar

Preheat oven to 350. Line baking sheets with parchment or silicone baking mats.

Combine flour, ground ginger, baking soda, cinnamon, cloves, and salt. Set aside.

In large mixing bowl beat butter for 30 seconds. Then add the sugar, beating until fluffy. Add grated ginger, egg and honey, beating well. Slowly add the dry ingredients, beating until combined.  Add the crystallized ginger and white chocolate chips, mix until evenly distributed about 15 seconds.

Scoop into balls and roll in the turbinado sugar, placing on the baking sheet. Cookies should be placed about two inches apart. Bake for 8 – 10 minutes or until golden brown and puffed. Makes about four dozen cookies.

20141221_1 20141221_21 20141221_13 20141221_10

Grandma Johnson’s Sugar Cookies with an Egg Yolk Glaze

Sugar cookies are always fun to make for Christmas. Every year my sister and her friend Shelley have a cookie party and make these sugar cookies. I absolutely love them. This is my go to recipe for sugar cookies. The recipe is originally from Shelley’s Grandmother, Grandma Johnson. I think it is the only roll out cookie I don’t really mind making.

20141116_8

This year I decided to try something new. I found a post about using an egg yolk glaze. The glaze is used in place of frosting and is painted on the cookies prior to baking. There isn’t any sugar in the glaze and it is flavorless. It is shiny, so if you prefer your sugar cookies plain, but still want them to be pretty, an egg yolk glaze is an easy way to achieve this.

20141116_6

To get started you need to make your sugar cookie dough and chill it. While it’s chilling prepare the egg yolk glaze. Then roll it and cut out shapes. Transfer the shapes to a baking sheet lined with a silicone baking mat or parchment paper. I did little mini Christmas shapes, angels, trees, stockings and candy canes. I used a food safe paint brush to paint the glaze onto the cookies. They turned out to be pretty cute, and it wasn’t as tedious as frosting them with royal icing or butter cream.  The glaze turned hard and shiny in the oven and the cookies are easily transportable, with no worries about ruining the decorations on them.

20141116_3 20141116_4

20141116_15

Grandma Johnson’s Sugar Cookies

  • 3/4 cup shortening
  • 3/4 cup butter, softened
  • 2 cups sugar
  • 2 tsp vanilla
  • 4 eggs
  • 5 cups flour
  • 2 tsp baking powder
  • 2 tsp salt

Cream together the shortening, butter and sugar. Add vanilla, then add in the eggs one at a time until all are incorporated.  In a separate bowl mix together the flour, baking powder and salt. Slowly add the dry ingredients to the creamed mixture until combined. Chill for at least one hour.

Preheat the oven to 400.

Once chilled, roll out on a floured surface and cut into shapes. Transfer shapes to a baking sheet lined with a silicone baking mat or parchment paper. If using the egg yolk glaze, paint the cookies and then bake for 6 – 8 minutes or until lightly browned along the edges.

Egg Yolk Glaze

  • Egg yolks
  • Food Coloring, paste or gel

Place the yolk in a glass dish or custard cup. Add food coloring a little at a time until you get the color you want. The more food coloring you add, the more vibrant the color. Note that the yolk may add yellow to whatever color you put in it, so if you want blue you may need to add extra food coloring, to overpower the color in the yolk. It really depends on your eggs. I used farm fresh eggs from a coworker and the yolks were darker than store-bought eggs I’ve purchased in the past.

Once you achieve the color you were after, paint the raw cookies and then bake following the directions in the cookie recipe.

20141116_13 20141116_12 20141116_10