
Hi Everyone! I have to apologize it’s been sooo long since I’ve written anything on here. I’ve been busy doing different things and creating new recipes. One of my favorites so far are the Maple Fudge Peanut Butter Bars I made using some fudge I bought while I was visiting Mackinac Island with my sister. We had such an awesome time on the island.

We haven’t ever spent time on the island without having conferences or something to go to too. So we were able to take advantage of all the different touristy things on this visit. One of my favorite things was the ghost tour. We had so much fun walking through town in the dark and then we got to go ghost hunting at Mission Point. I can’t recommend Haunts of Mackinac enough. Our hostess was very animated when she was telling us the stories and was very informative and entertaining. So much so that we were to scared to walk the three miles back to our hotel in the dark and instead took a taxi back. And by taxi I mean a horse and carriage with a driver. The picture below is not our carriage, but it is one of the carriage tours on the island. I took the picture below at Arch Rock.

We also visited arch rock. When I went up the Nicolet Watch Tower, there was a young couple taking in the view, and the young man asked if I could take their picture. I said sure, I can do that. So he handed me his phone and then whispered “actually take a video of us”. He then proposed to his girlfriend. It was the sweetest thing ever! I tried to see if they posted the video anywhere, but I haven’t been able to find it, and I didn’t get their names or anything, all I know is that they were visiting from Colorado. I wish them well though.


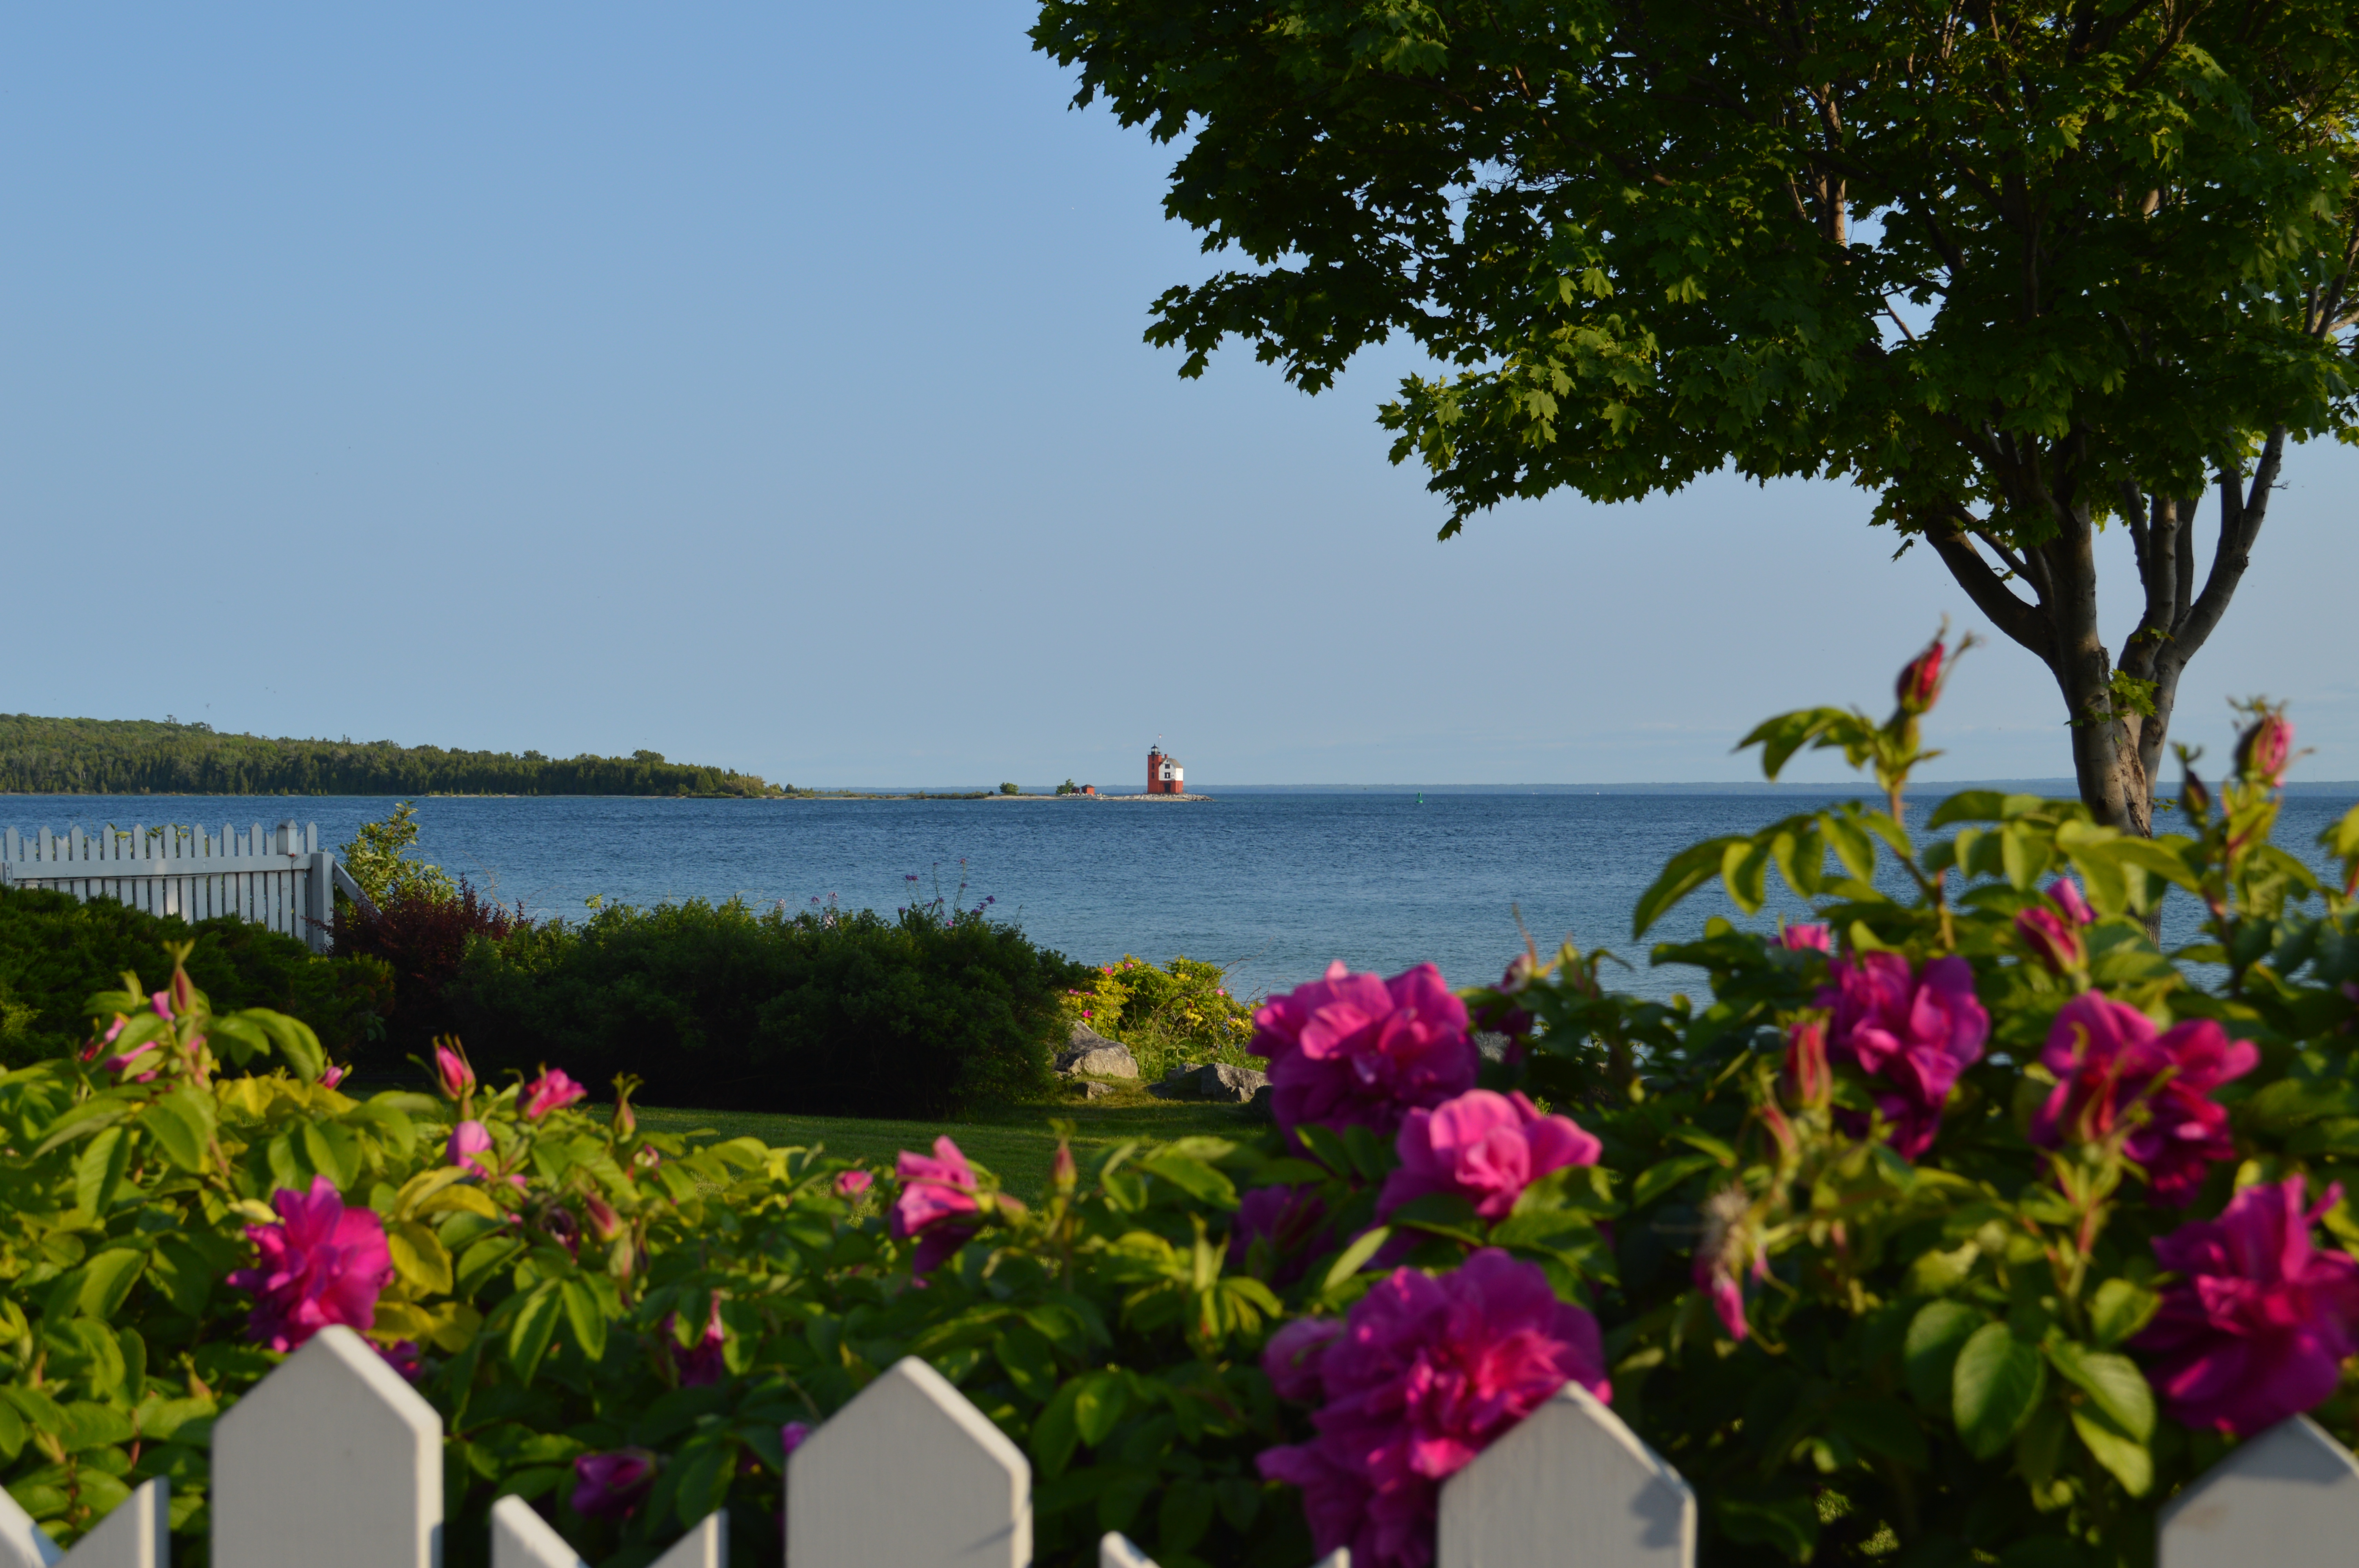
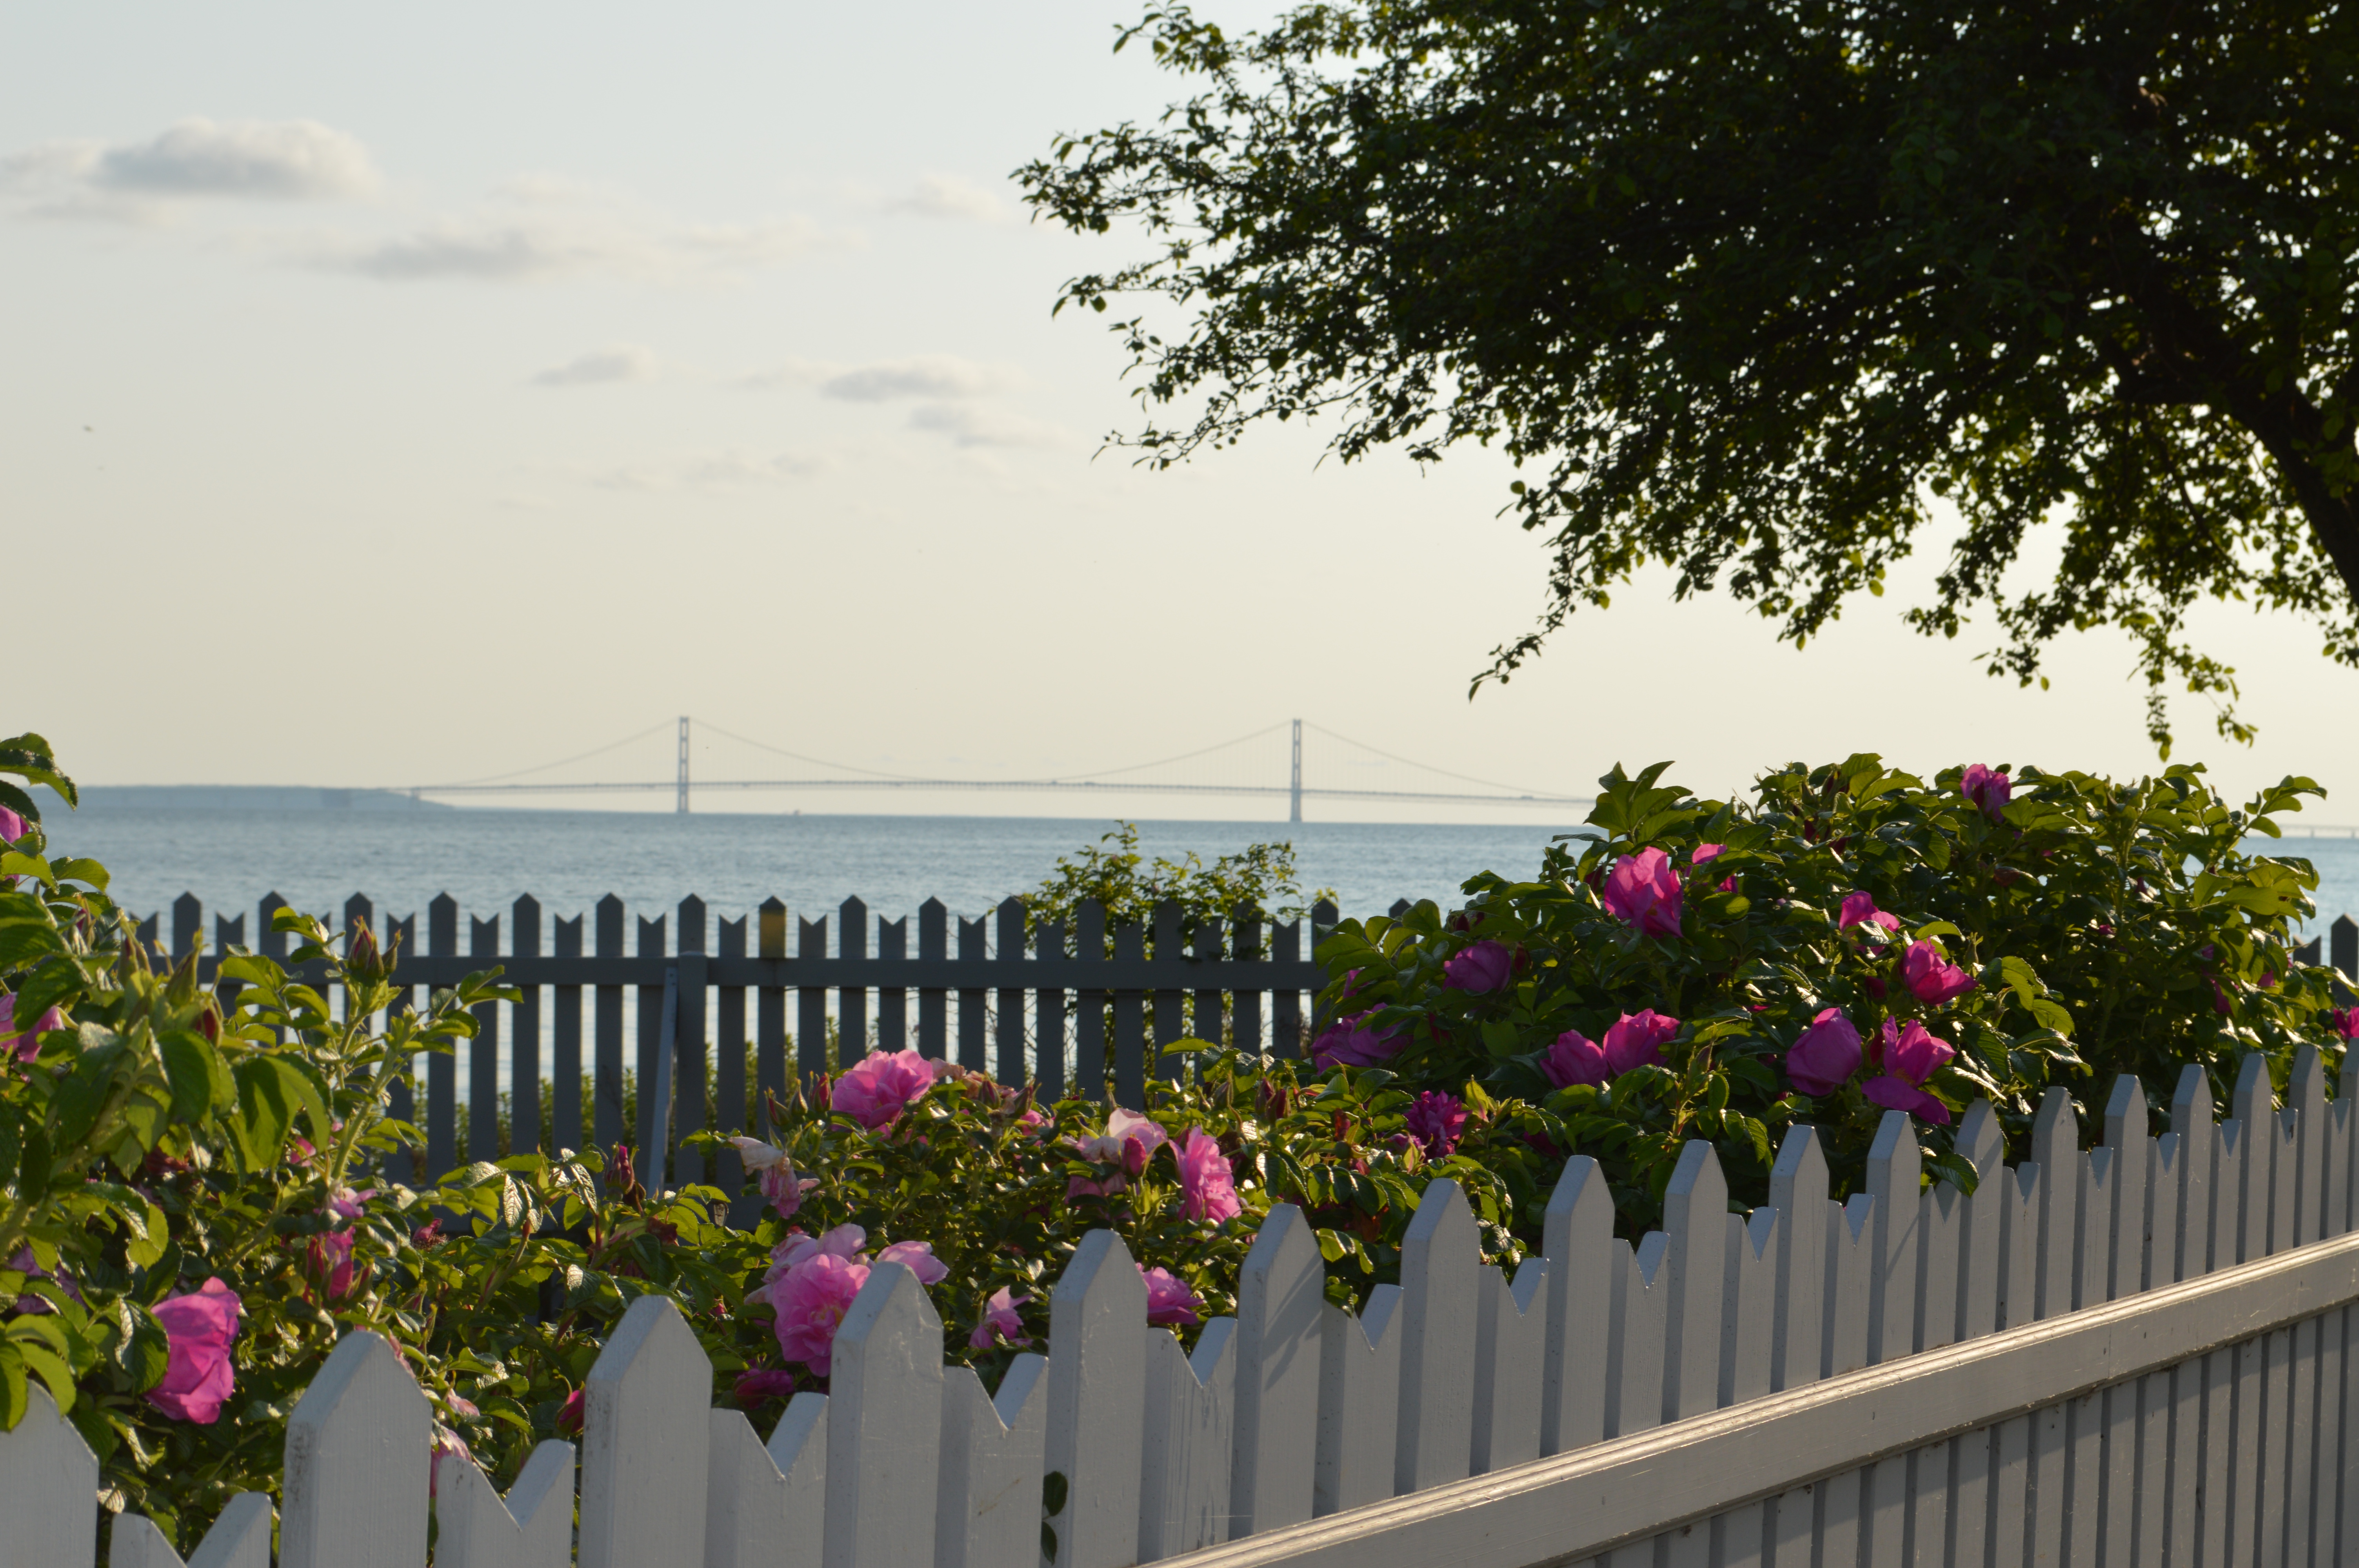
We also explored Anne’s Tablet, saw the crack in the island, and Sugar Loaf Rock. There are just so many things to see and do on the island, we were there for three days and didn’t get to see everything. We also visited both Fort Holmes, which wasn’t open yet, and Fort Mackinac, and had lunch at the Tea Room there. The view was amazing.

Fort Holmes on Mackinac Island

View from The Tea Room at Fort Mackinac
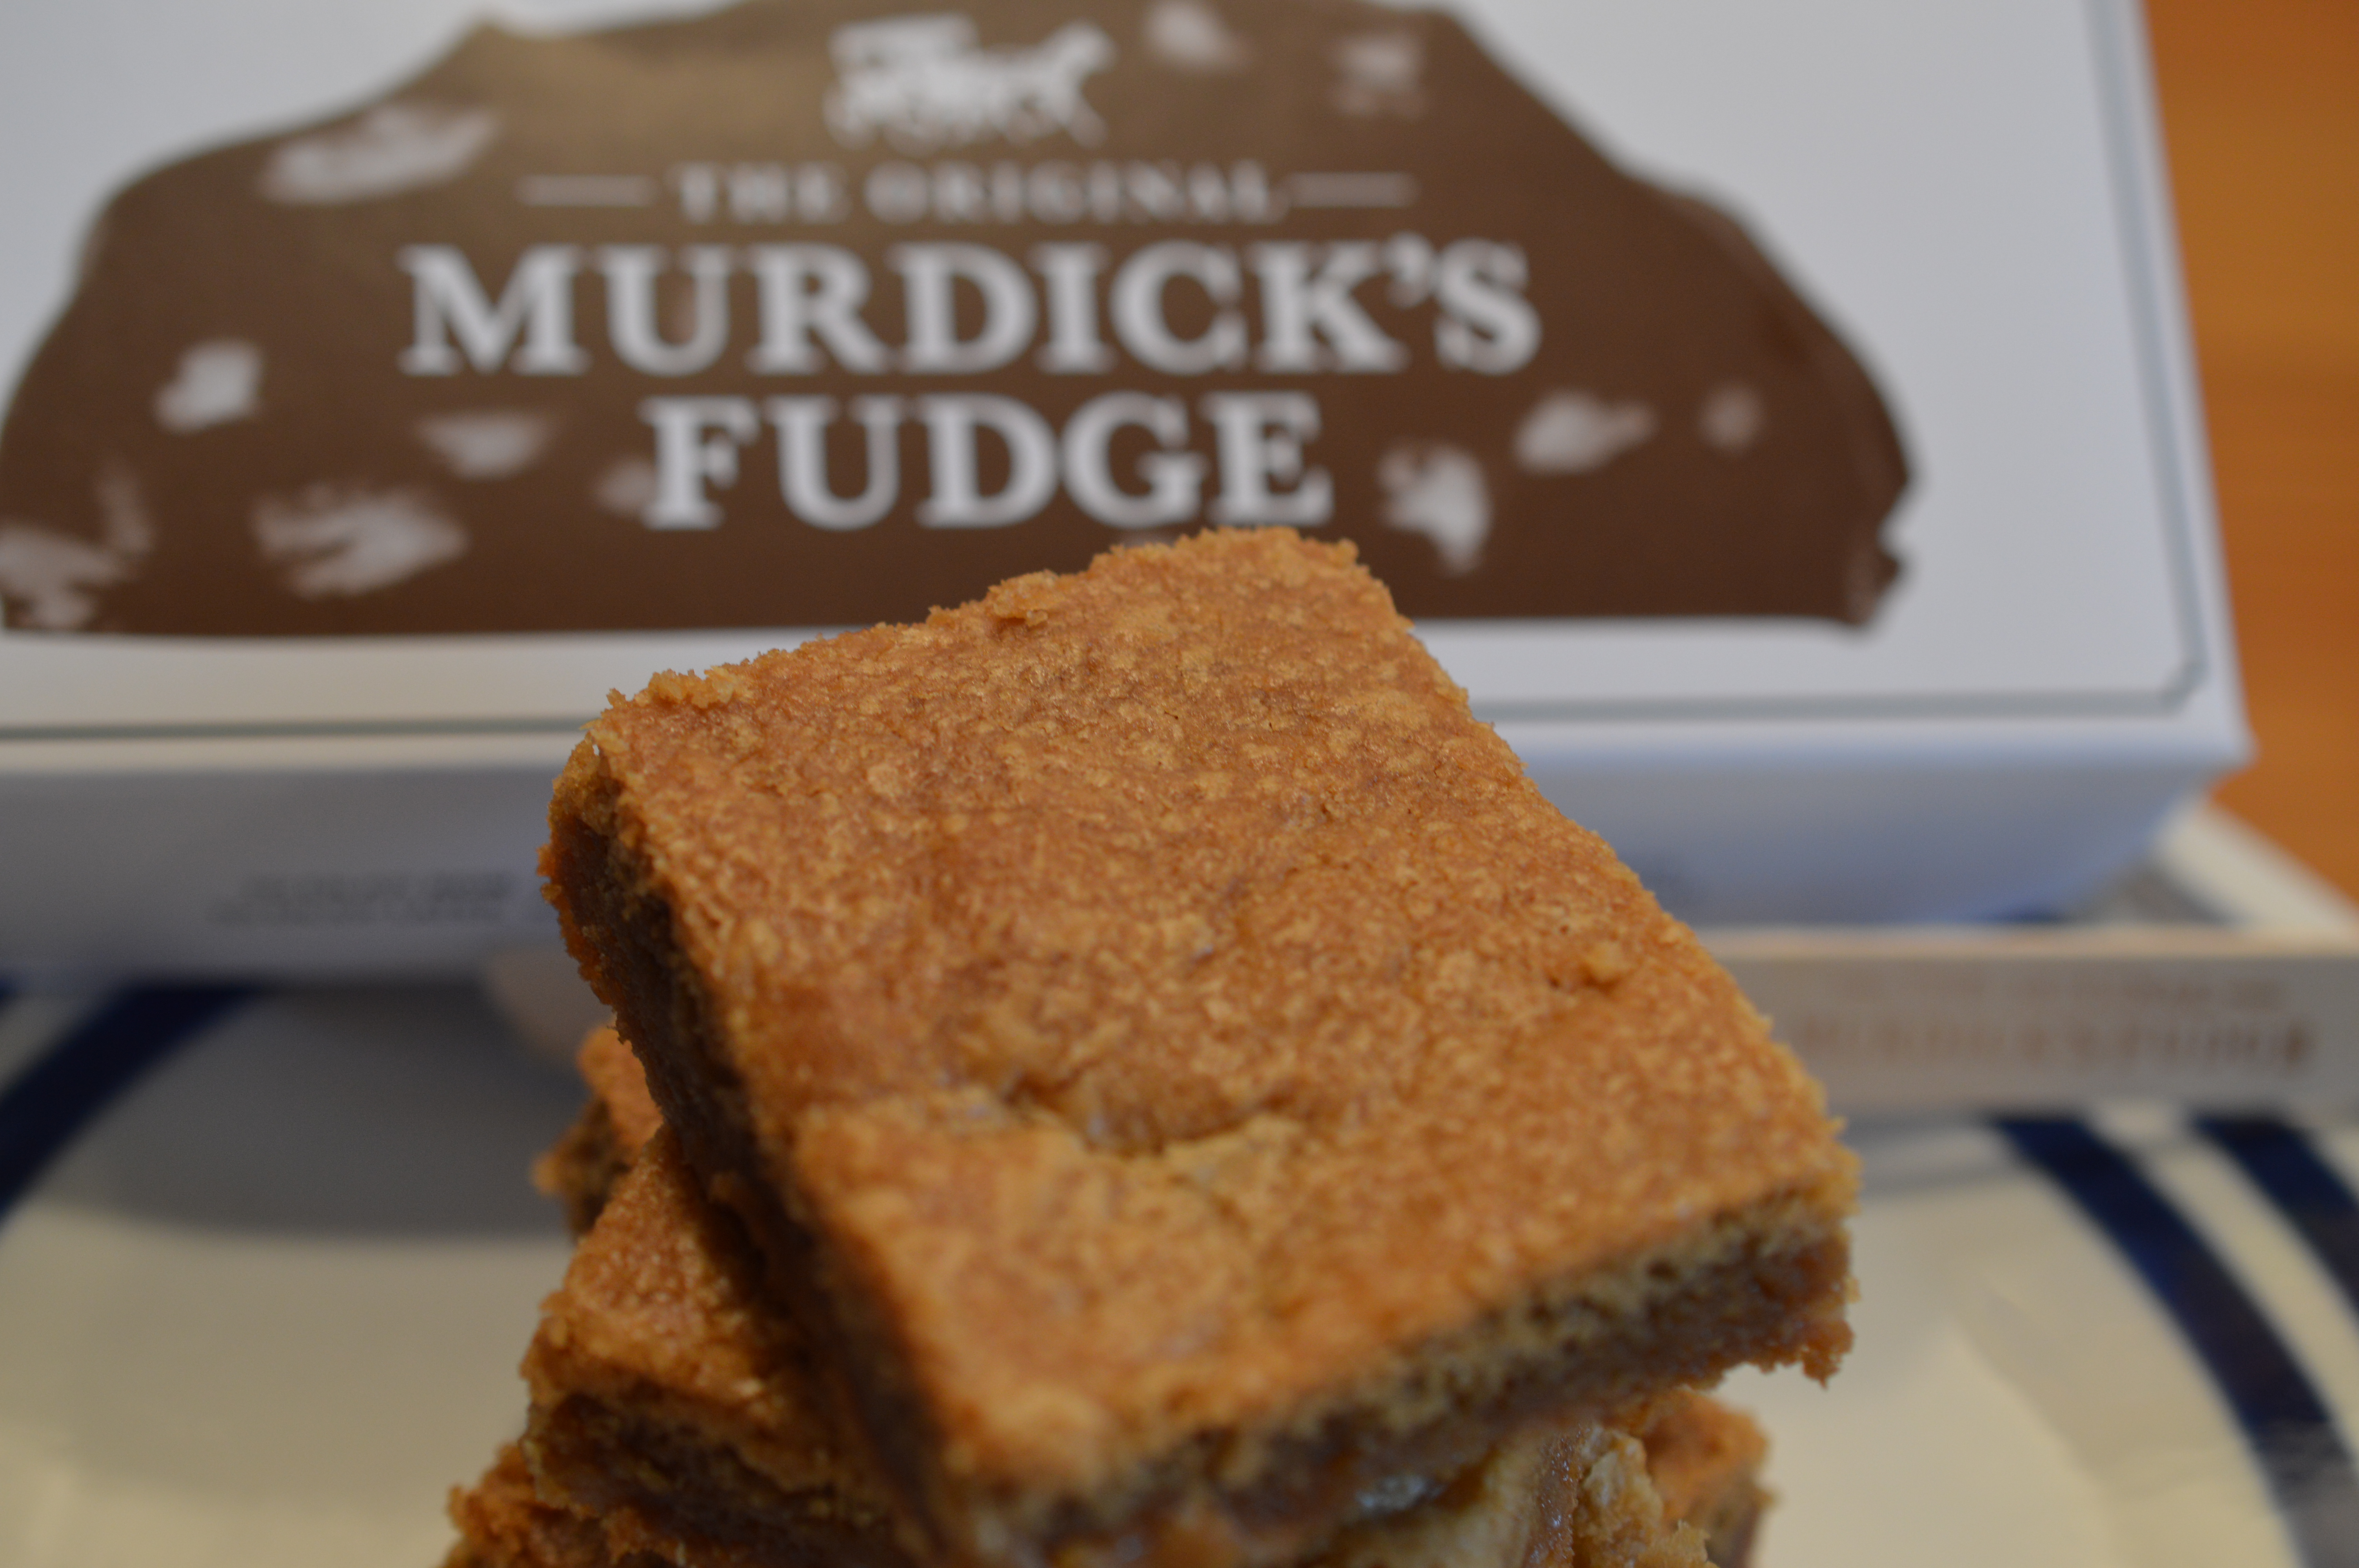
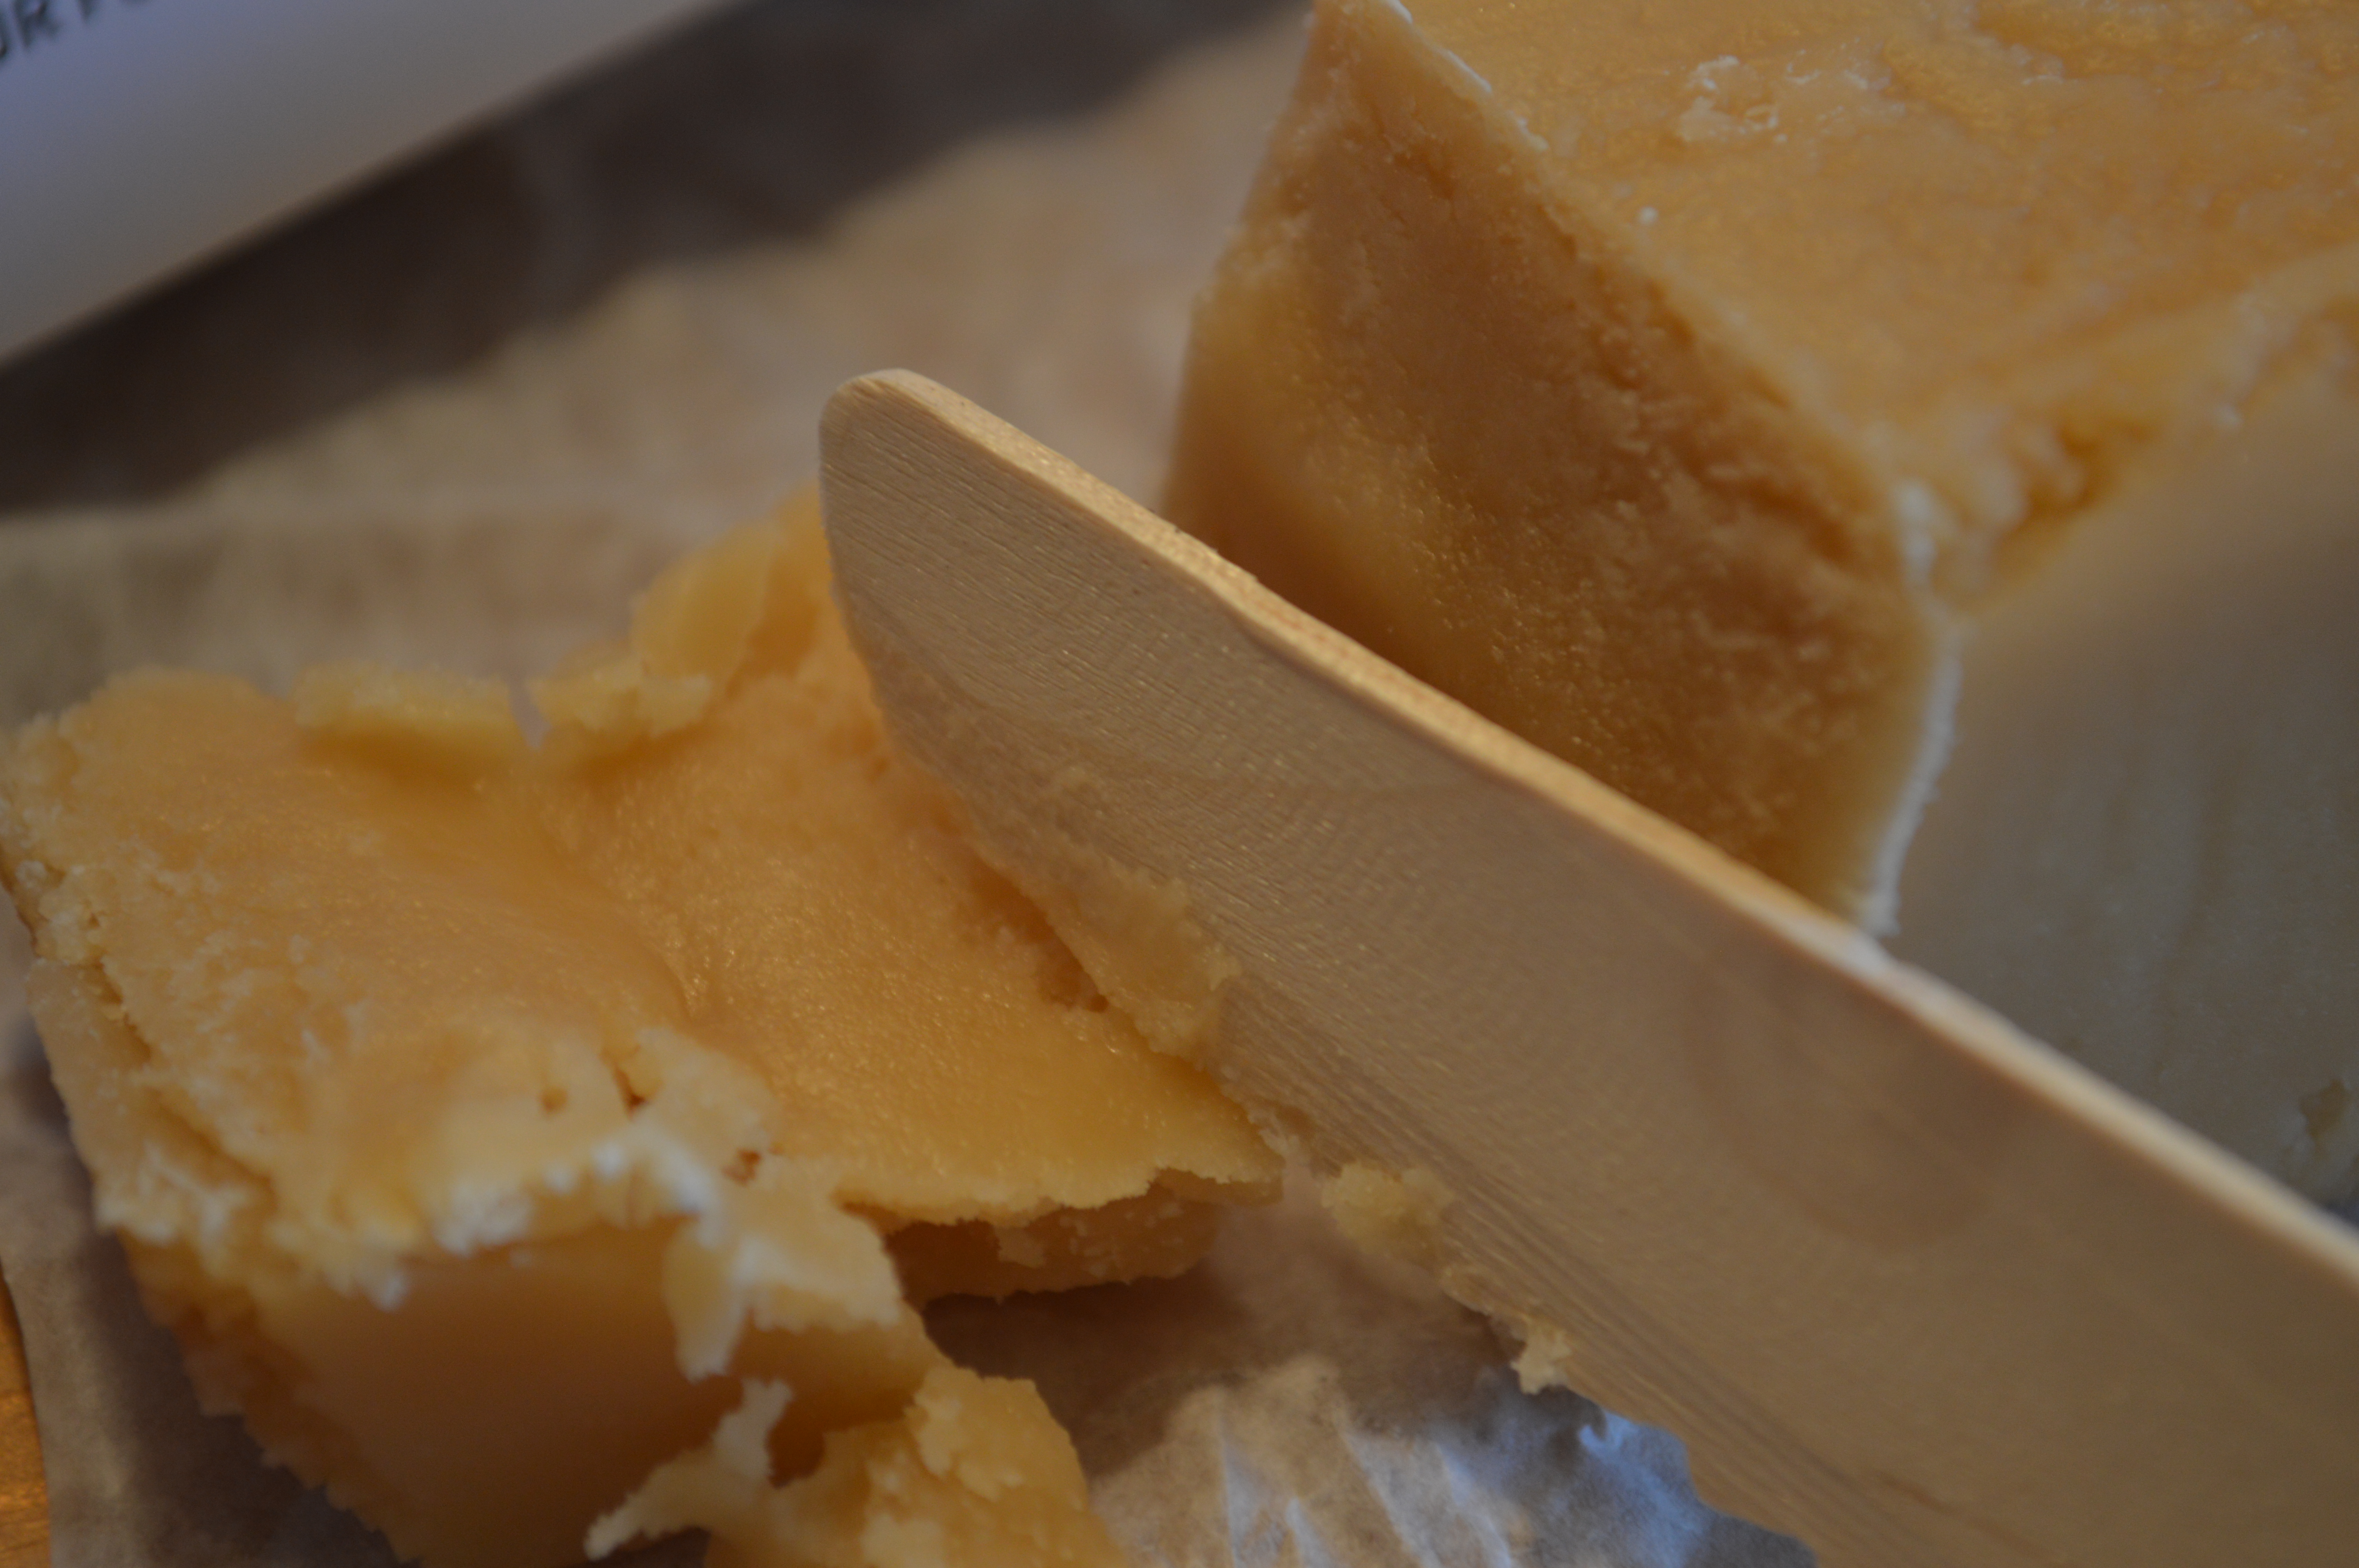
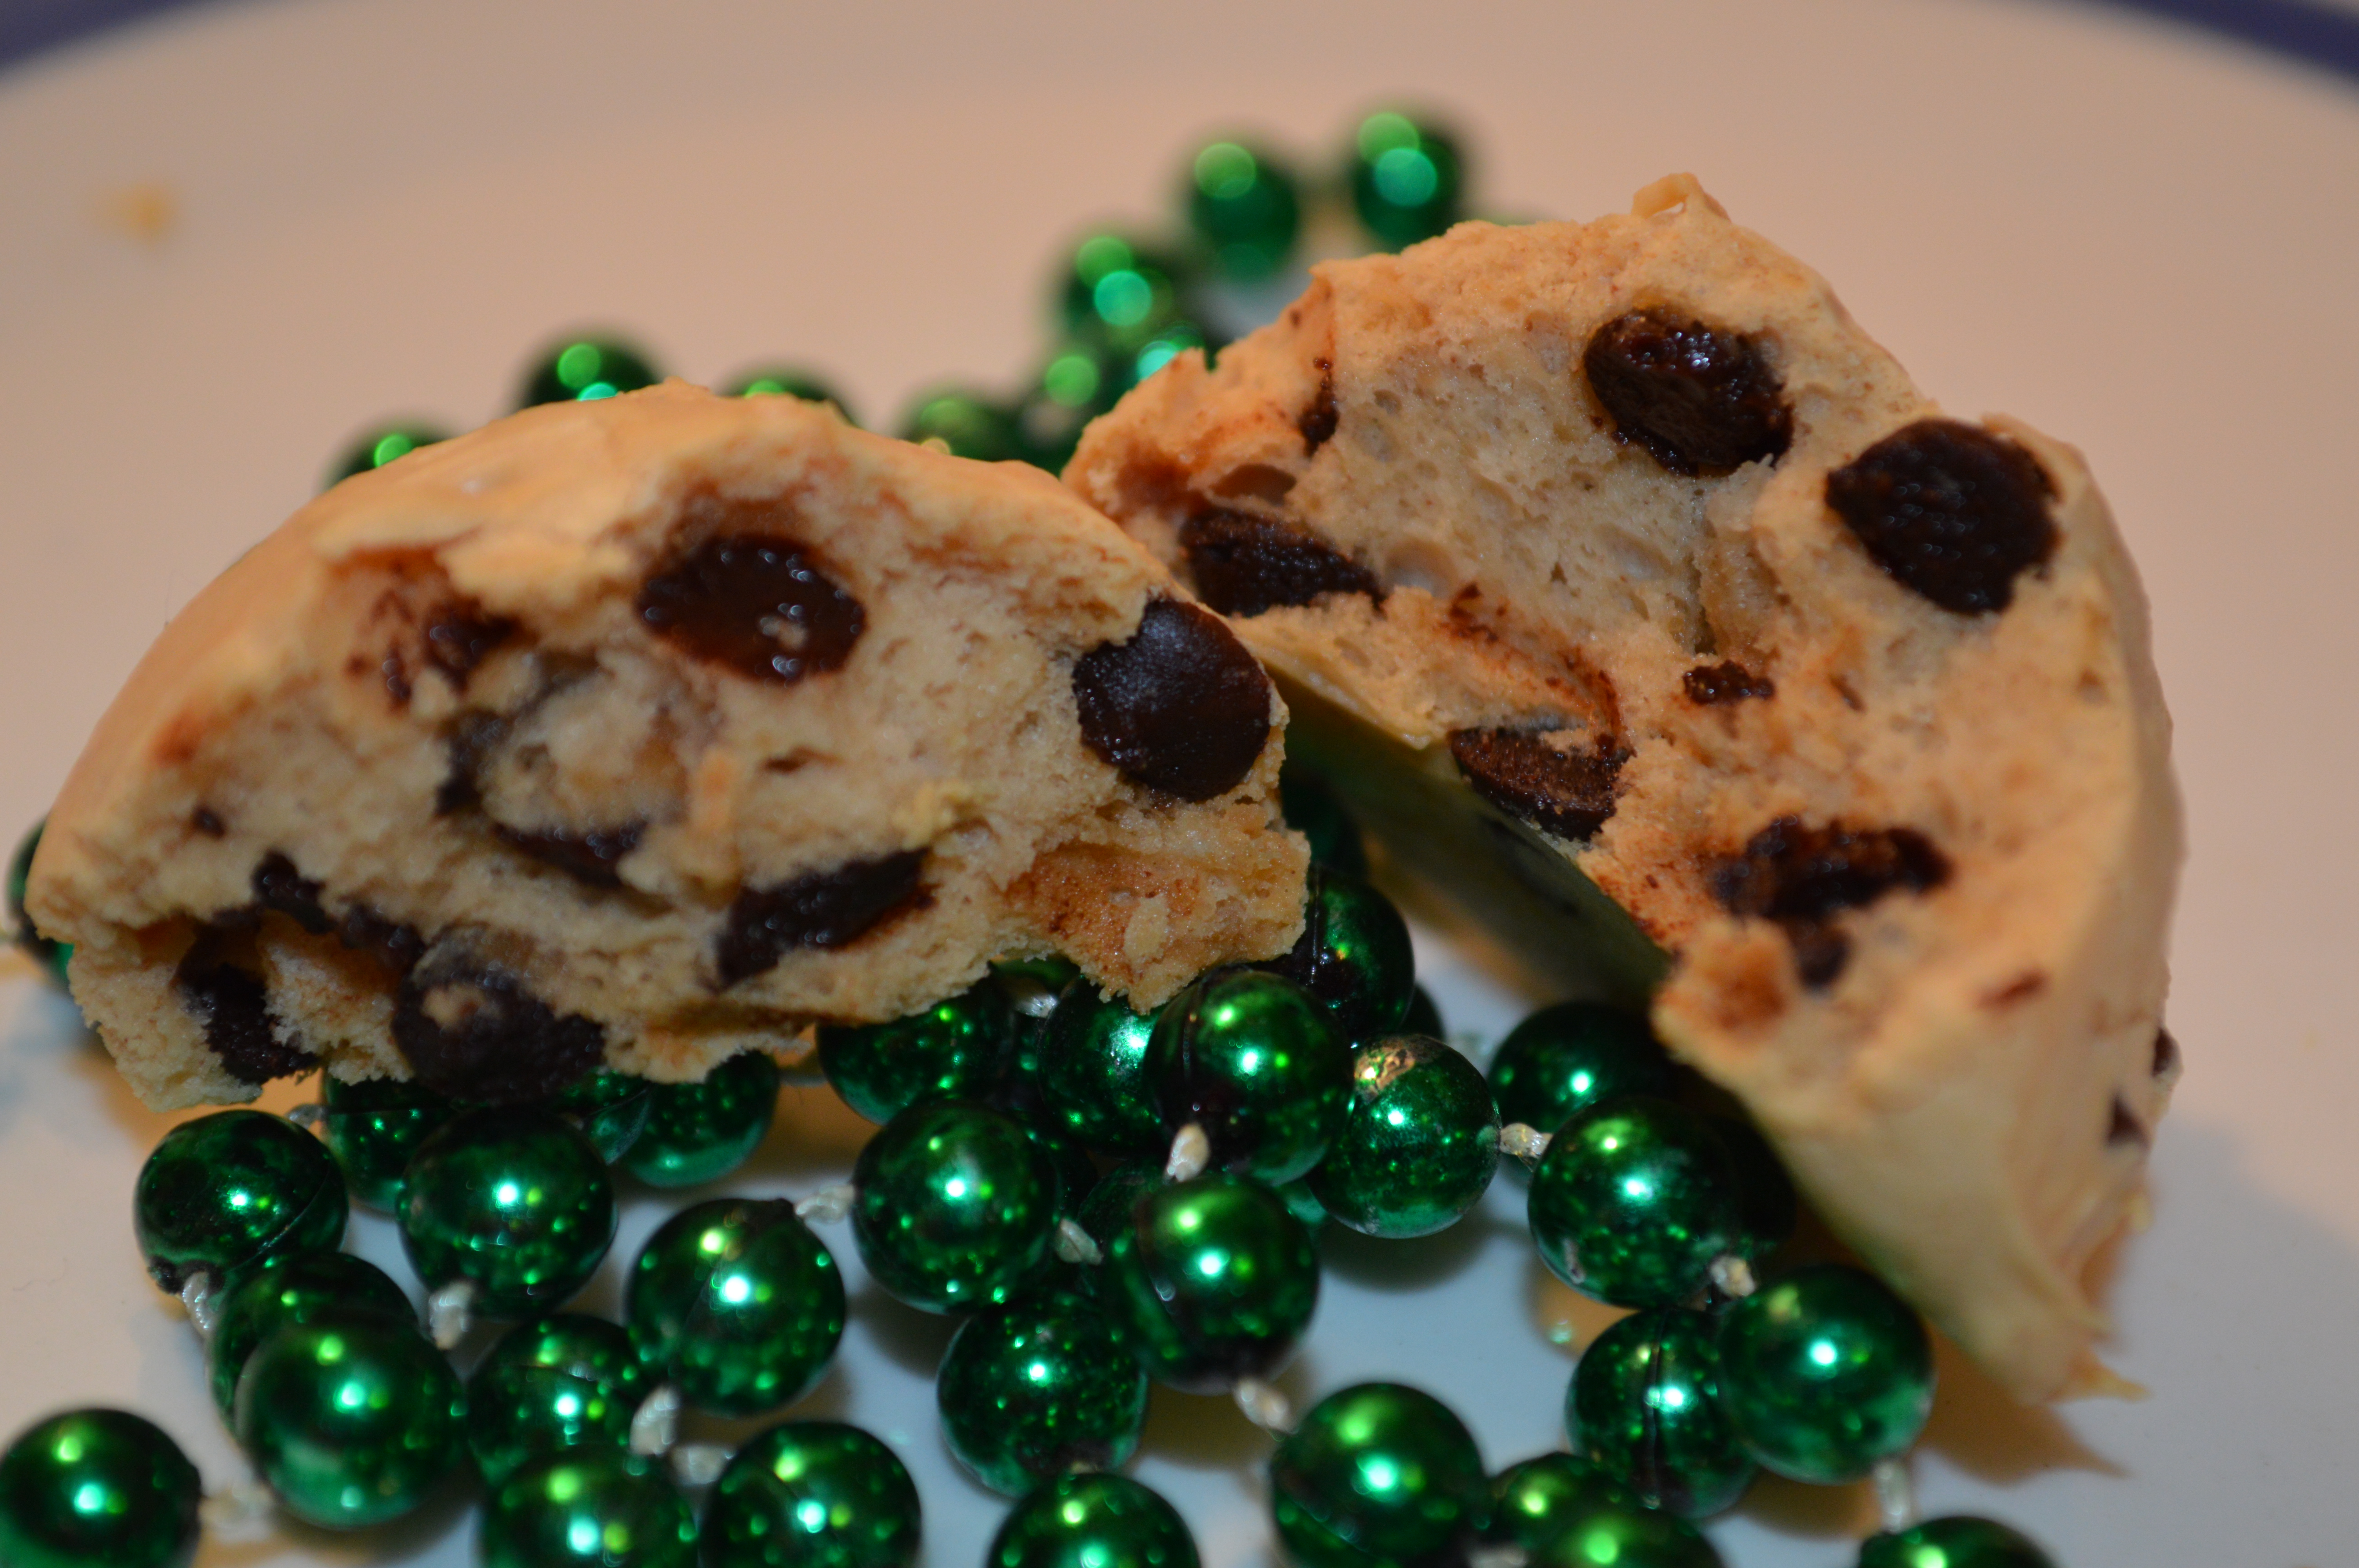
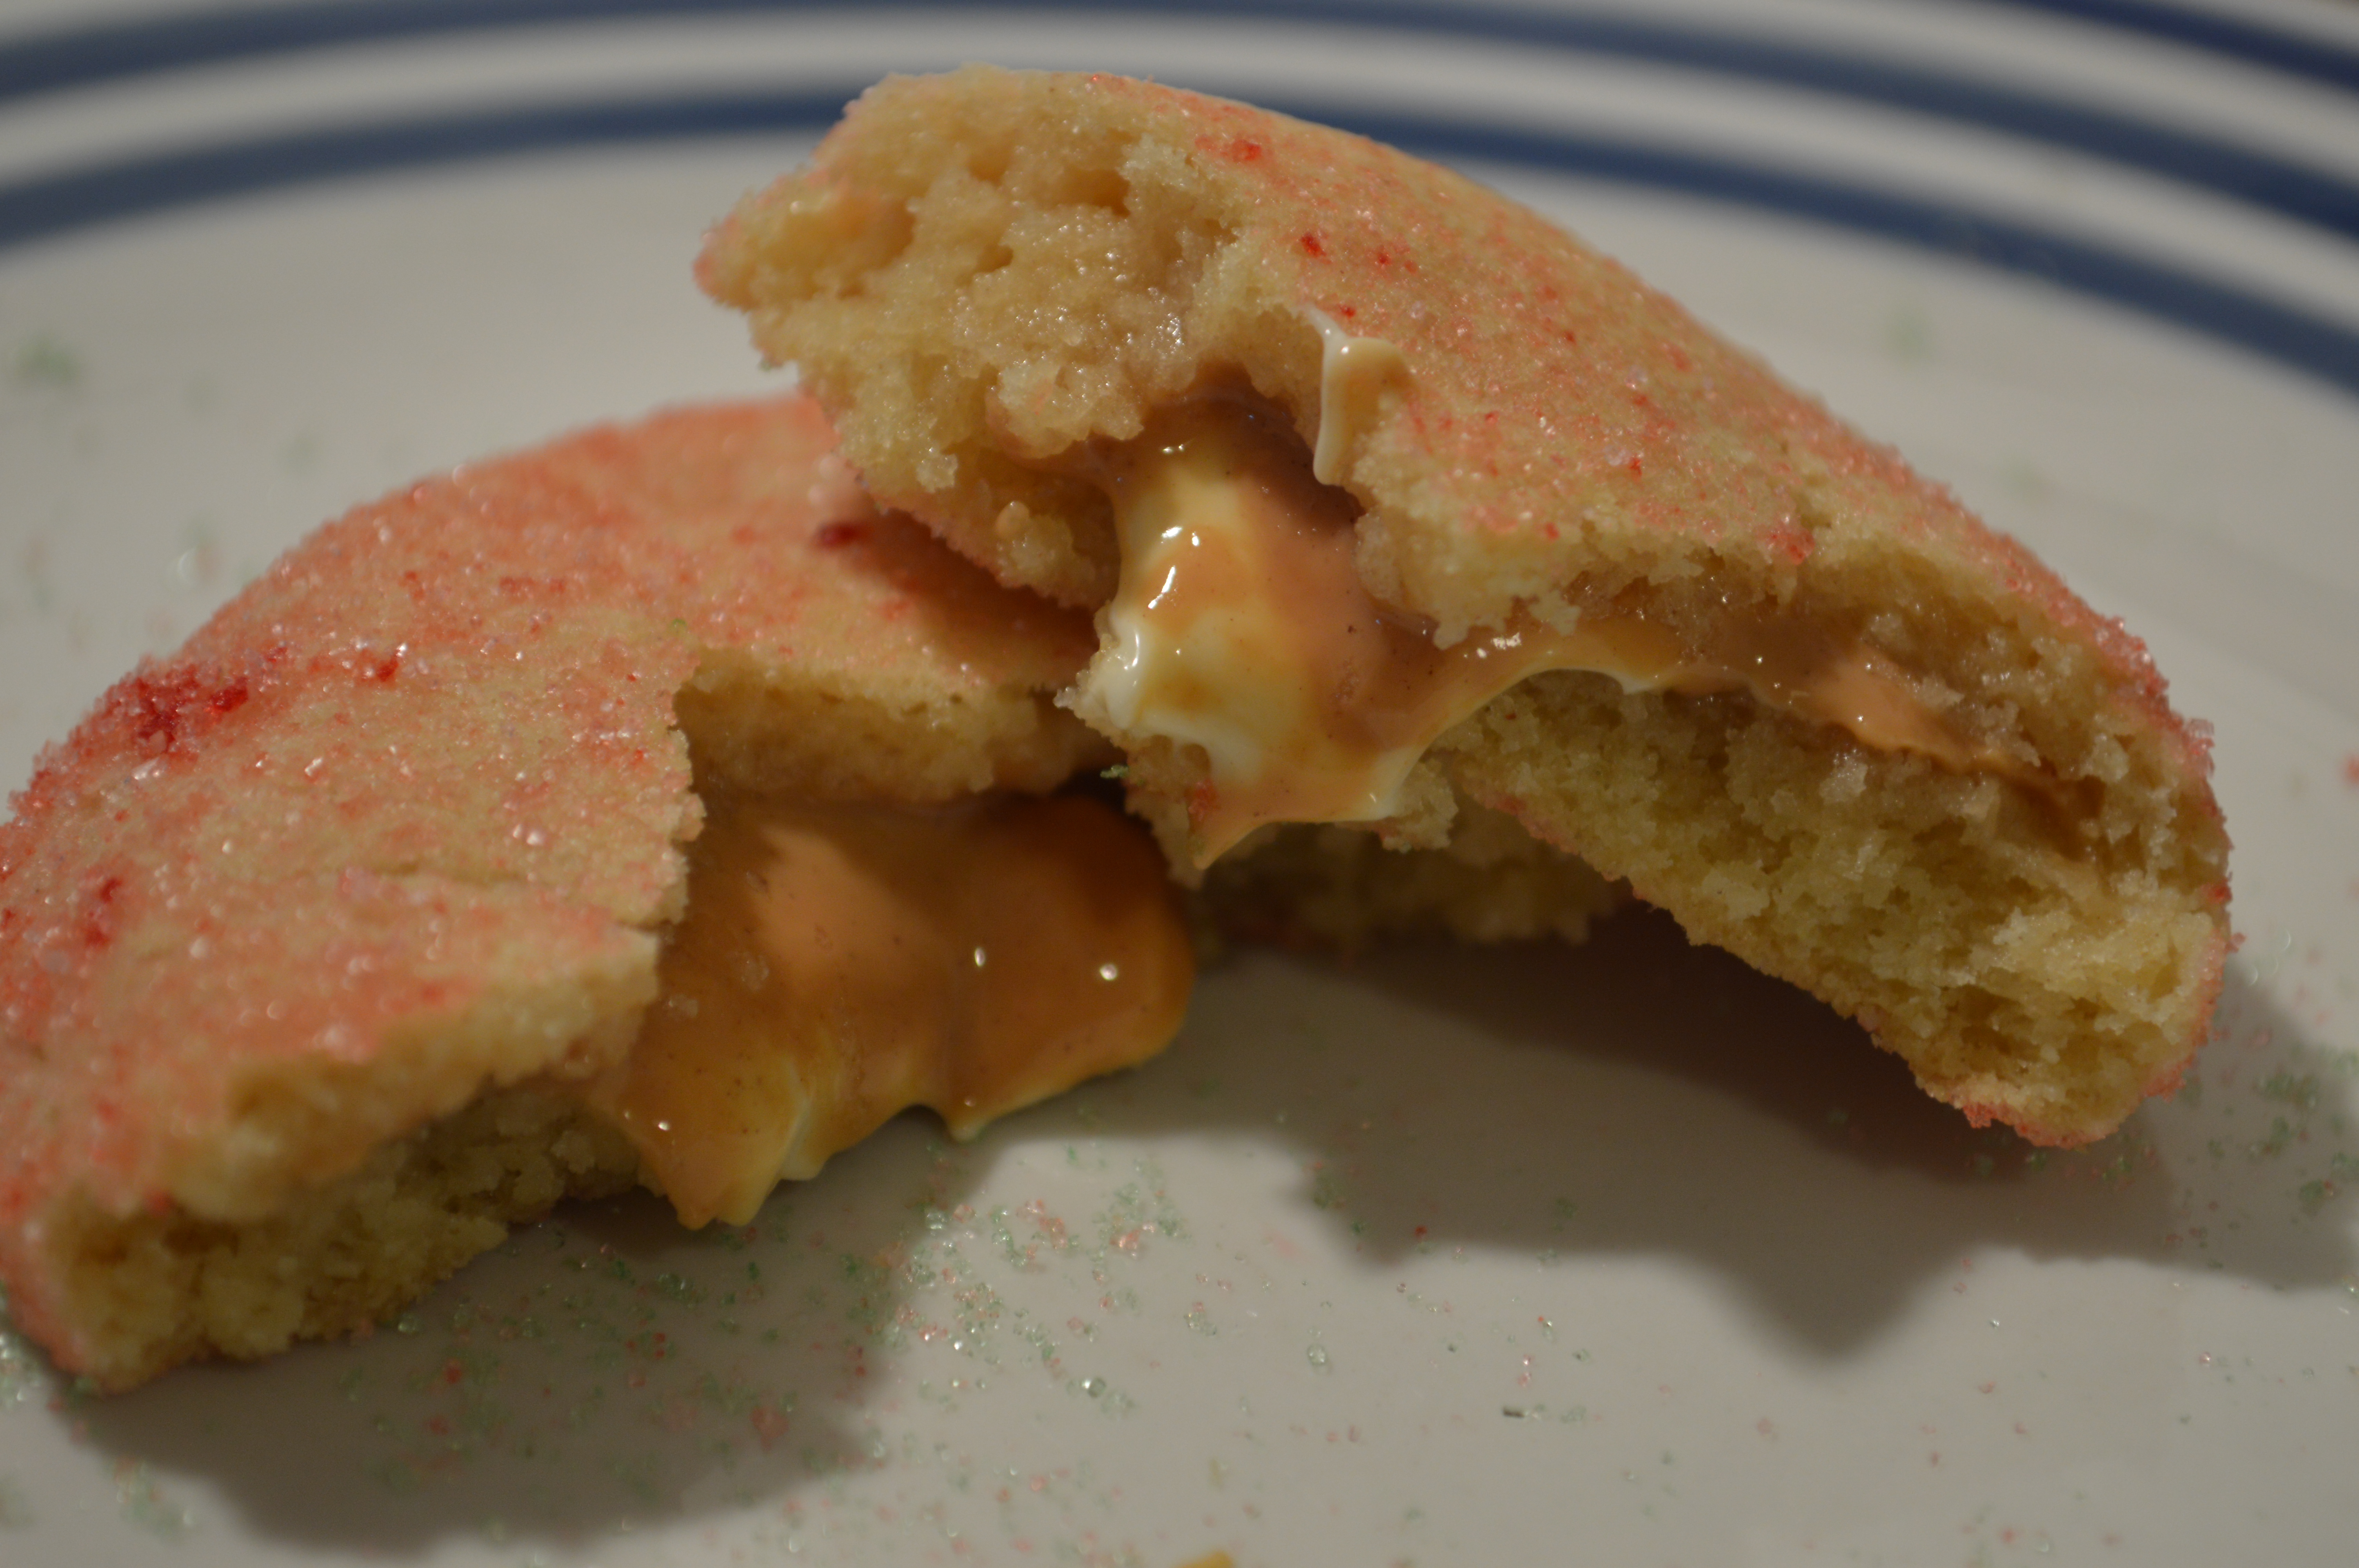
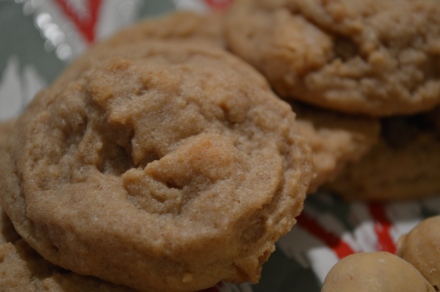
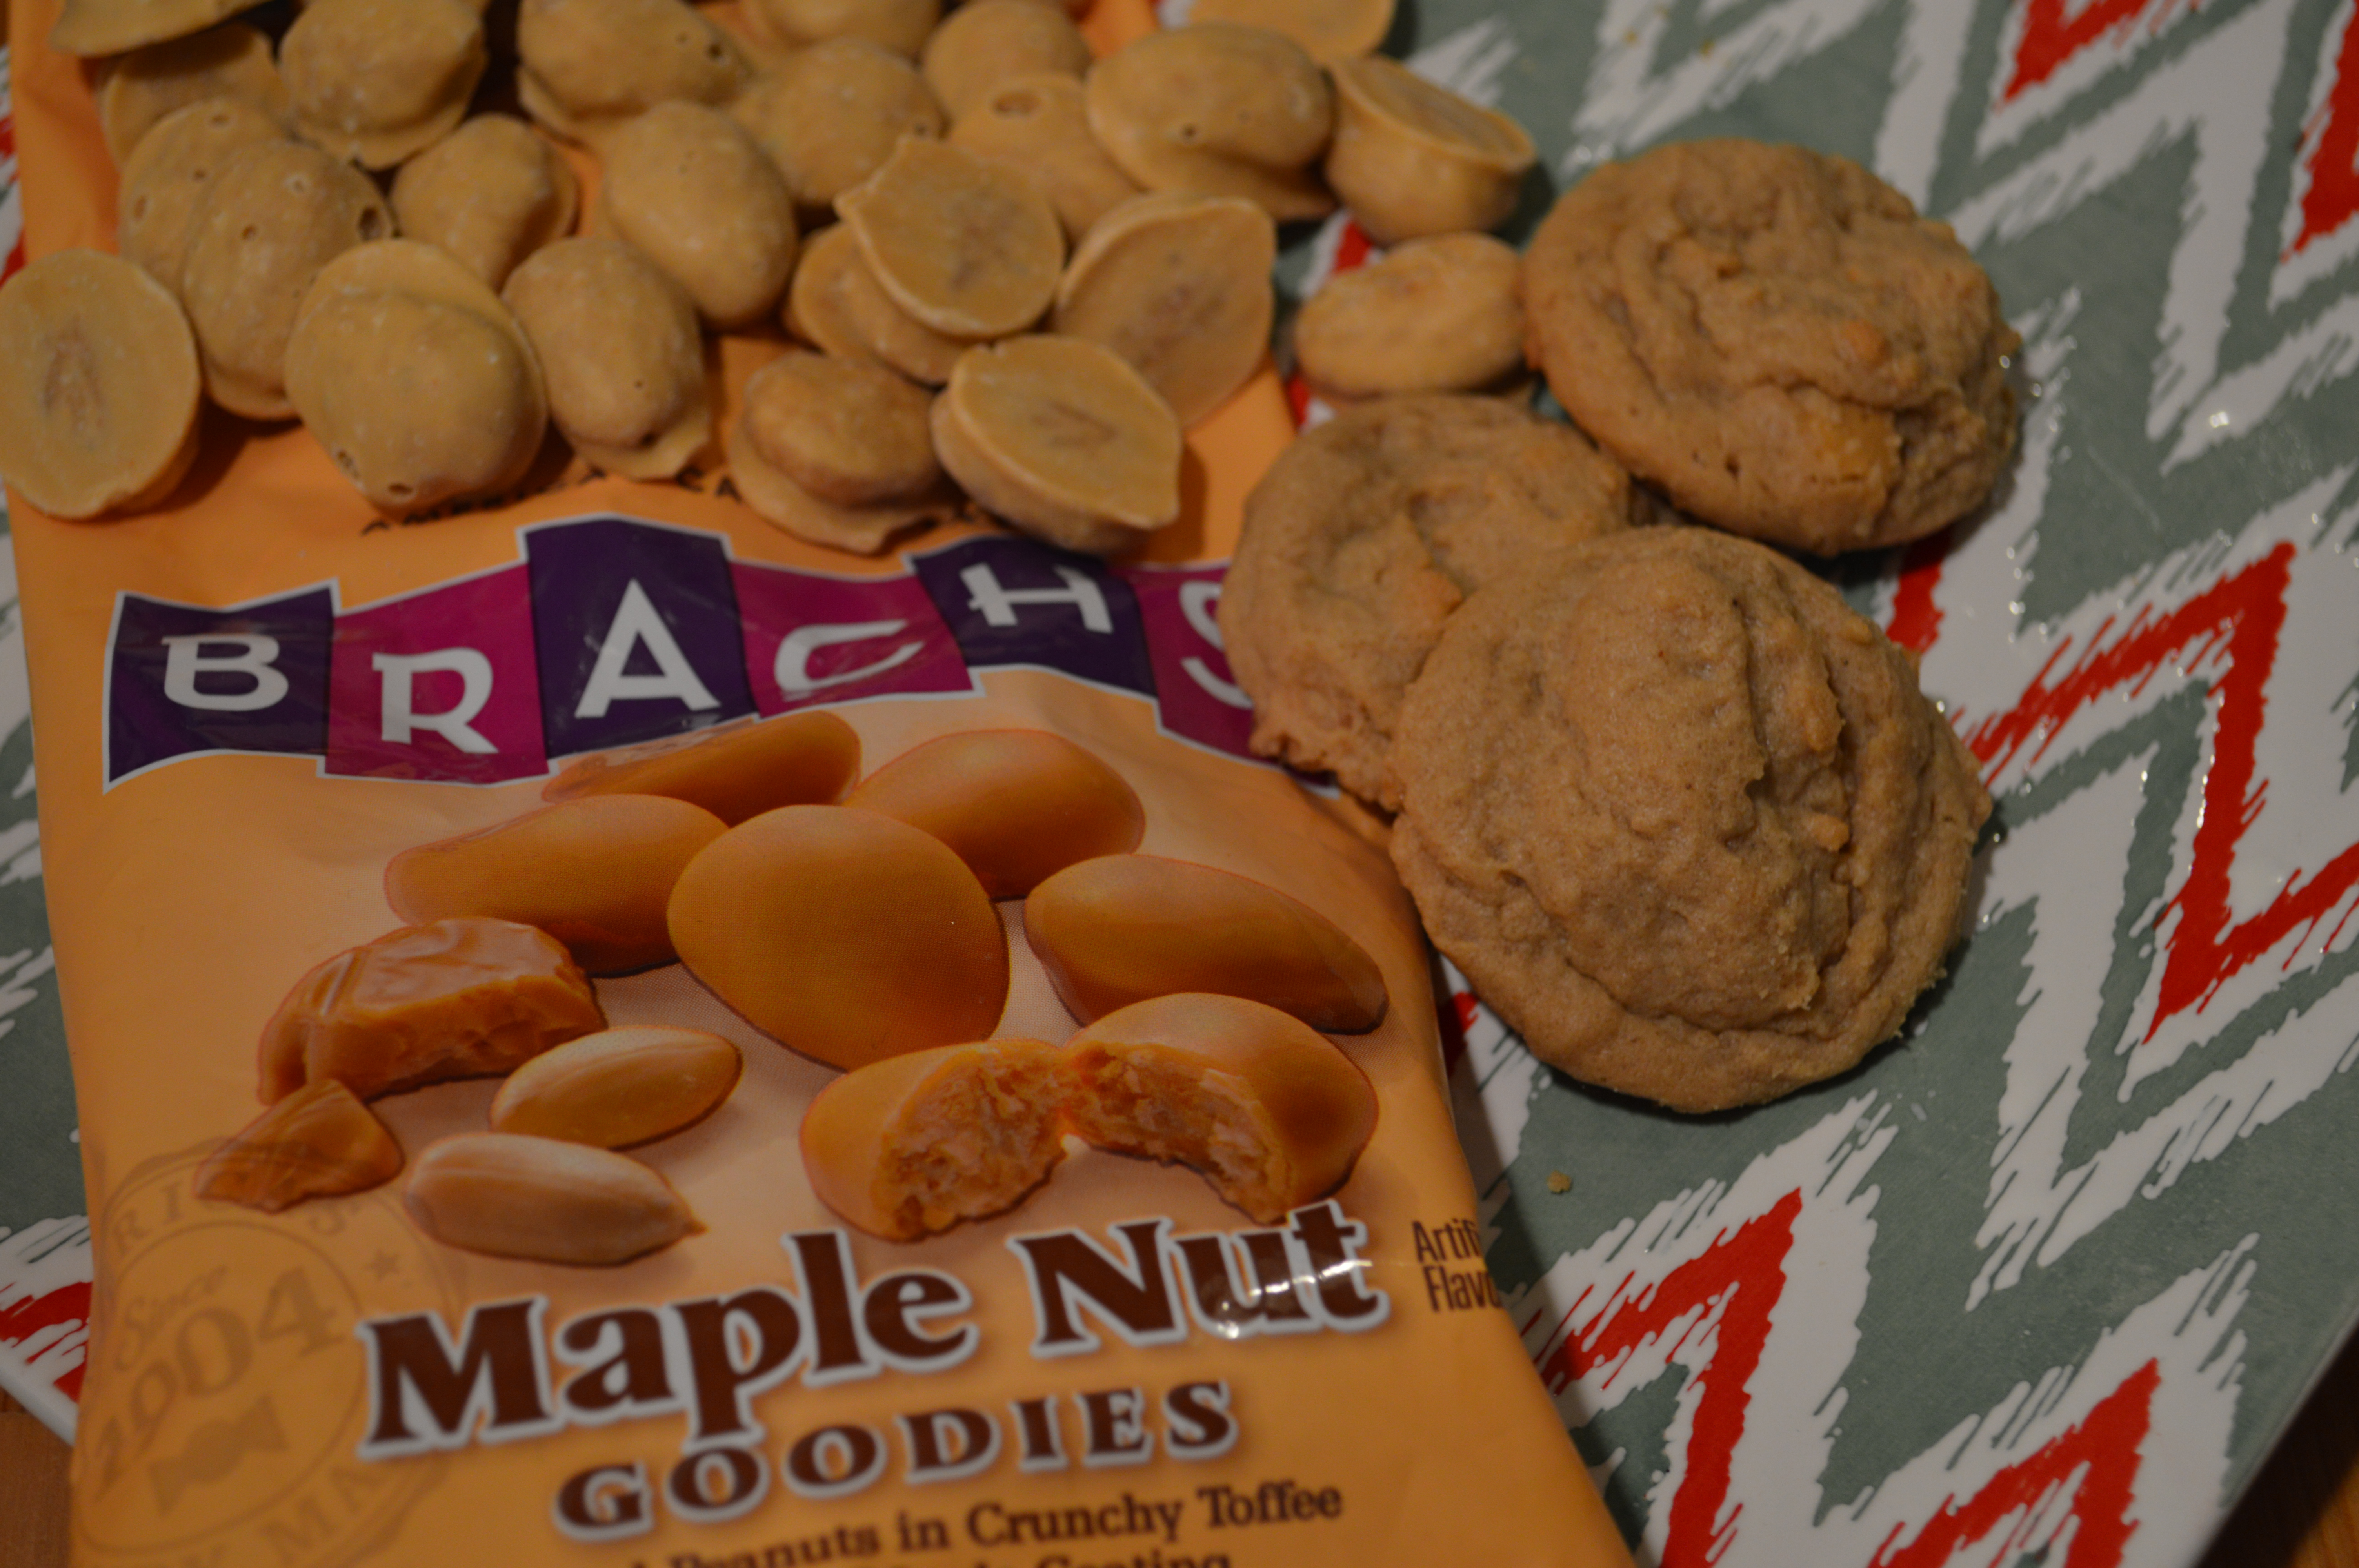
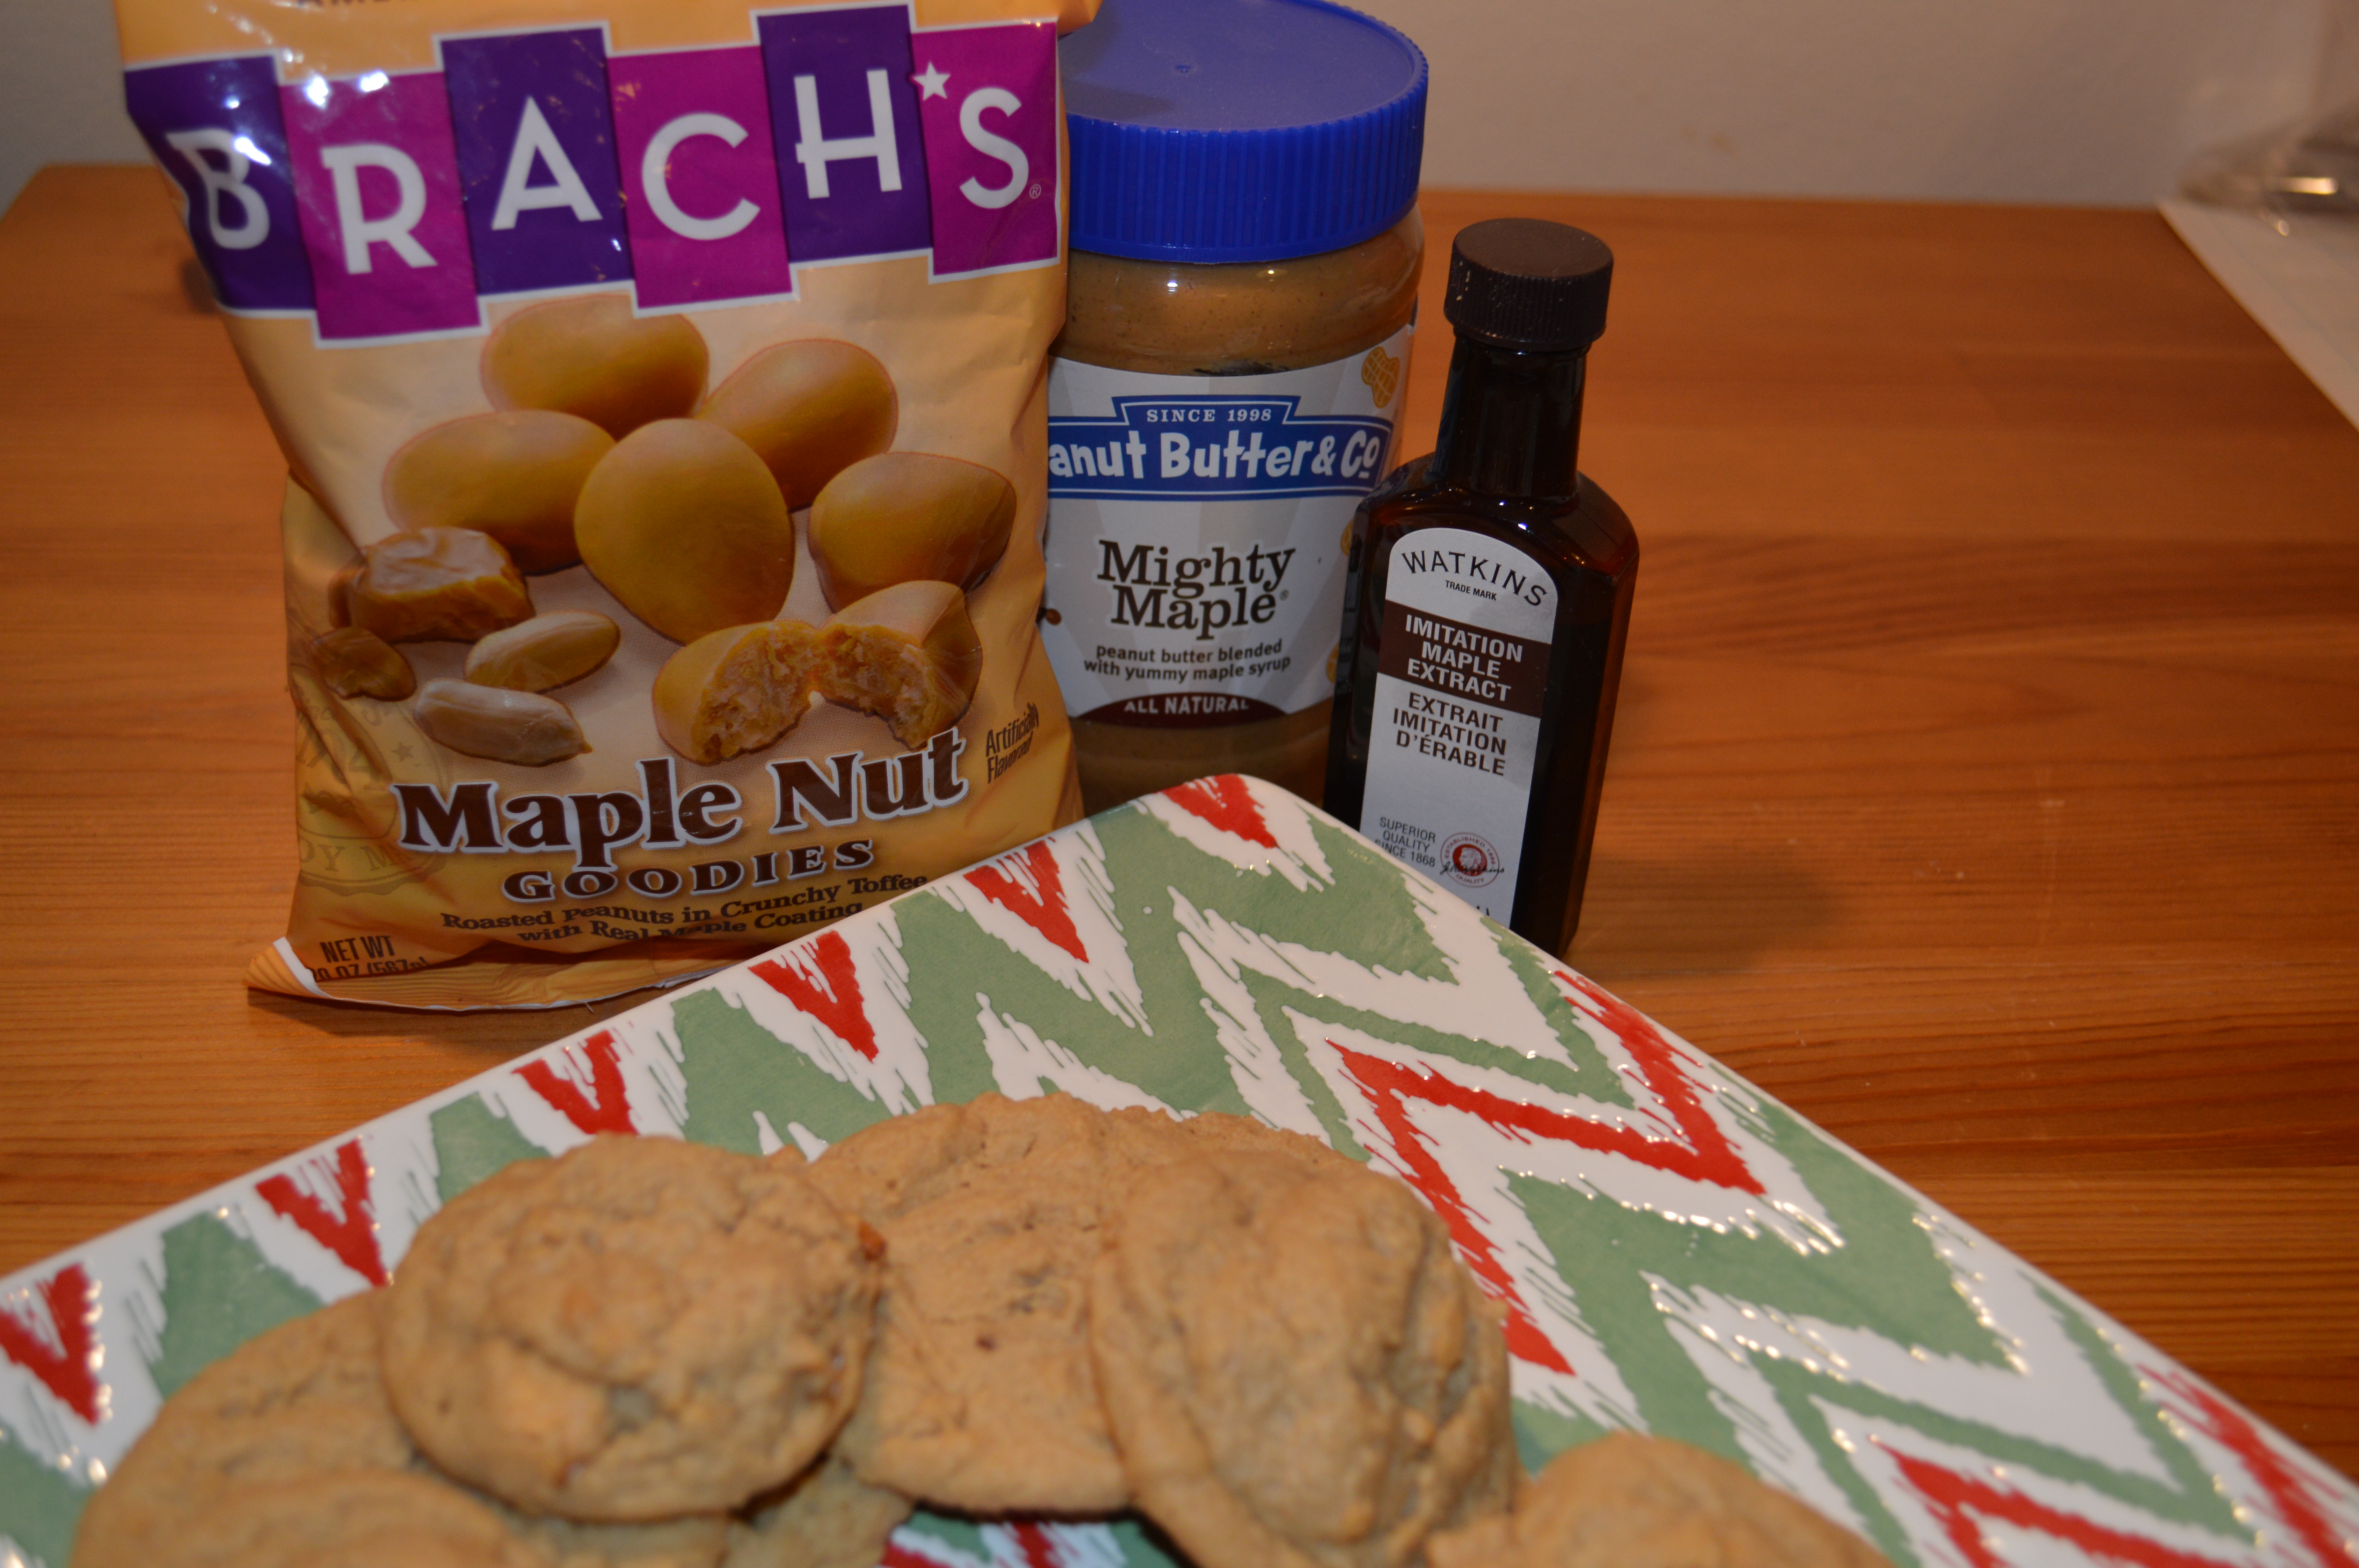
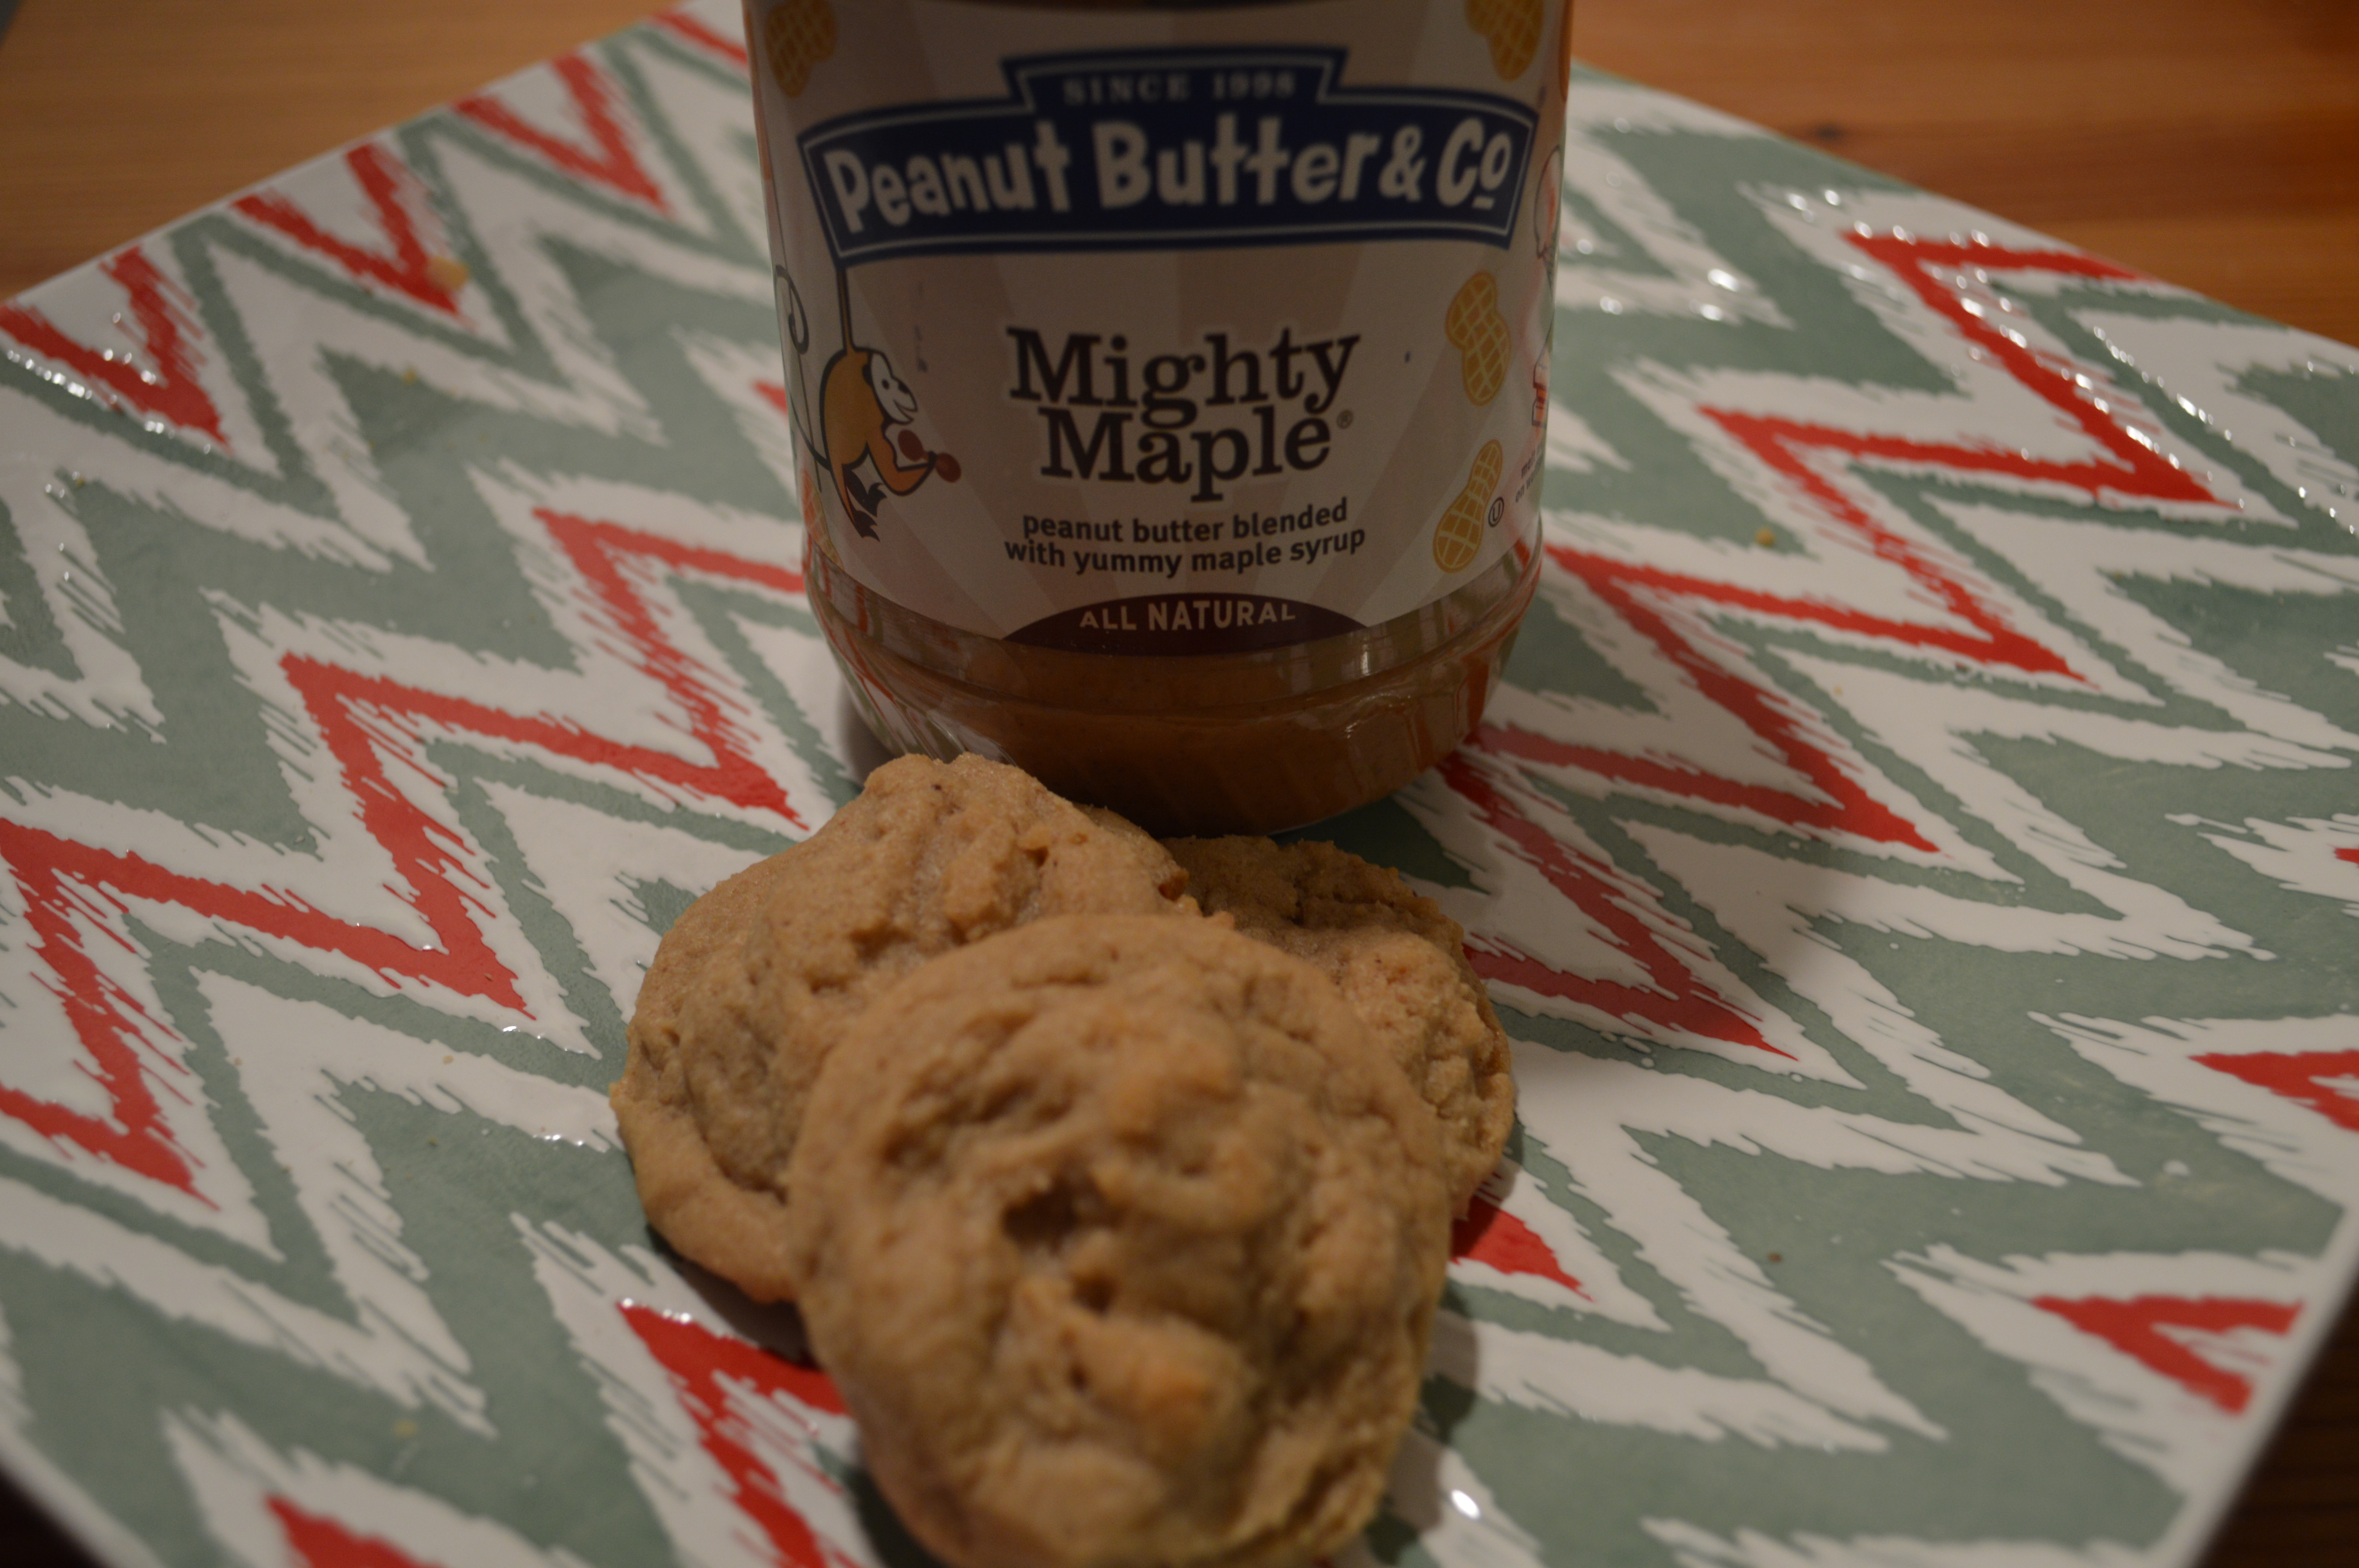
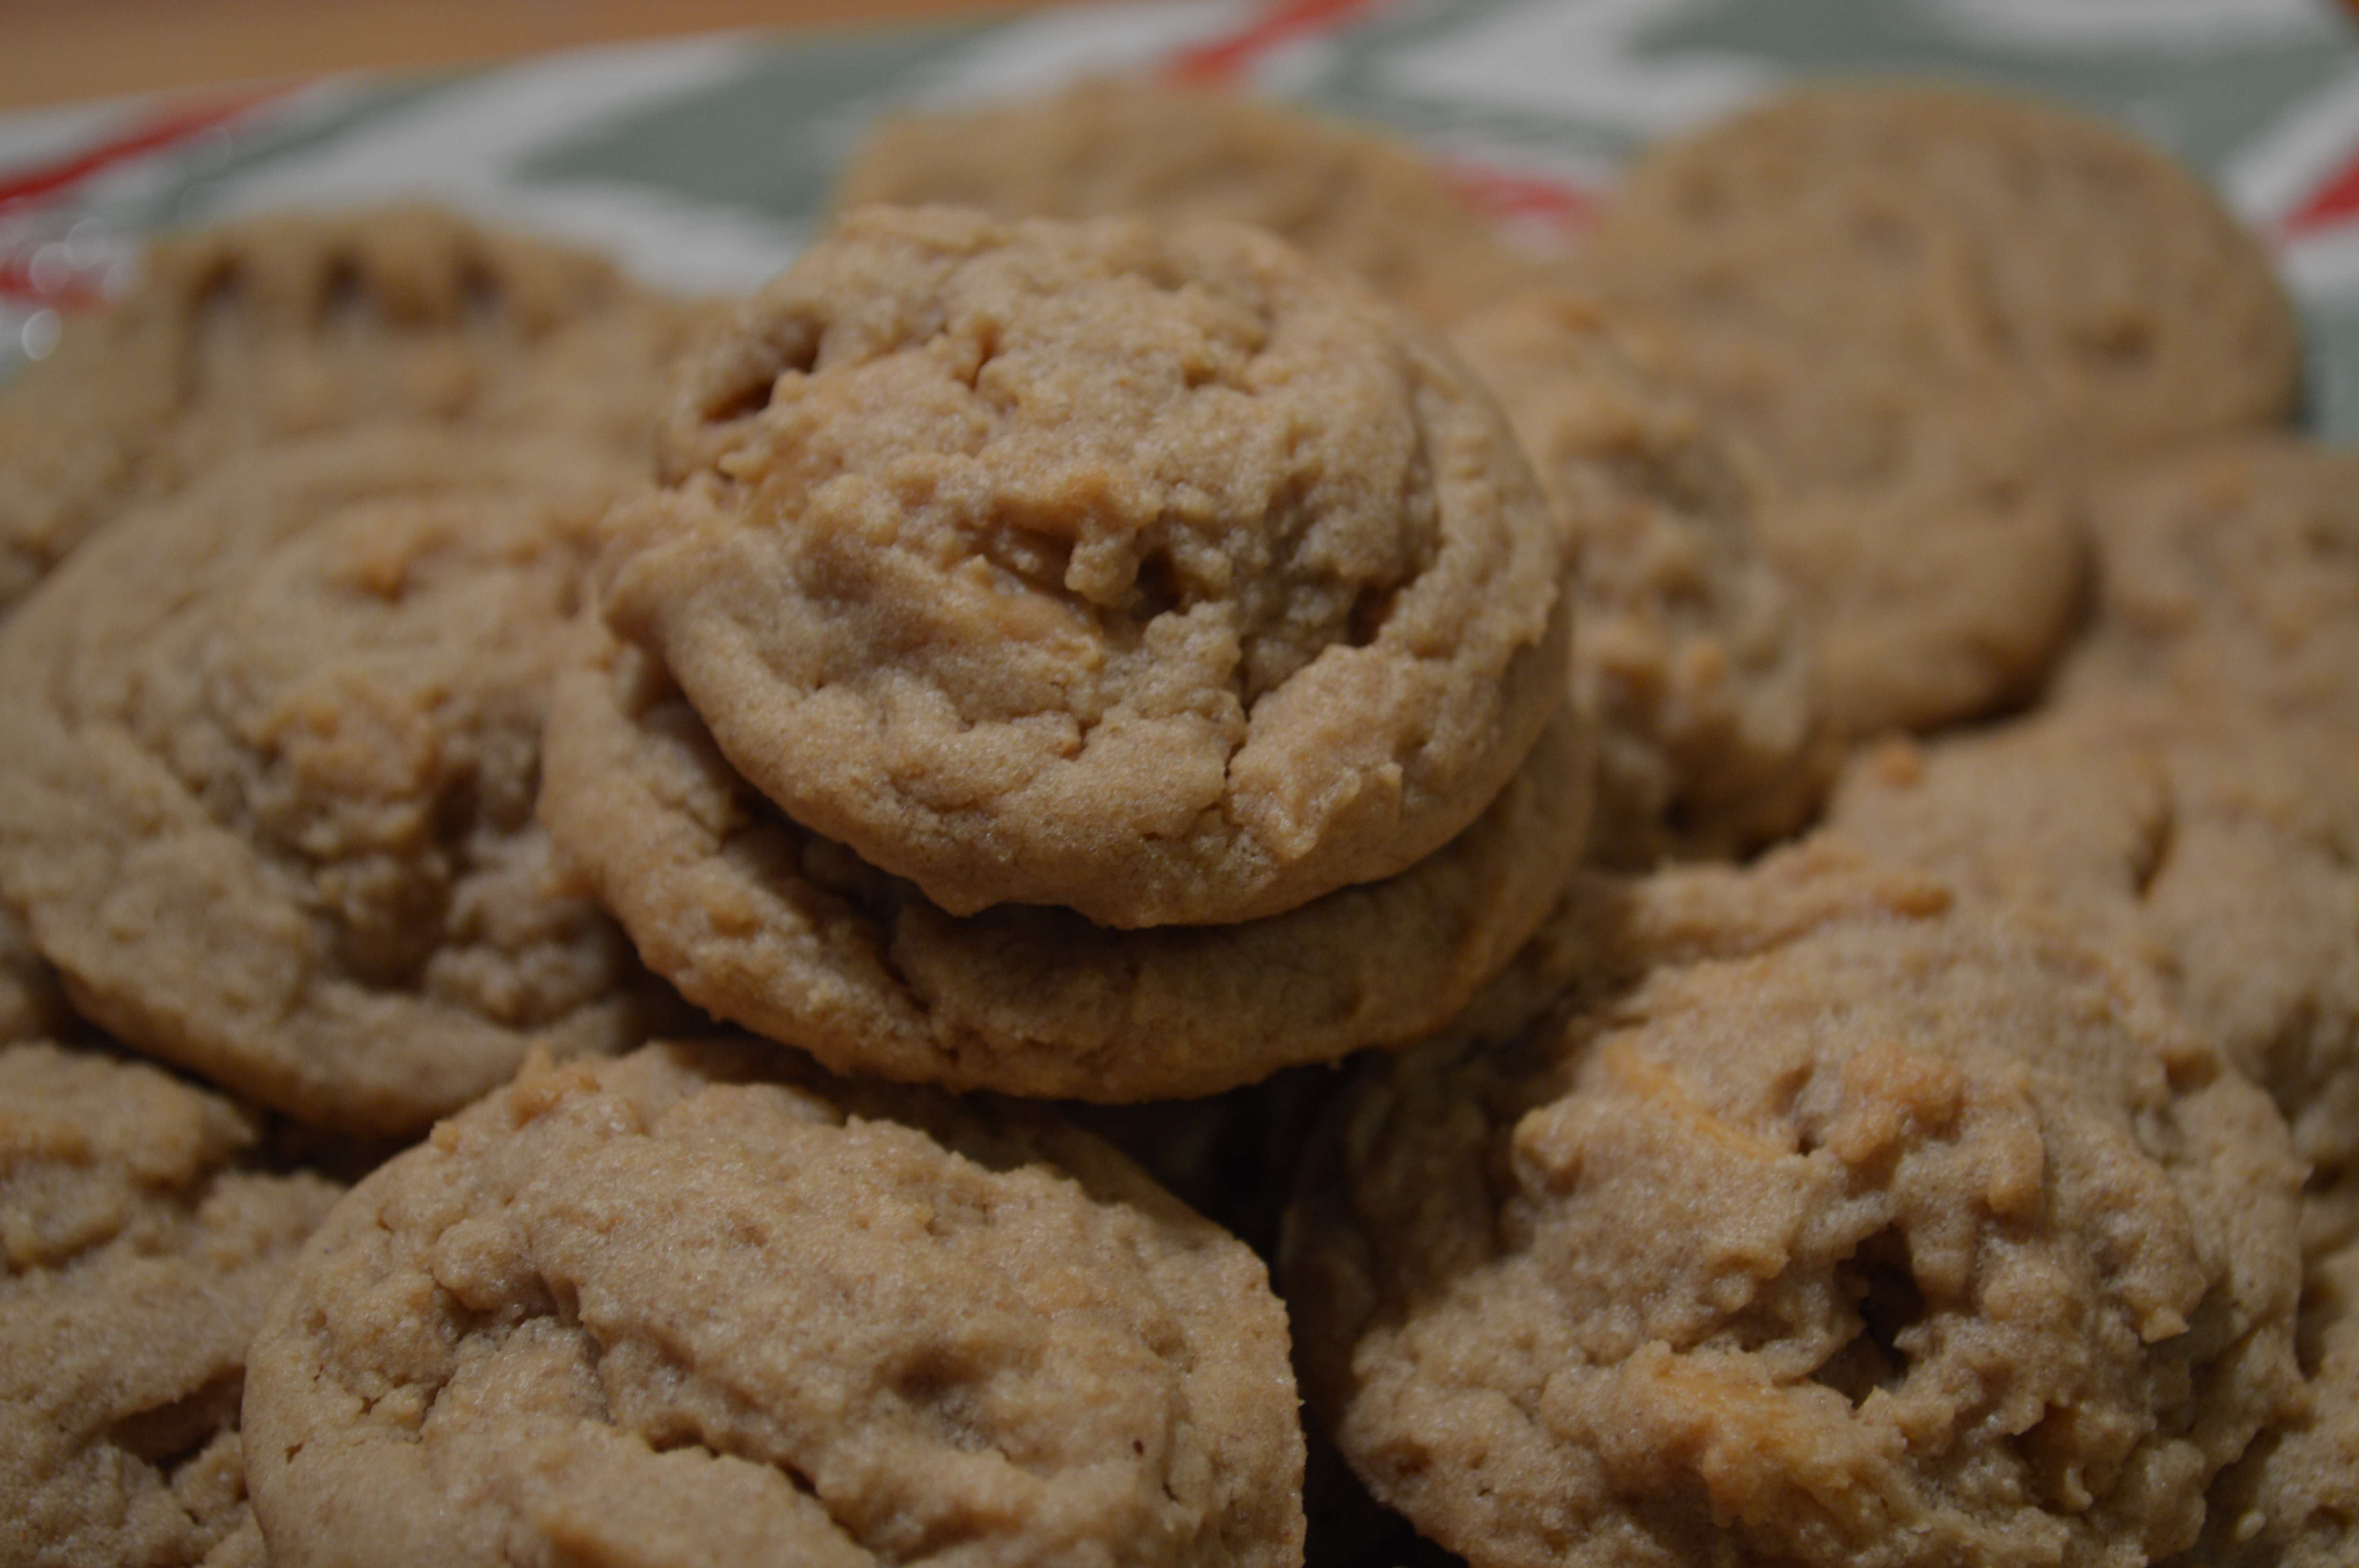
I also went into numerous fudge shops to sample the fudge. I ended up purchasing some fudge from Murdick‘s, which of course is hands down my favorite fudge there. It is just so creamy and rich. I love it. I decided to use the maple fudge to make some bars. I adore the combination of maple and peanut butter. I’ve also made Maple Nut Peanut Butter Cookies, which are still one of my favorites.

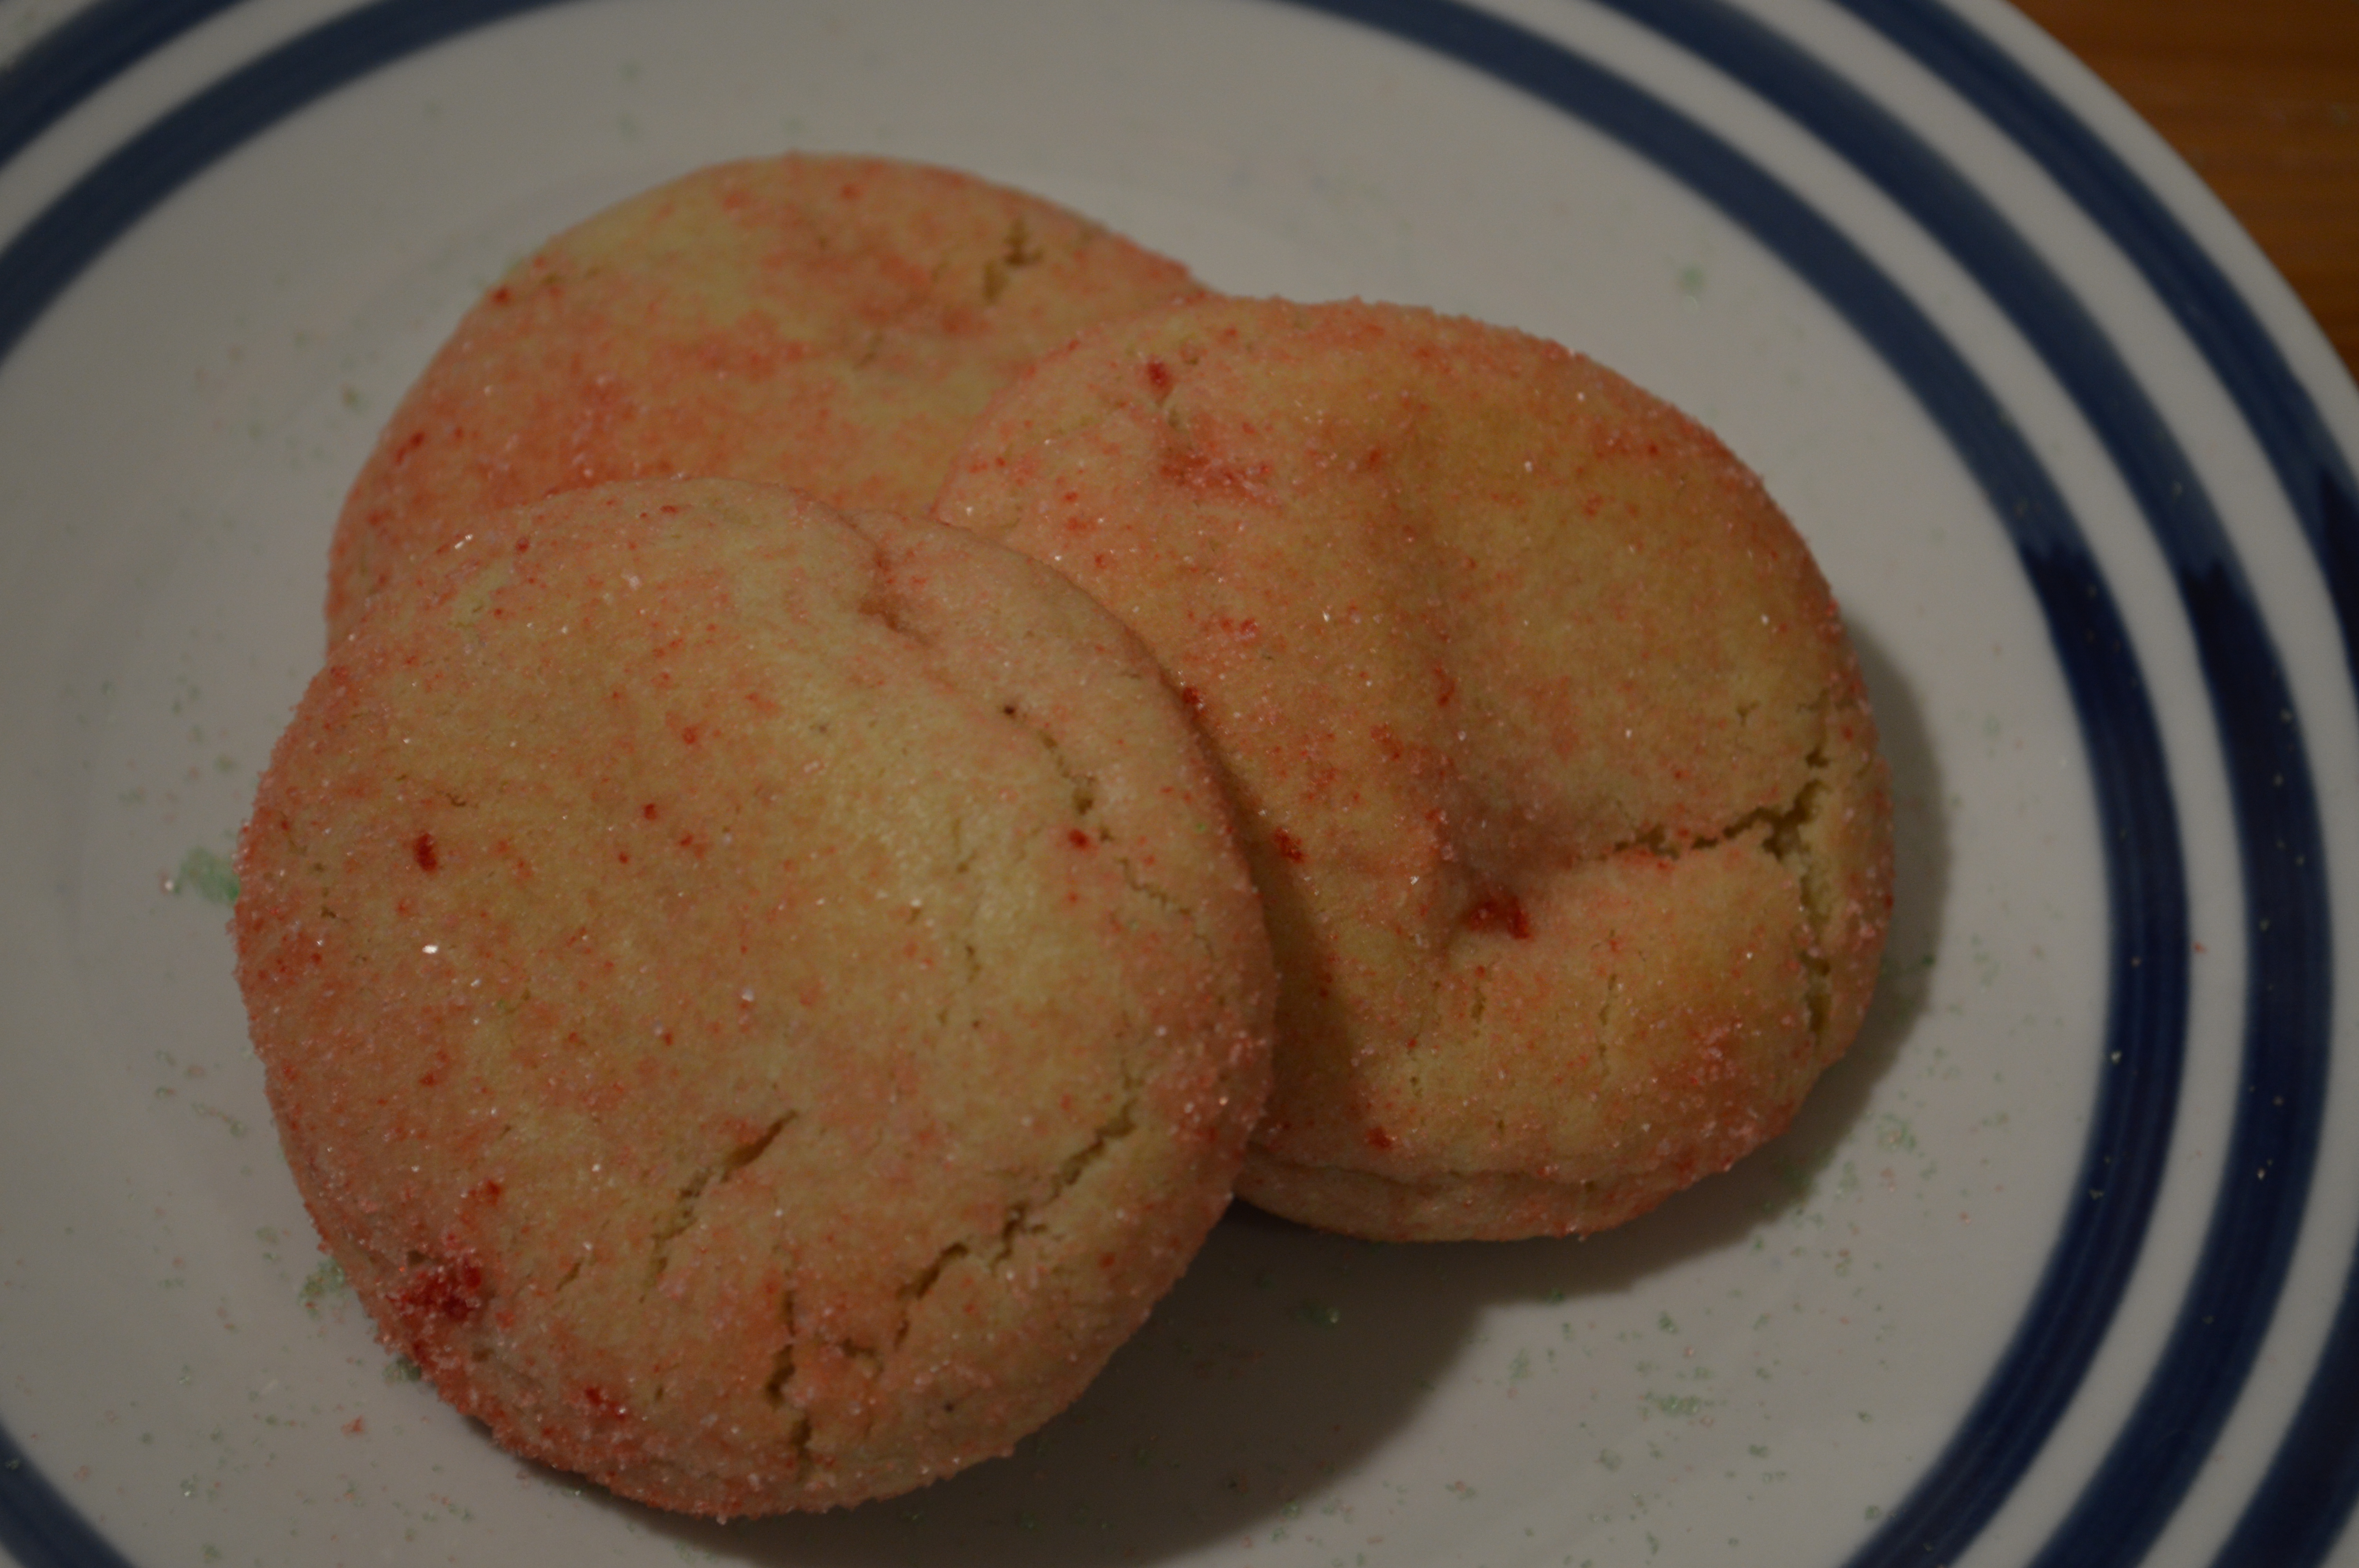
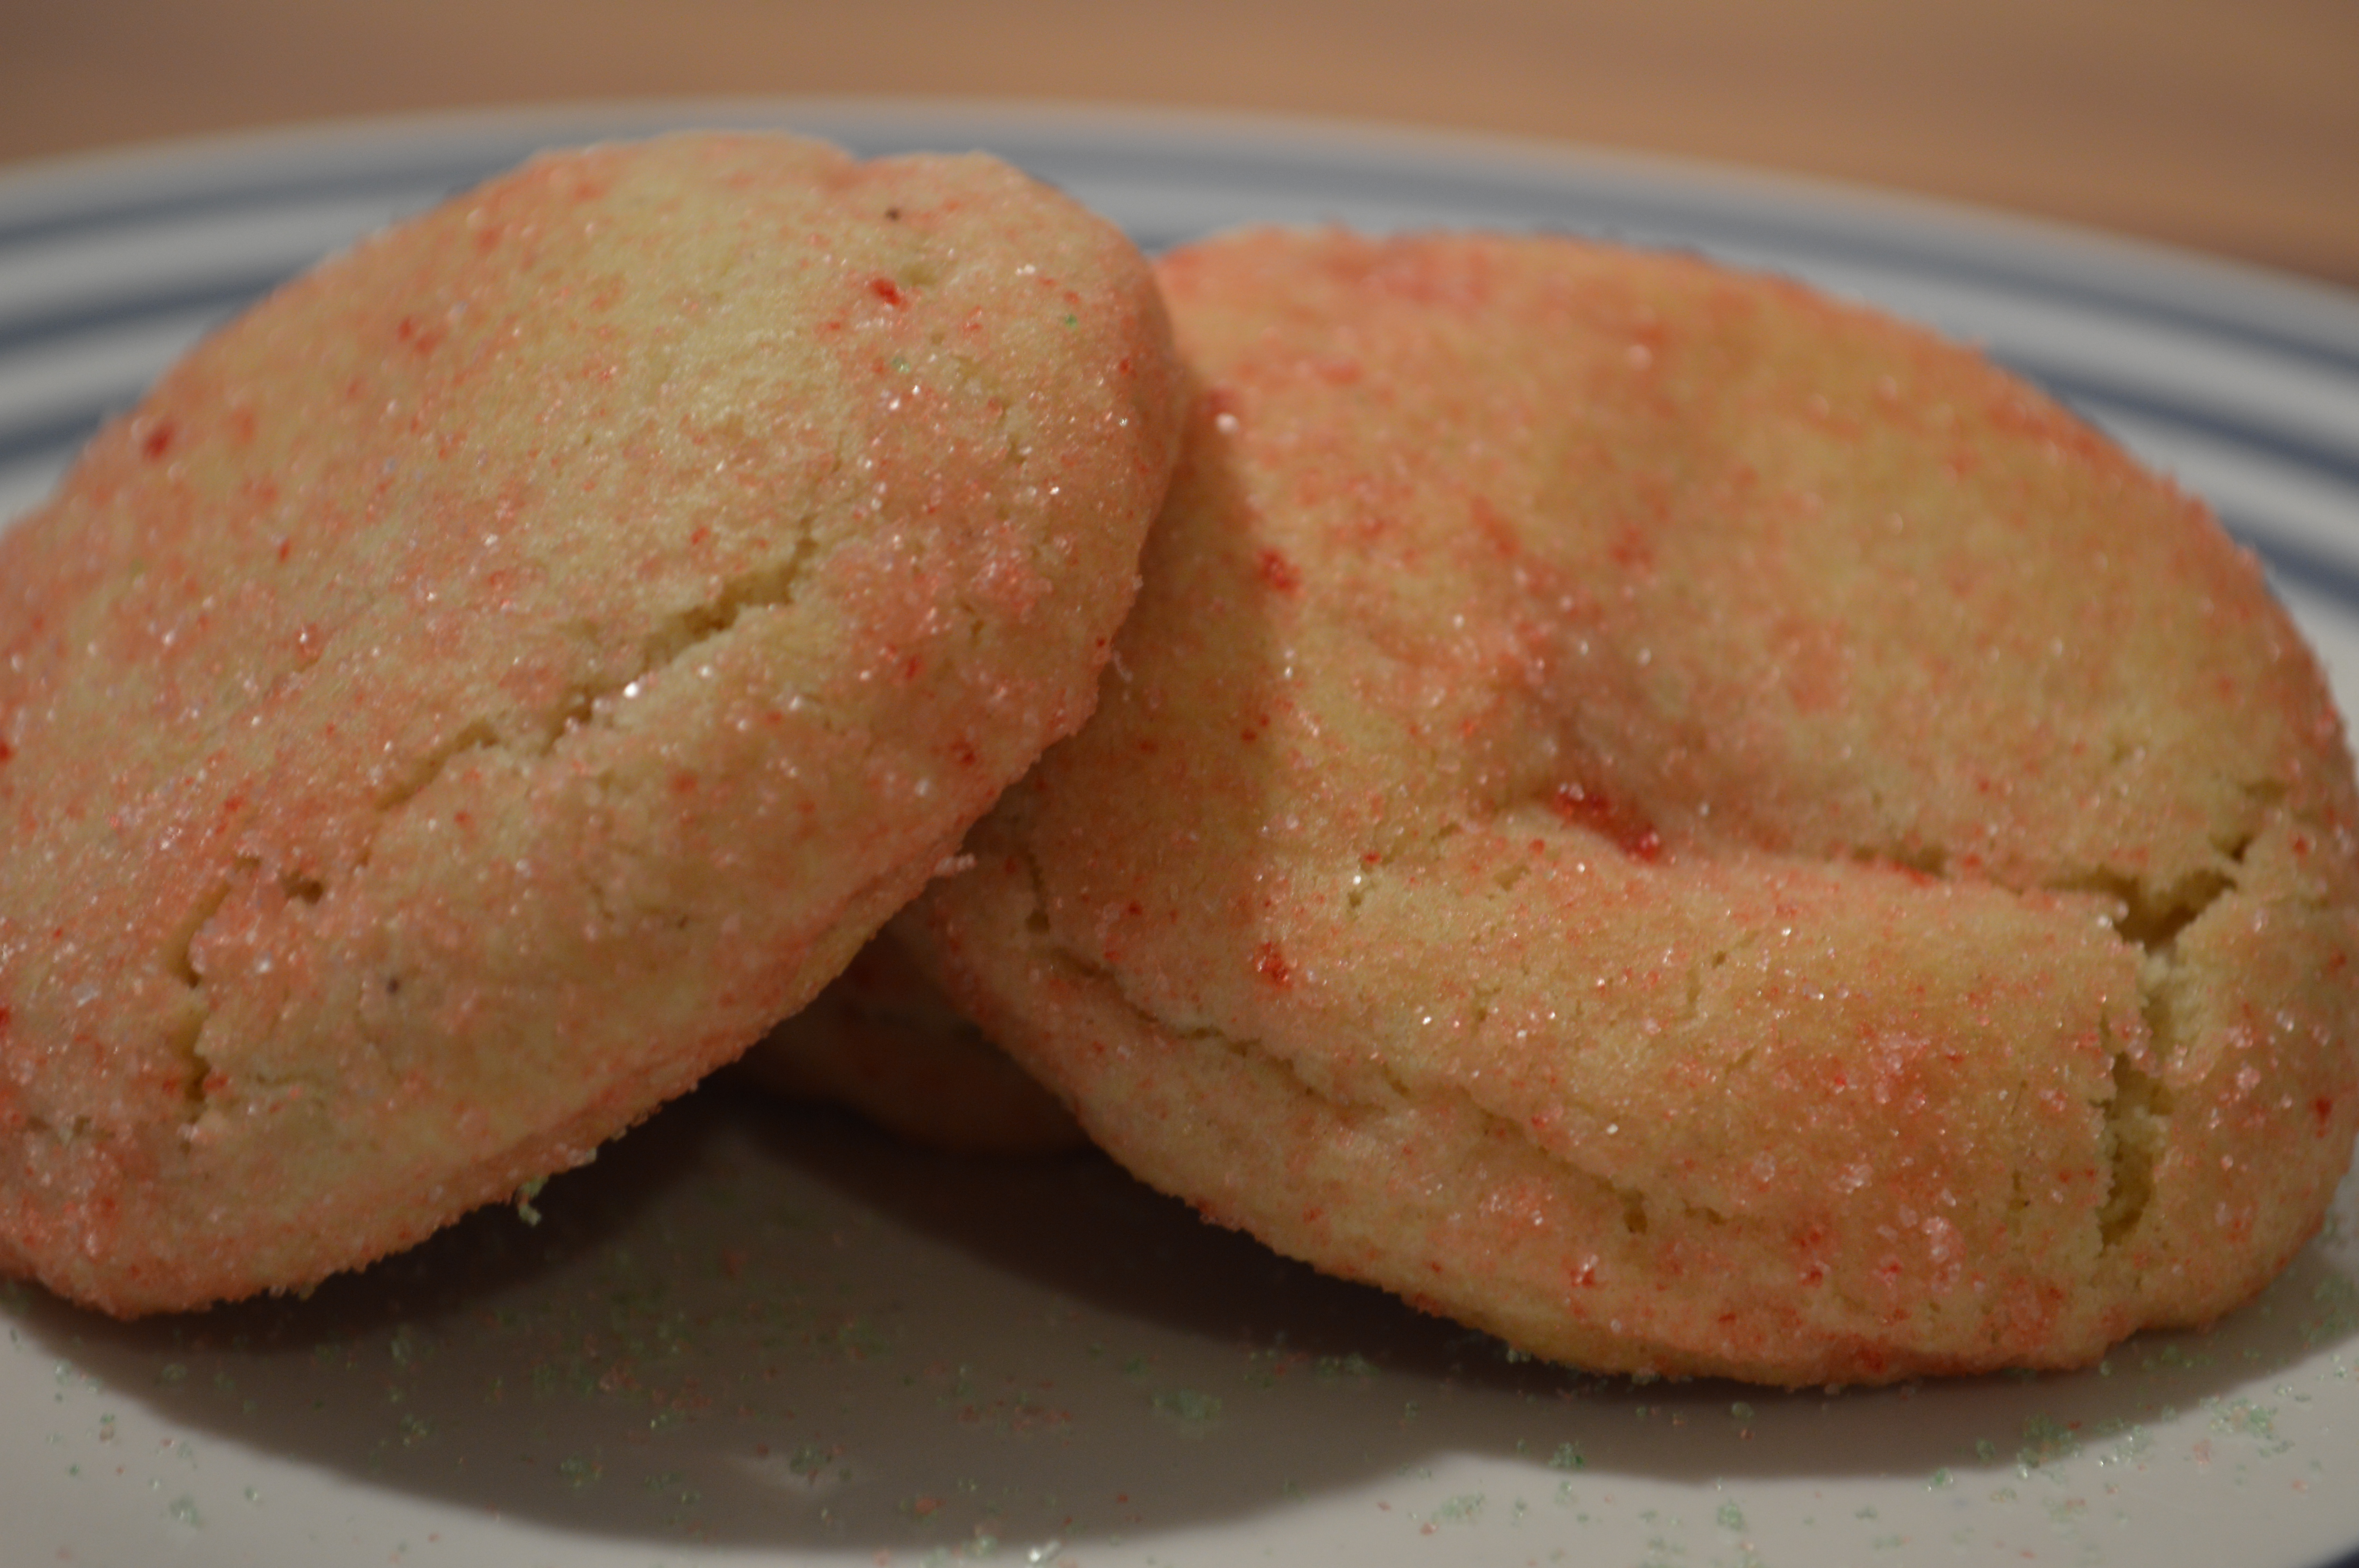
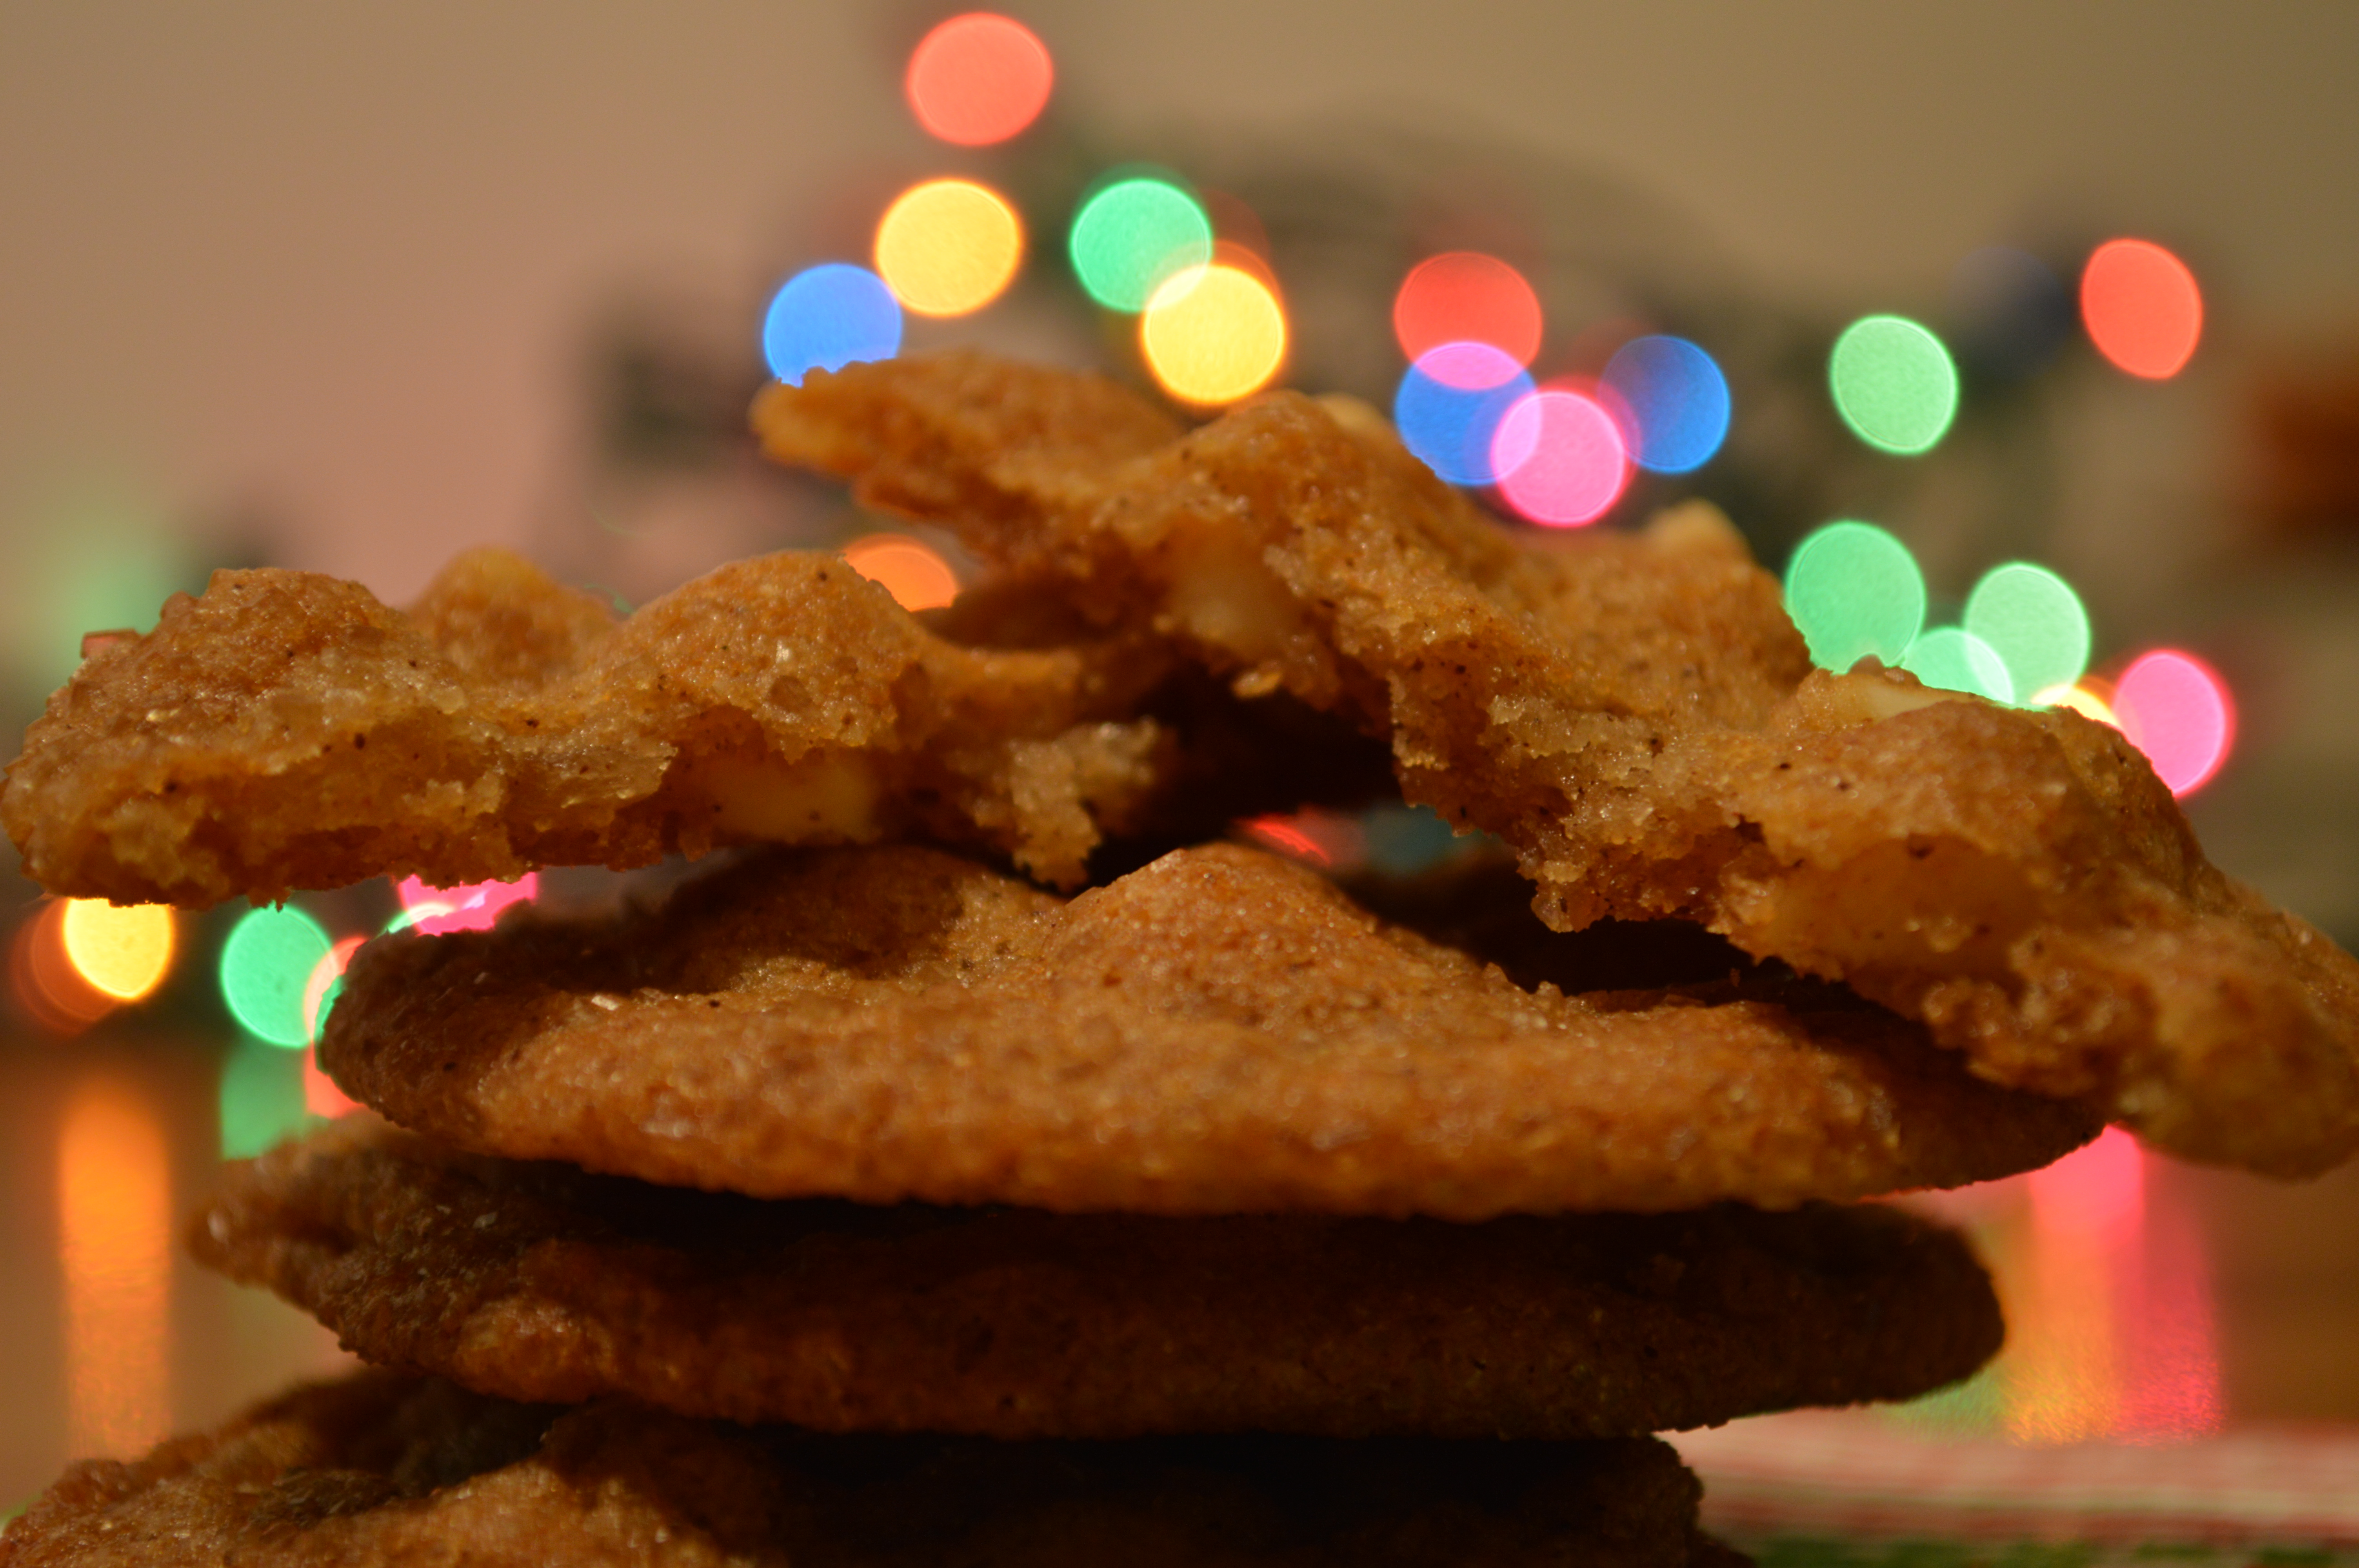
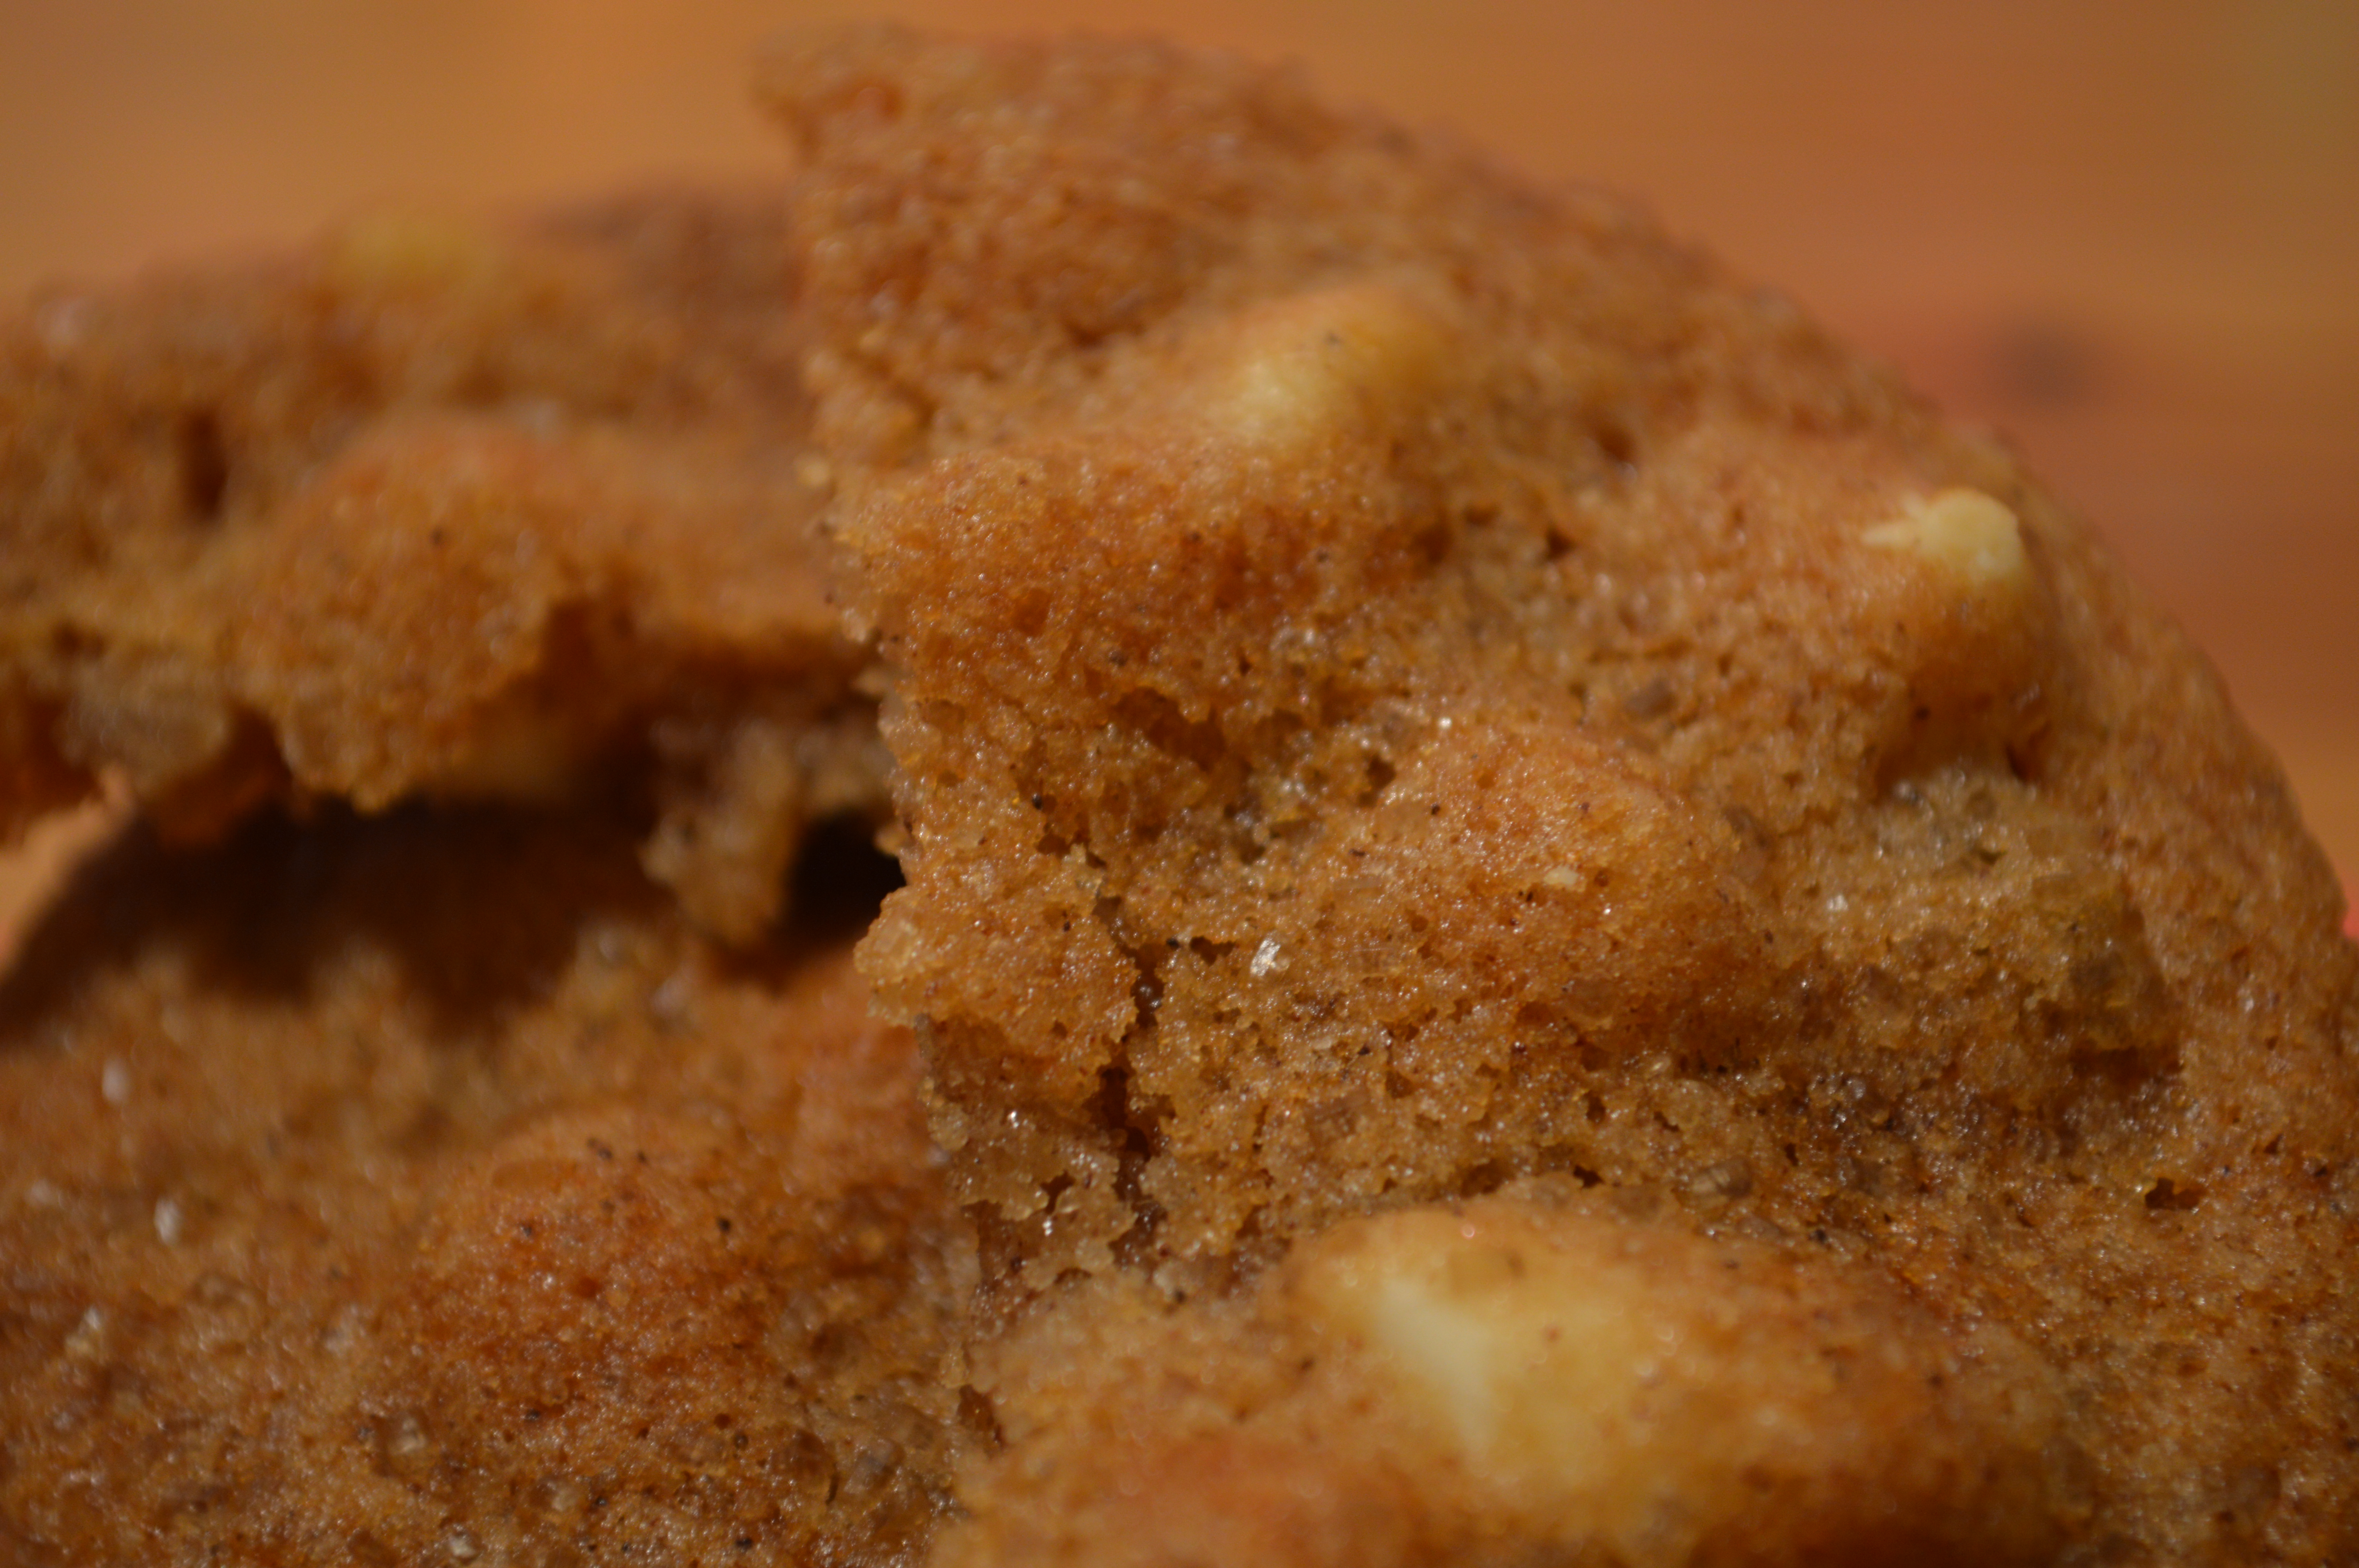
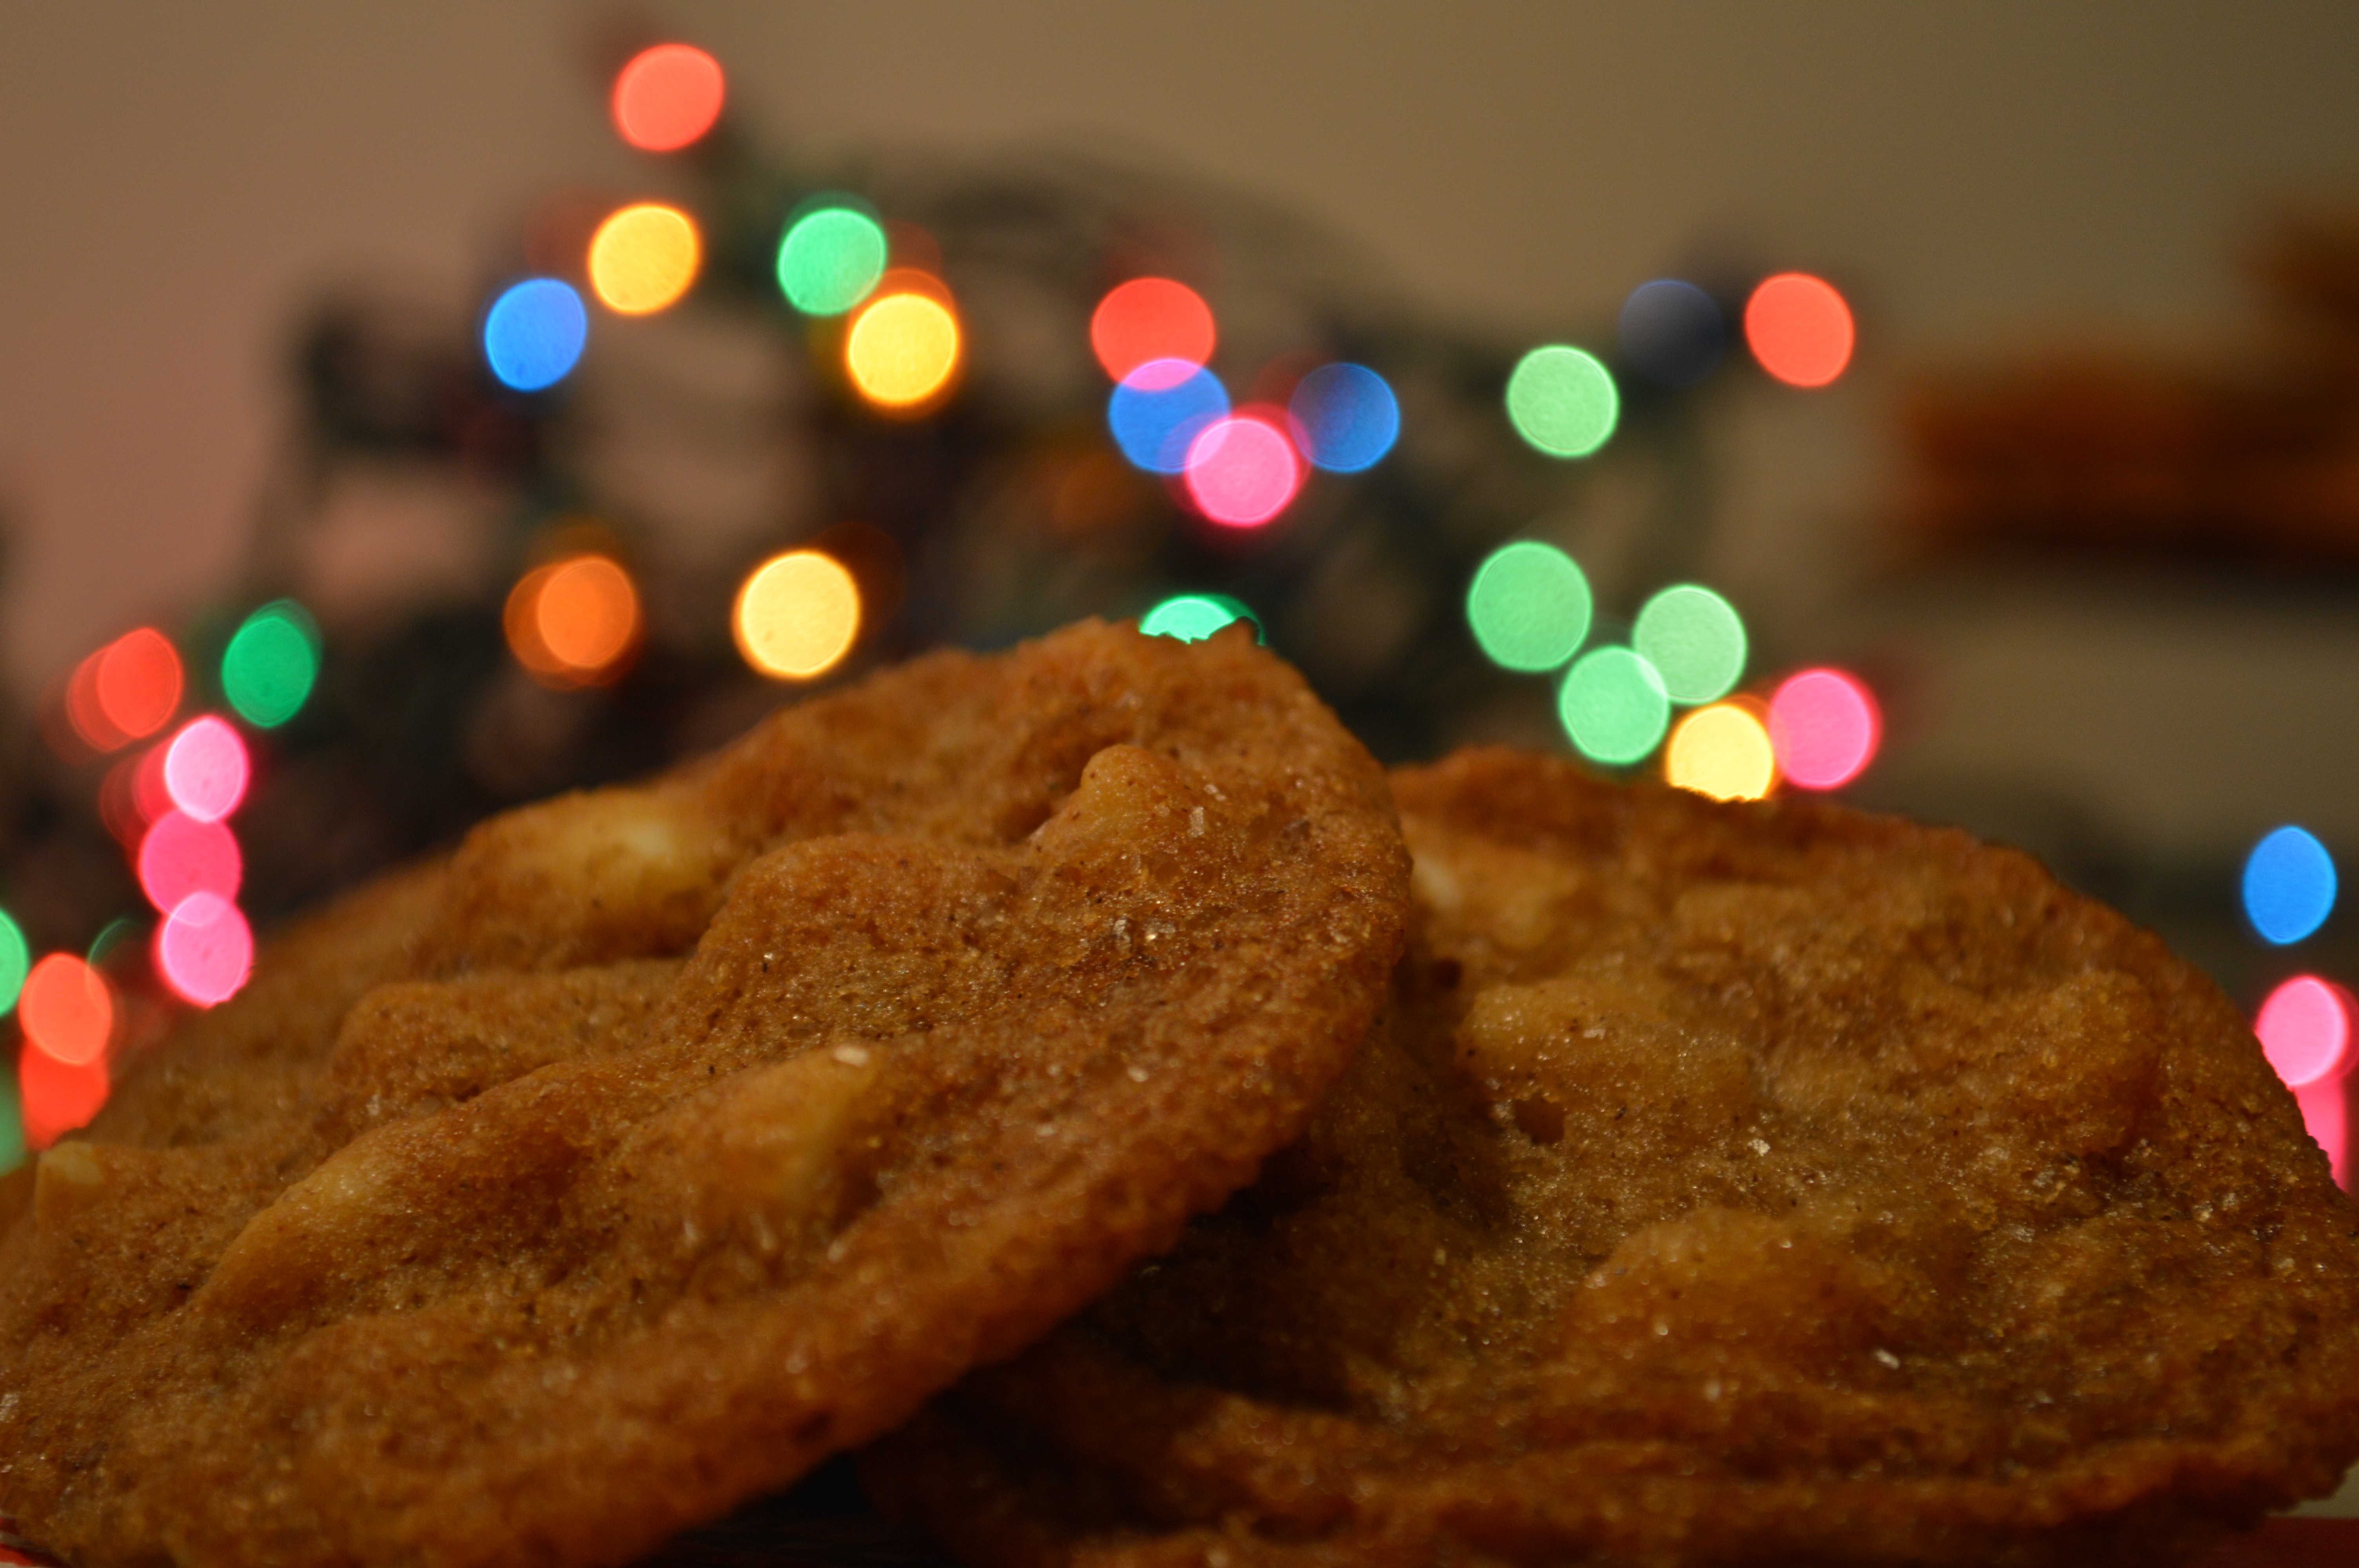
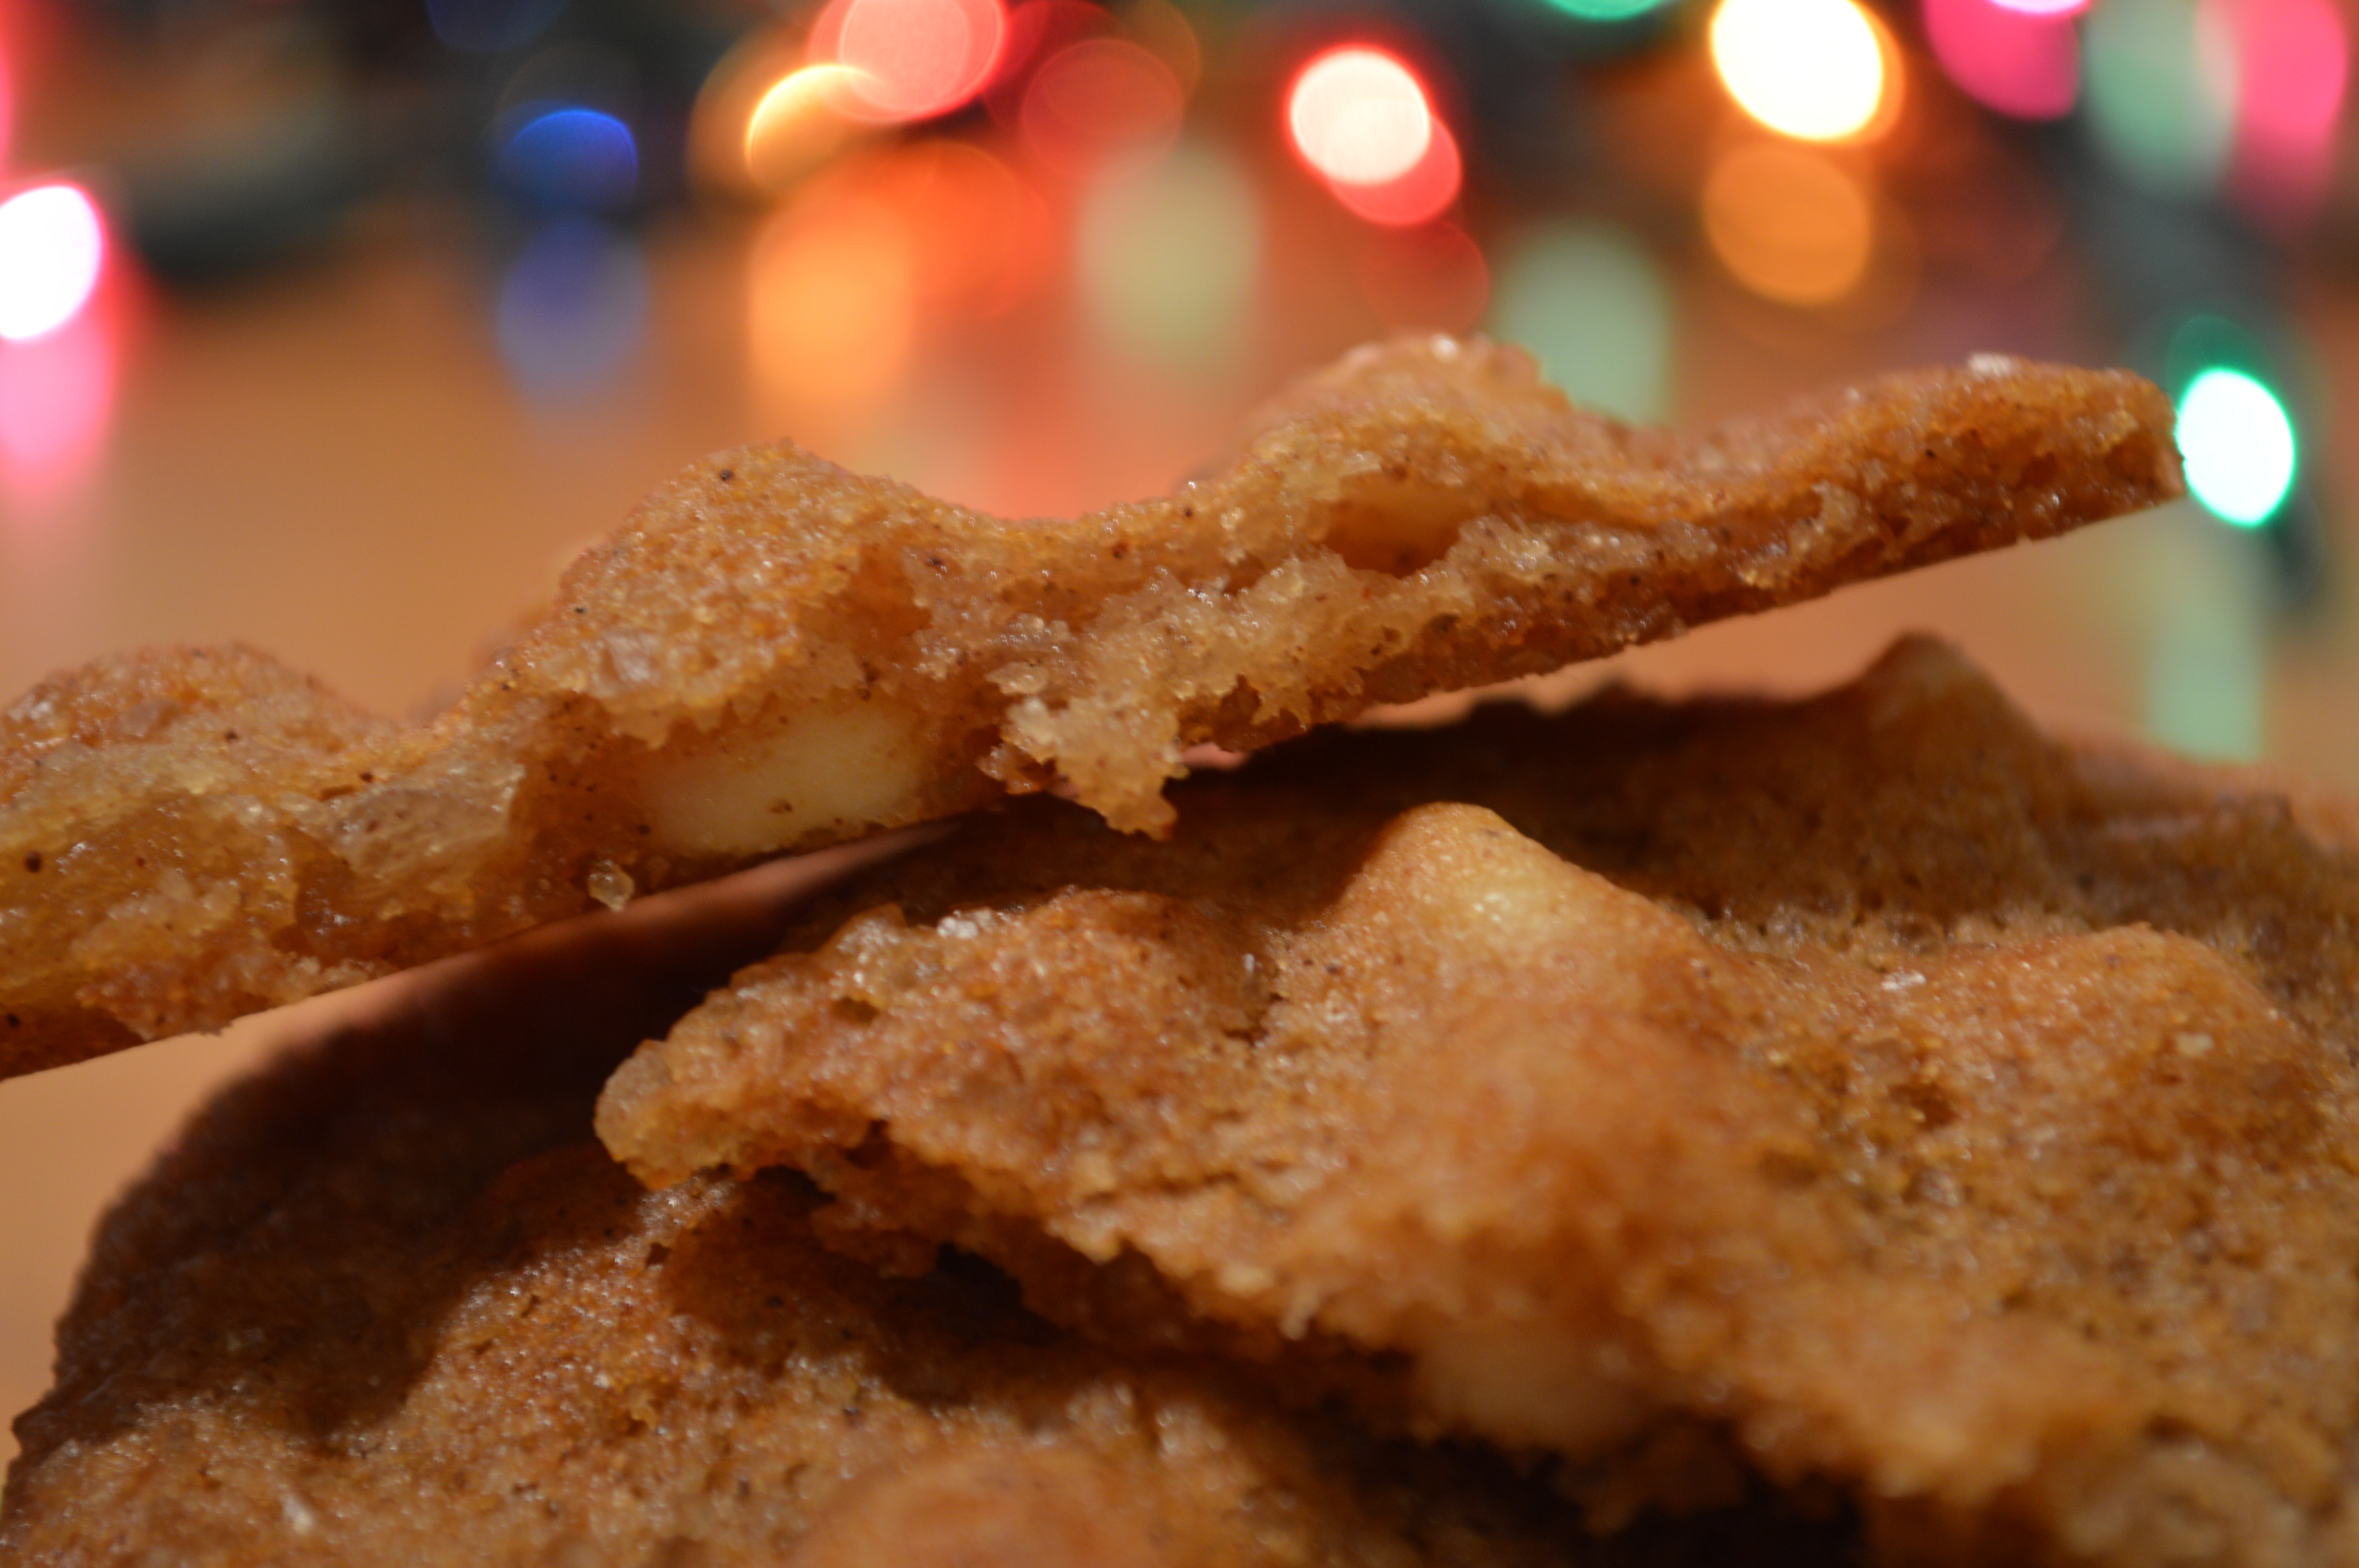
Maple Fudge Peanut Butter Bars
- 1 Cup Butter
- 1 Cup granulated Sugar
- 1 Cup packed Brown Sugar
- 1.5 Cups Mighty Maple Peanut Butter
- 2 eggs
- 2 tsp. Maple Extract
- 1 tsp. Vanilla Extract
- 2.5 Cups Flour
- 1 tsp. Salt
- 2 tsp. baking soda
- 1 Slice of Frozen Maple Fudge, diced
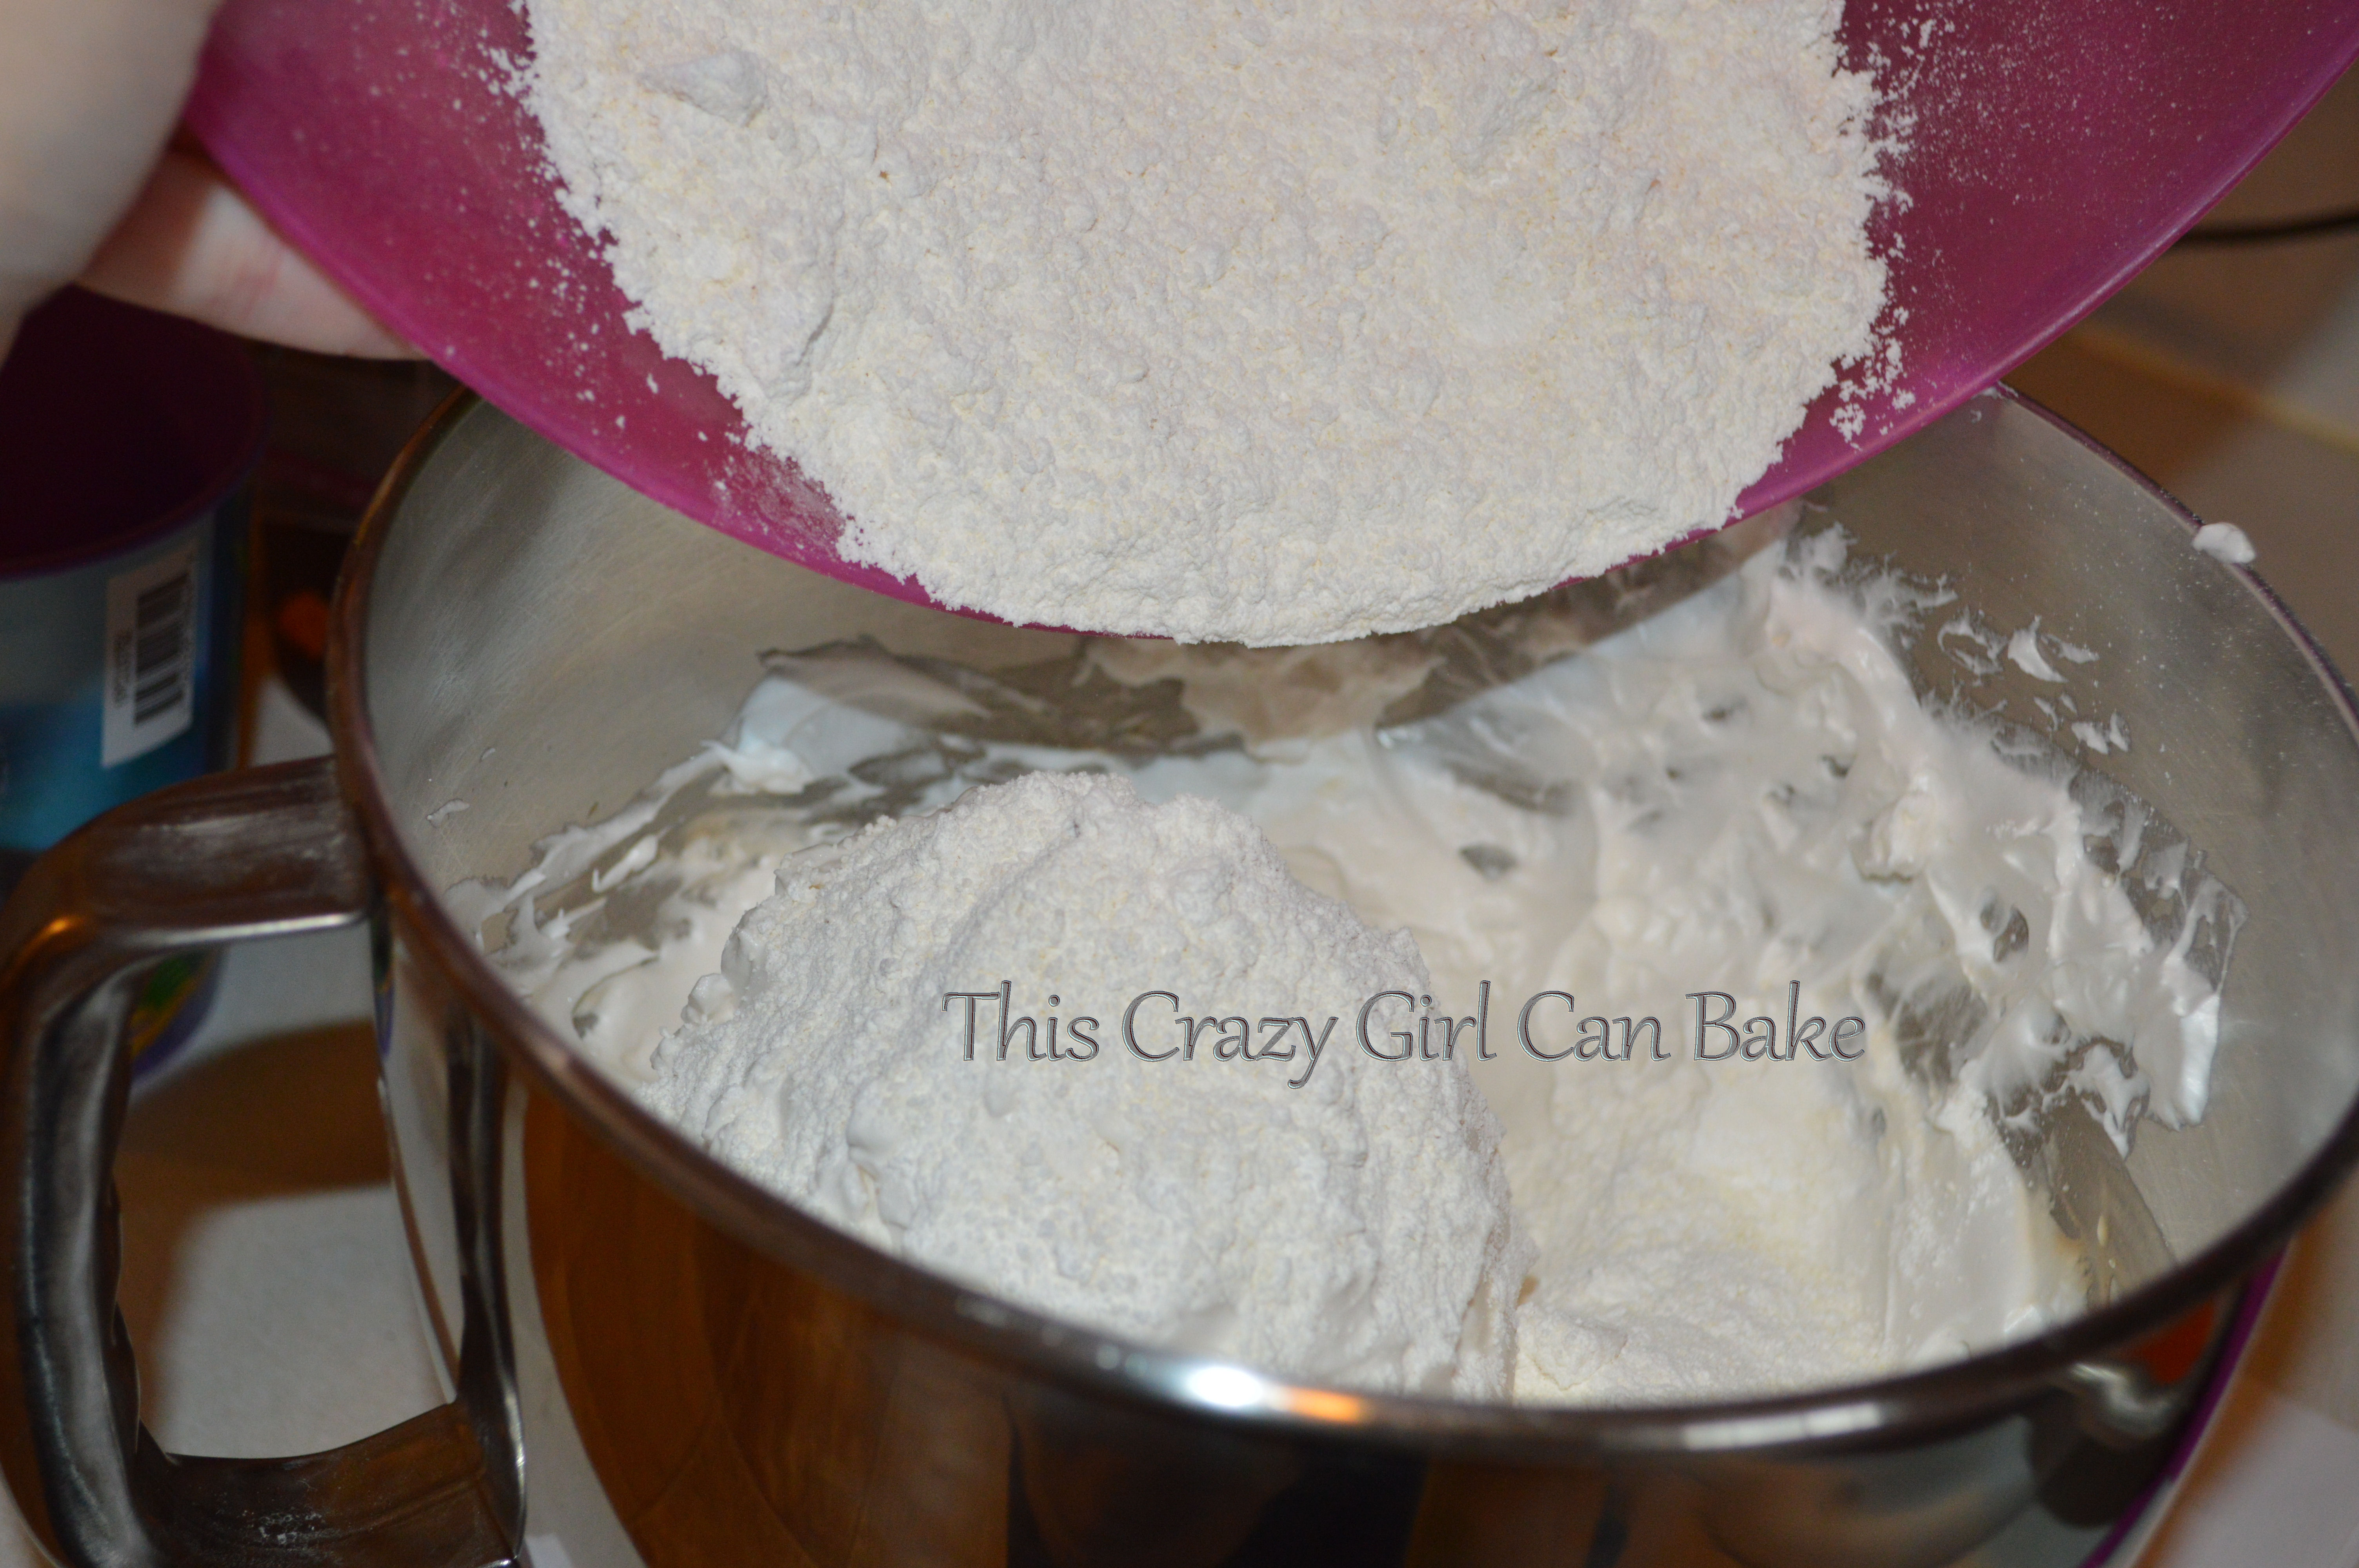
Preheat the oven to 350. Freeze the fudge for at least fifteen minutes before dicing, or it will stick together in a big clump, then keep the diced fudge in the freezer until you are ready to add it to the dough. Meanwhile, Cream together the Butter, granulated sugar, brown sugar, mighty maple peanut butter, eggs, vanilla and maple extract. In a separate bowl, whisk the flour, salt and baking soda together. Add the dry ingredients to the creamed mixture a little at a time and mix between each addition. Once the dry ingredients are incorporated add in your fudge and mix for 10 -15 seconds. Pour into a greased 9 x 13 pan, spreading the dough and pressing it down into the corners. Bake until dark golden on the edges, about 20 minutes, adjusting the time as necessary.
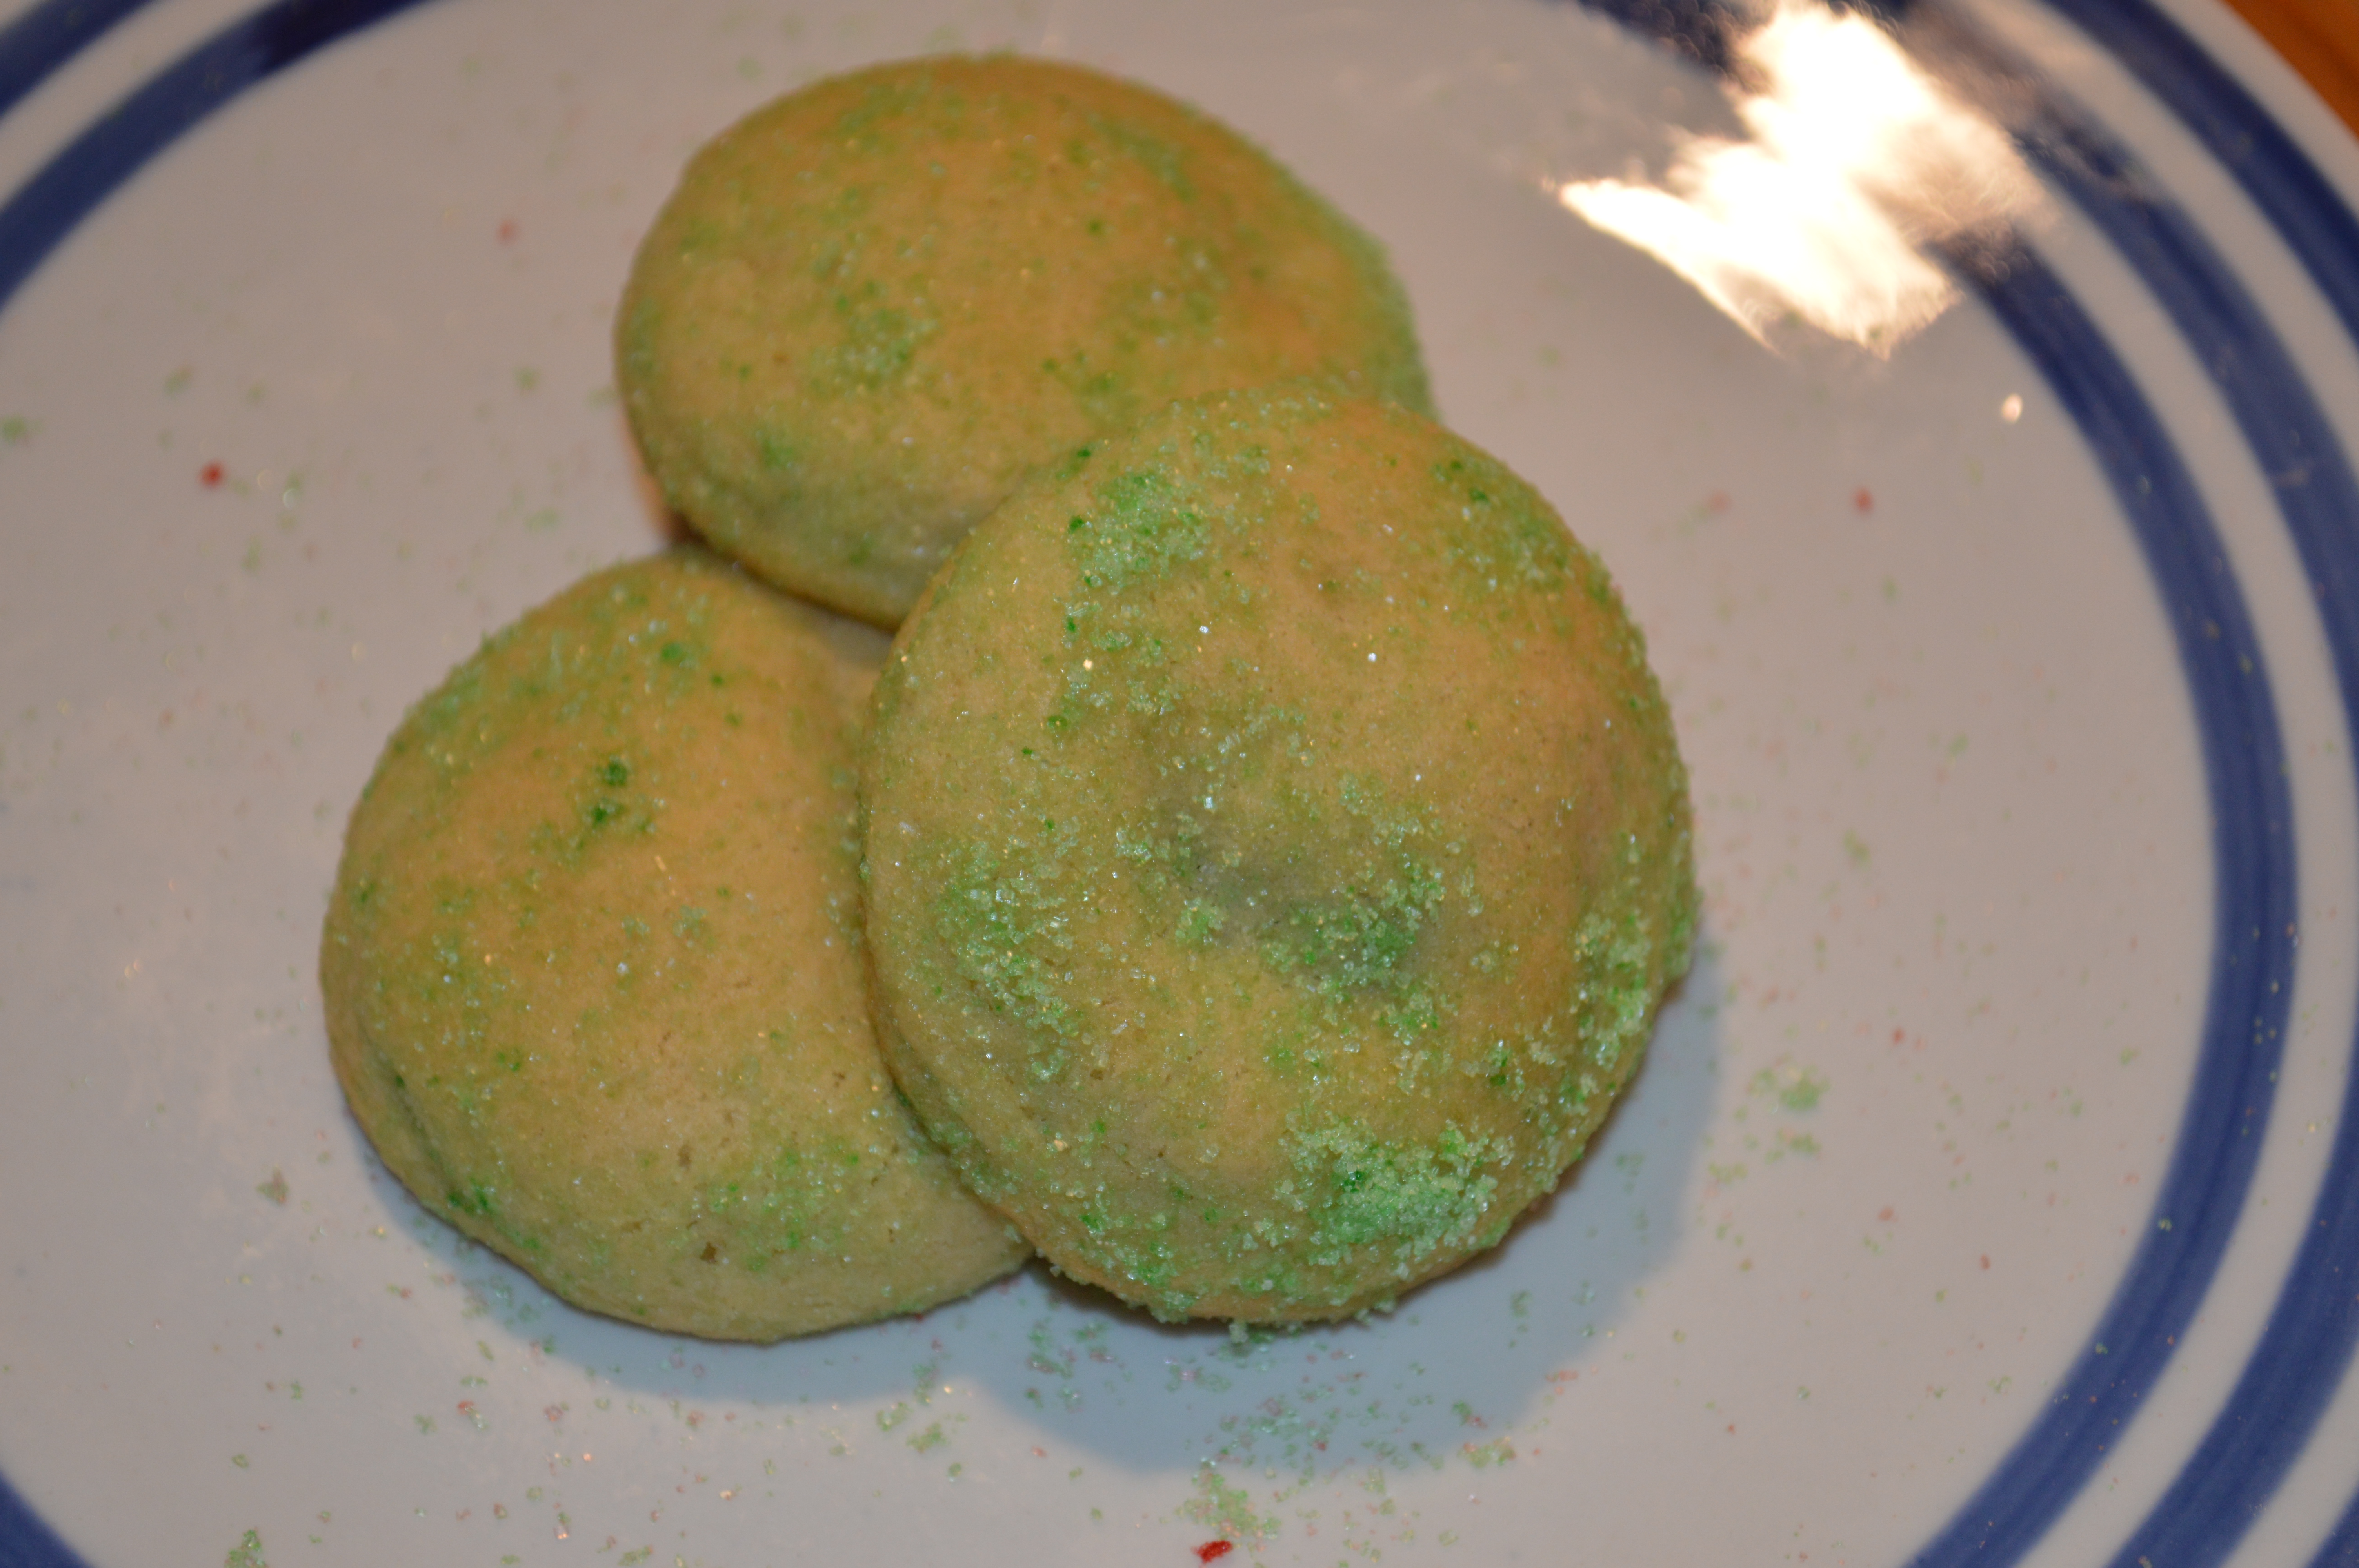
You could also make these into cookies instead of bars, by forming into balls and baking for 8 – 10 minutes.


